Back in September we announced the first part of our 2017 workshop calendar. We also promised that before long we'd be ready to announce even more opportunities to learn about night photography while enjoying the camaraderie of like-minded photographers under the beautiful skies of our national lands.
Well, now we're here, getting the new year started by following through on that promise. Today we're publicly releasing the details of six new 2017 night photography adventure workshops.
For our Passport Series, one is a brand new workshop in a remote and unique national park, while two are second offerings of our two most popular '17 locations. And for our Adventure Series, one new workshop is on the beautiful New England coast, one is in the mountains of California, and one represents our first international event, a night photography tour of Westfjords, Iceland.
Passport Series
Our new Passport Series workshops include a deep dive into the night skies of a national park, plus location scouting tutorials, lectures and image reviews. Plus a whole lot of camaraderie.
Dry Tortugas National Park
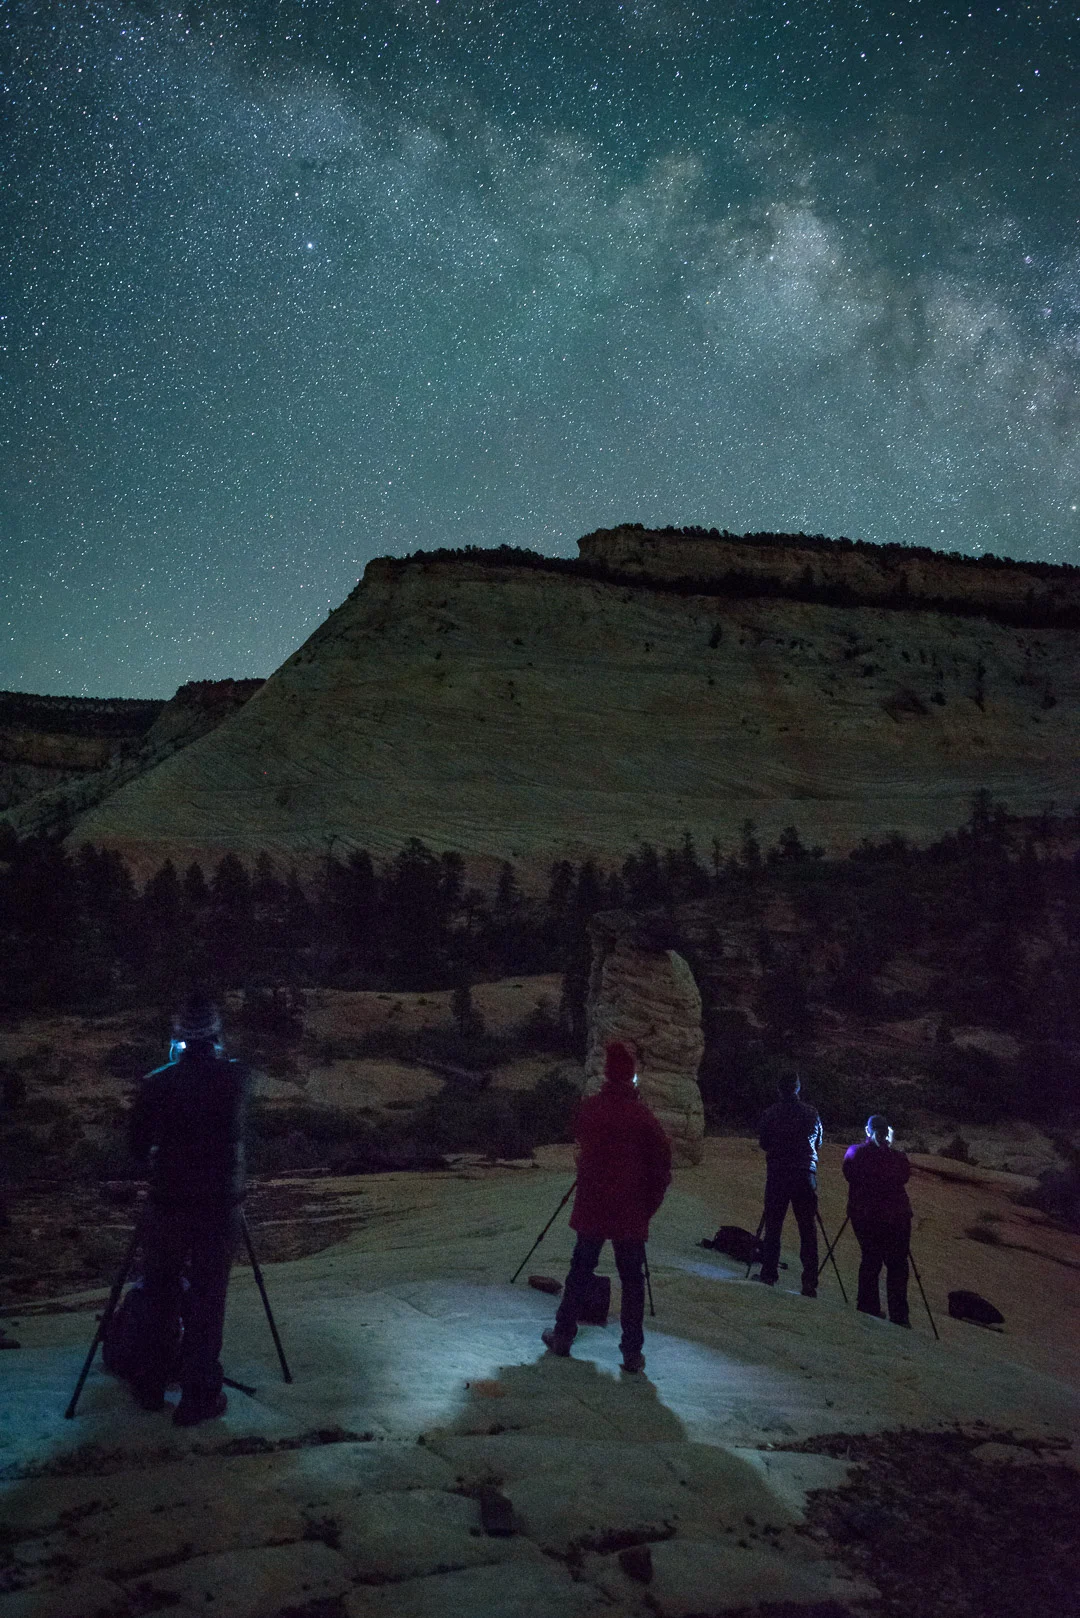
Joshua Tree National Park
Olympic National Park
Joshua Tree National Park, California (2nd Week)
April 21-26, 2017 — Joshua Tree National Park encompasses sections of two different deserts—the Mojave and the Colorado—both full of opportunities for remarkable images. We had a high demand for the first week of this workshop, so we added this second week to provide more people the opportunity to attend!
More info & registration: Joshua Tree II
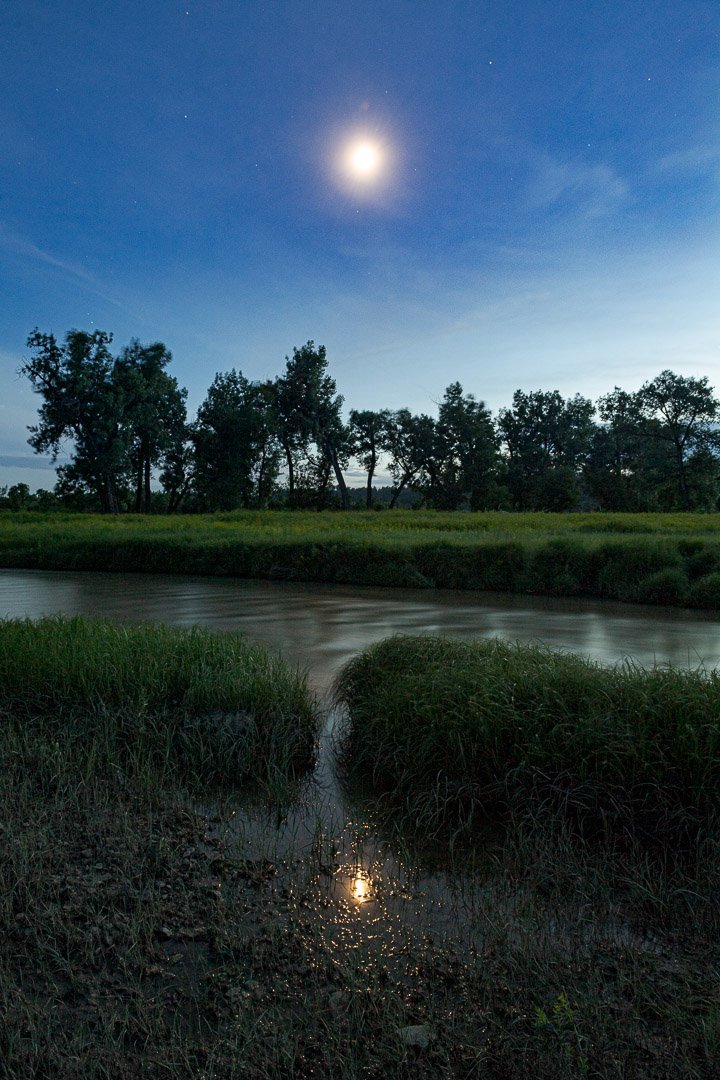
Dry Tortugas National Park, Florida
July 27-30, 2017 — Live life on a boat as we explore one of the most remote national parks in the NPS. The sights on Fort Jefferson—the most ambitious and extensive coastal fortification in the United States, located in Dry Tortugas National Park—are absolute wonders to photograph. And all this in the darkest skies on the east coast, 70 miles from Key West into the Gulf of Mexico.
More info & registration: Dry Tortugas
Olympic National Park, Washington (2nd Week)
September 24-29, 2017 — Photograph on the rugged mountains, in the vibrant rainforests and along the pristine coastline of Washington state’s Olympic Peninsula, in one of the most beautiful and diverse national parks in the U.S. Our first week of Olympic sold out in just two days, so we're offering this second workshop here in this park's best season.
More info & registration: Olympic II
Adventure Series
Adventure Series workshops are forays into national monuments, private lands near national parks, and more. These workshops will generally be shorter in duration than our Passport Series, and depending on the event, may involve less time in the classroom and more time in the field having adventures.
Cape Cod National Seashore
Eastern Sierra
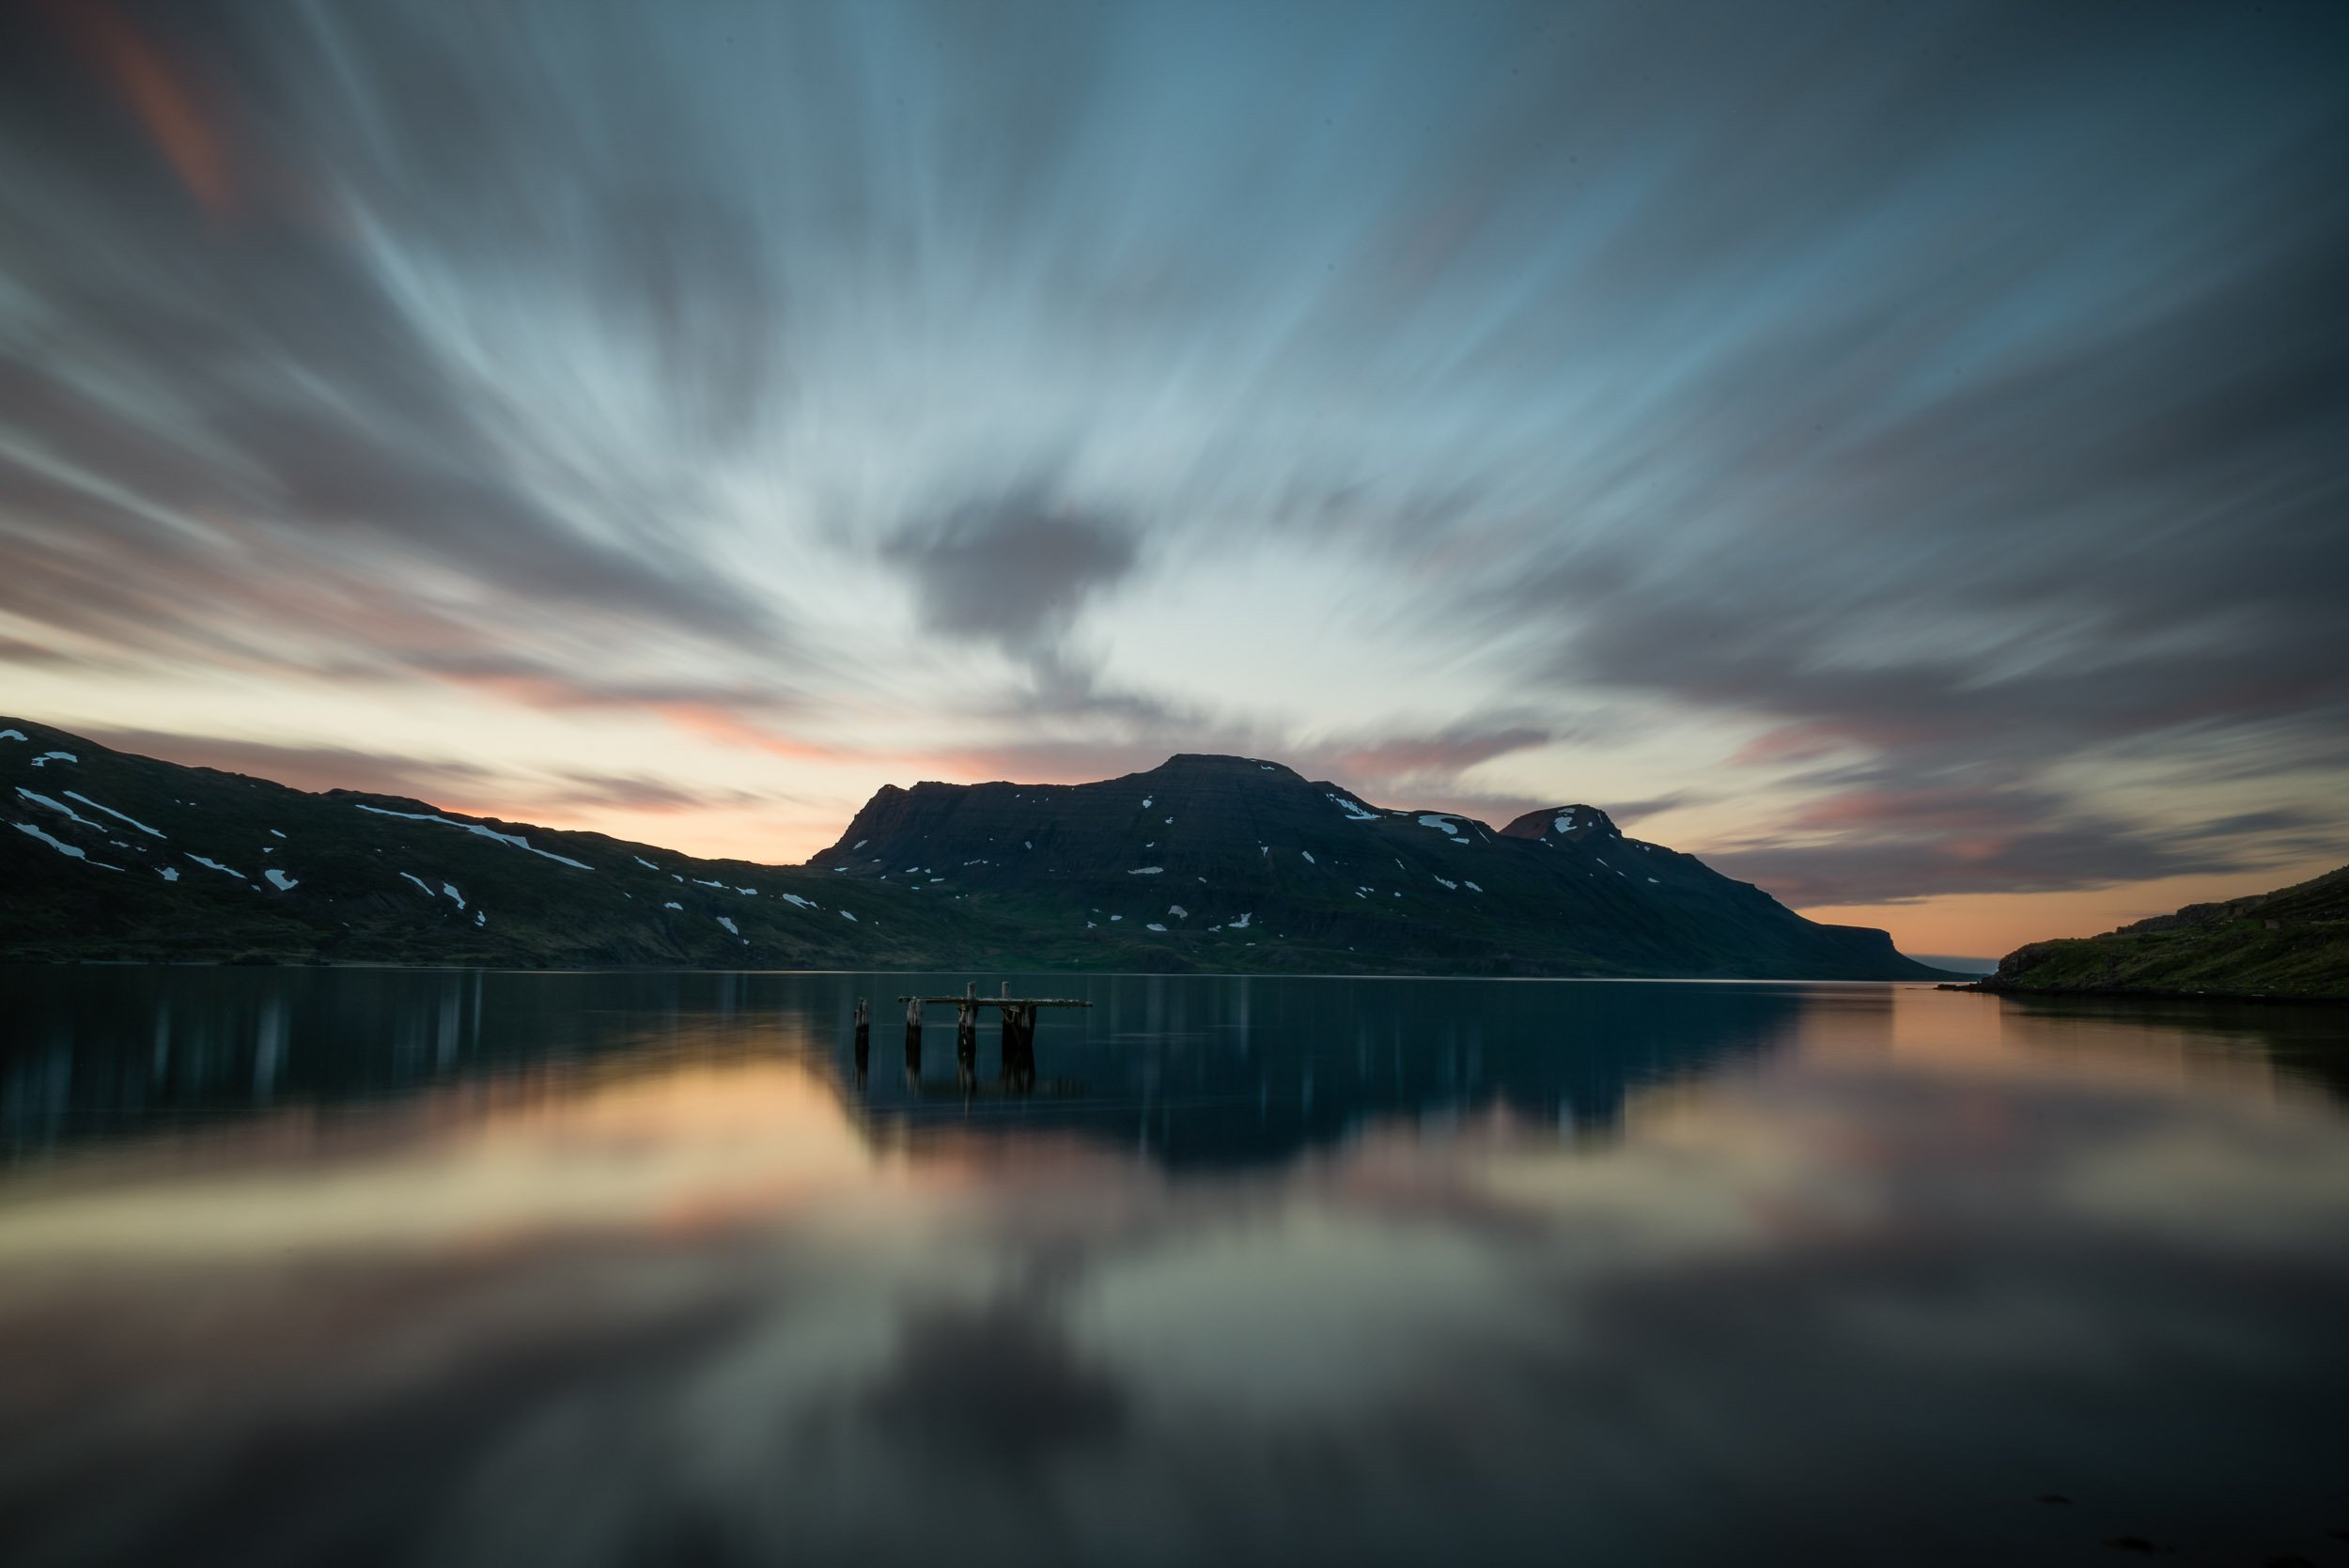
Westfjords, Iceland
Cape Cod National Seashore, Massachusetts (3 Spots Left!)
May 21-24, 2017 — Photograph the open sand dunes, regal lighthouses, quaint cottages and quiet seaside villages of Cape Cod National Seashore, one of the natural gems of the New England coast.
Please note that as of the morning of this blog post, only three spots remain for the Cape Cod National Seashore workshop, so if you want to go, register now!
More info & registration: Cape Cod
Westfjords of Iceland (sold out)
August 27-September 5, 2017 — This photo tour will be special in that it occurs at the end of the brief Icelandic summer. We will visit the Westfjords before the area becomes inaccessible for the winter, but late enough in the year that we might see the Aurora Borealis.
Please note that this event sold out when pre-announced to our alumni and our workshop-announcement email list. To receive early notifications of new workshops (including, hint hint, to this same country in 2018), sign up for our workshop announcements today! Alternatively, to be added to the waitlist for this photo tour in 2017, please visit the following link: Westfjords
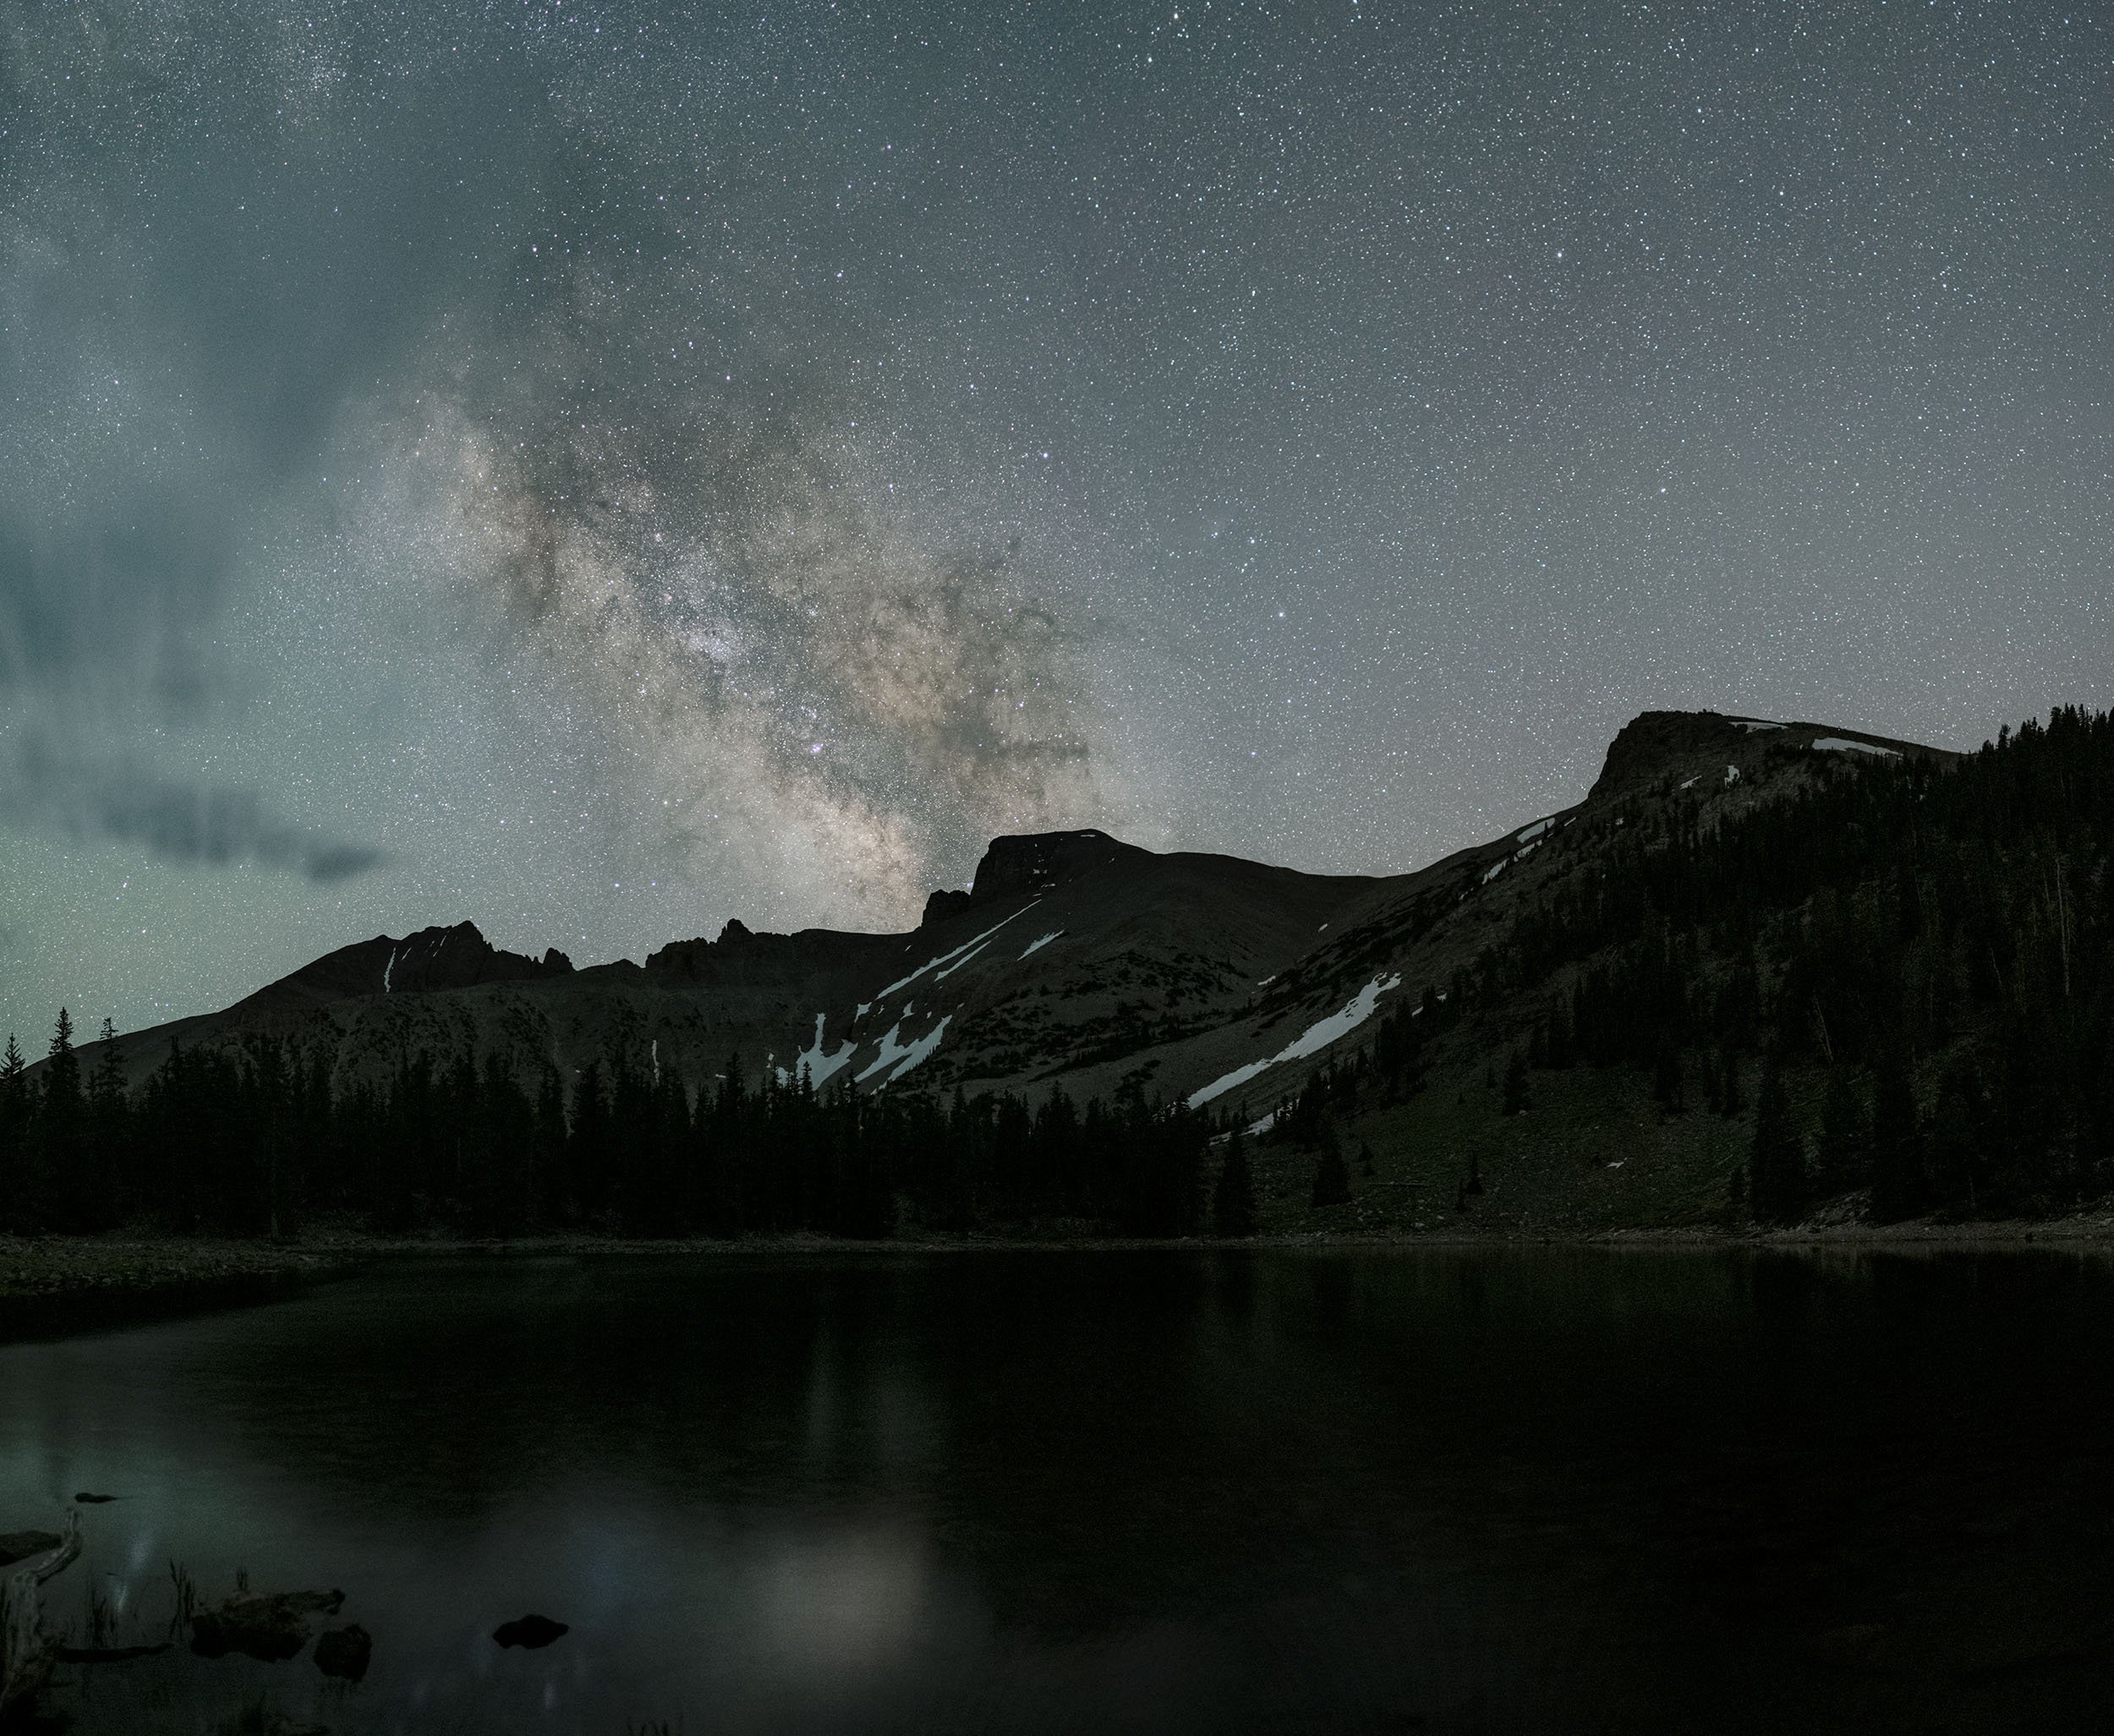
Eastern Sierra, California
October 30-November 4, 2017 — This workshop occurs just before the full moon, and is intended primarily for photographers who are interested in light painting by moonlight. The workshop will feature three nights at the Alabama Hills in California’s Eastern Sierra, one night at the Ancient Bristlecone Pine Forest in the White Mountains, and one night photographing a mystery location.
More info & registration: Eastern Sierra
And don't miss out on ...
Cuyahoga Valley National Park
We have only three places remaining for our light-painting-intensive Passport Series workshop at Cuyahoga Valley National Park this coming May. Be sure to register today!
May 7-12, 2017: Cuyahoga Valley National Park
Cuyahoga Valley is one of the most visited national parks in the country, and also one of the most unique. It combines stunning natural scenes with rural features, such as railroad depots, farms, historic structures, covered bridges and old cemeteries, granting the photographer a nearly endless buffet of subjects to photograph at night. This will be a light-painting-intensive workshop, so ready your flashlights!
More info & registration: Cuyahoga Valley
Seize the Night
Never miss out on one of our adventures. Be one of the first to learn about our new workshops by signing up for our mailing list/workshop announcements. Plus you'll get our free ebook, Seize the Night: 20 Tips for Photographing in the Dark.
We're eager to see you out in the parks with us this year, photographing the night!
(Click here to see our entire 2017 Workshops Calendar.)