On the weekend of October 19, two coastal national parks separated by the entirety of the continental U.S.—Biscayne in Florida and Redwood in California—will both be officially celebrating their 50th anniversaries. And we will be there officially participating, partnering with both parks and with Bay Photo Lab for a dual-coast exhibit of our students’ work!
The Story
Two years ago I walked into the visitor center at Biscayne National Park, a park that is 95 percent water and one of the lesser known in our system. I was welcomed by Gary, one of the most passionate rangers I have ever met. He started chatting me up about the park in between assisting people picking up their artwork that had just come down from a group show. I talked to him about our mission at National Parks at Night and the logistics of photographing this waterworld.
As we pored over the maps and I got a better understanding of the park, Gary started seeing a bigger picture. He mentioned that 2018 would be the 50th anniversary of both Biscayne and Redwood, and it was a dream of his to have a gallery show at both parks titled “From the Redwood Forest to the Gulf Stream Waters.” We quickly concocted the idea of having night photography workshops at both locations and celebrating with a group show at both parks.
I won’t go into the incredible amount of logistics that went into making it happen, but I will say that it started with a dream that we kept pushing until it was realized!
It couldn’t have happened without the continual support from the teams at Biscayne National Park, Biscayne National Park Institute, Redwood National & State Parks, and the Redwood Parks Conservancy.
The Workshops and the Work
Both workshops were incredibly inspiring. In each park we could not have been happier with the experience or more impressed with the photographs our attendees worked so hard to create.
Below is a summary of the workshops, along with a sampling of the photography created. (To see all the images, visit the exhibits in person or online. More information below.)
Biscayne National Park
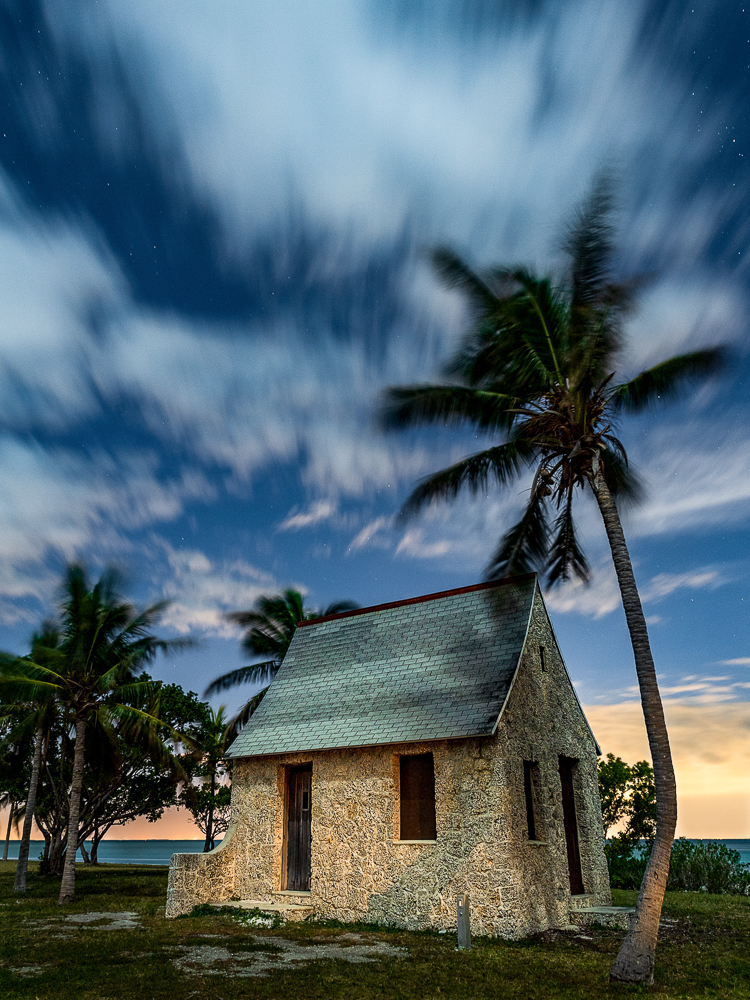
In Biscayne we were transported by boat each night to one of the many unique keys. We got a rare opportunity to photograph one of the historic houses in Stiltstville suspended above water one mile offshore from Miami, as well as Bill Baggs Cape Florida State Park. Biscayne has very little night photography documentation and our students did an absolutely amazing job creating a variety of images under the January supermoon.


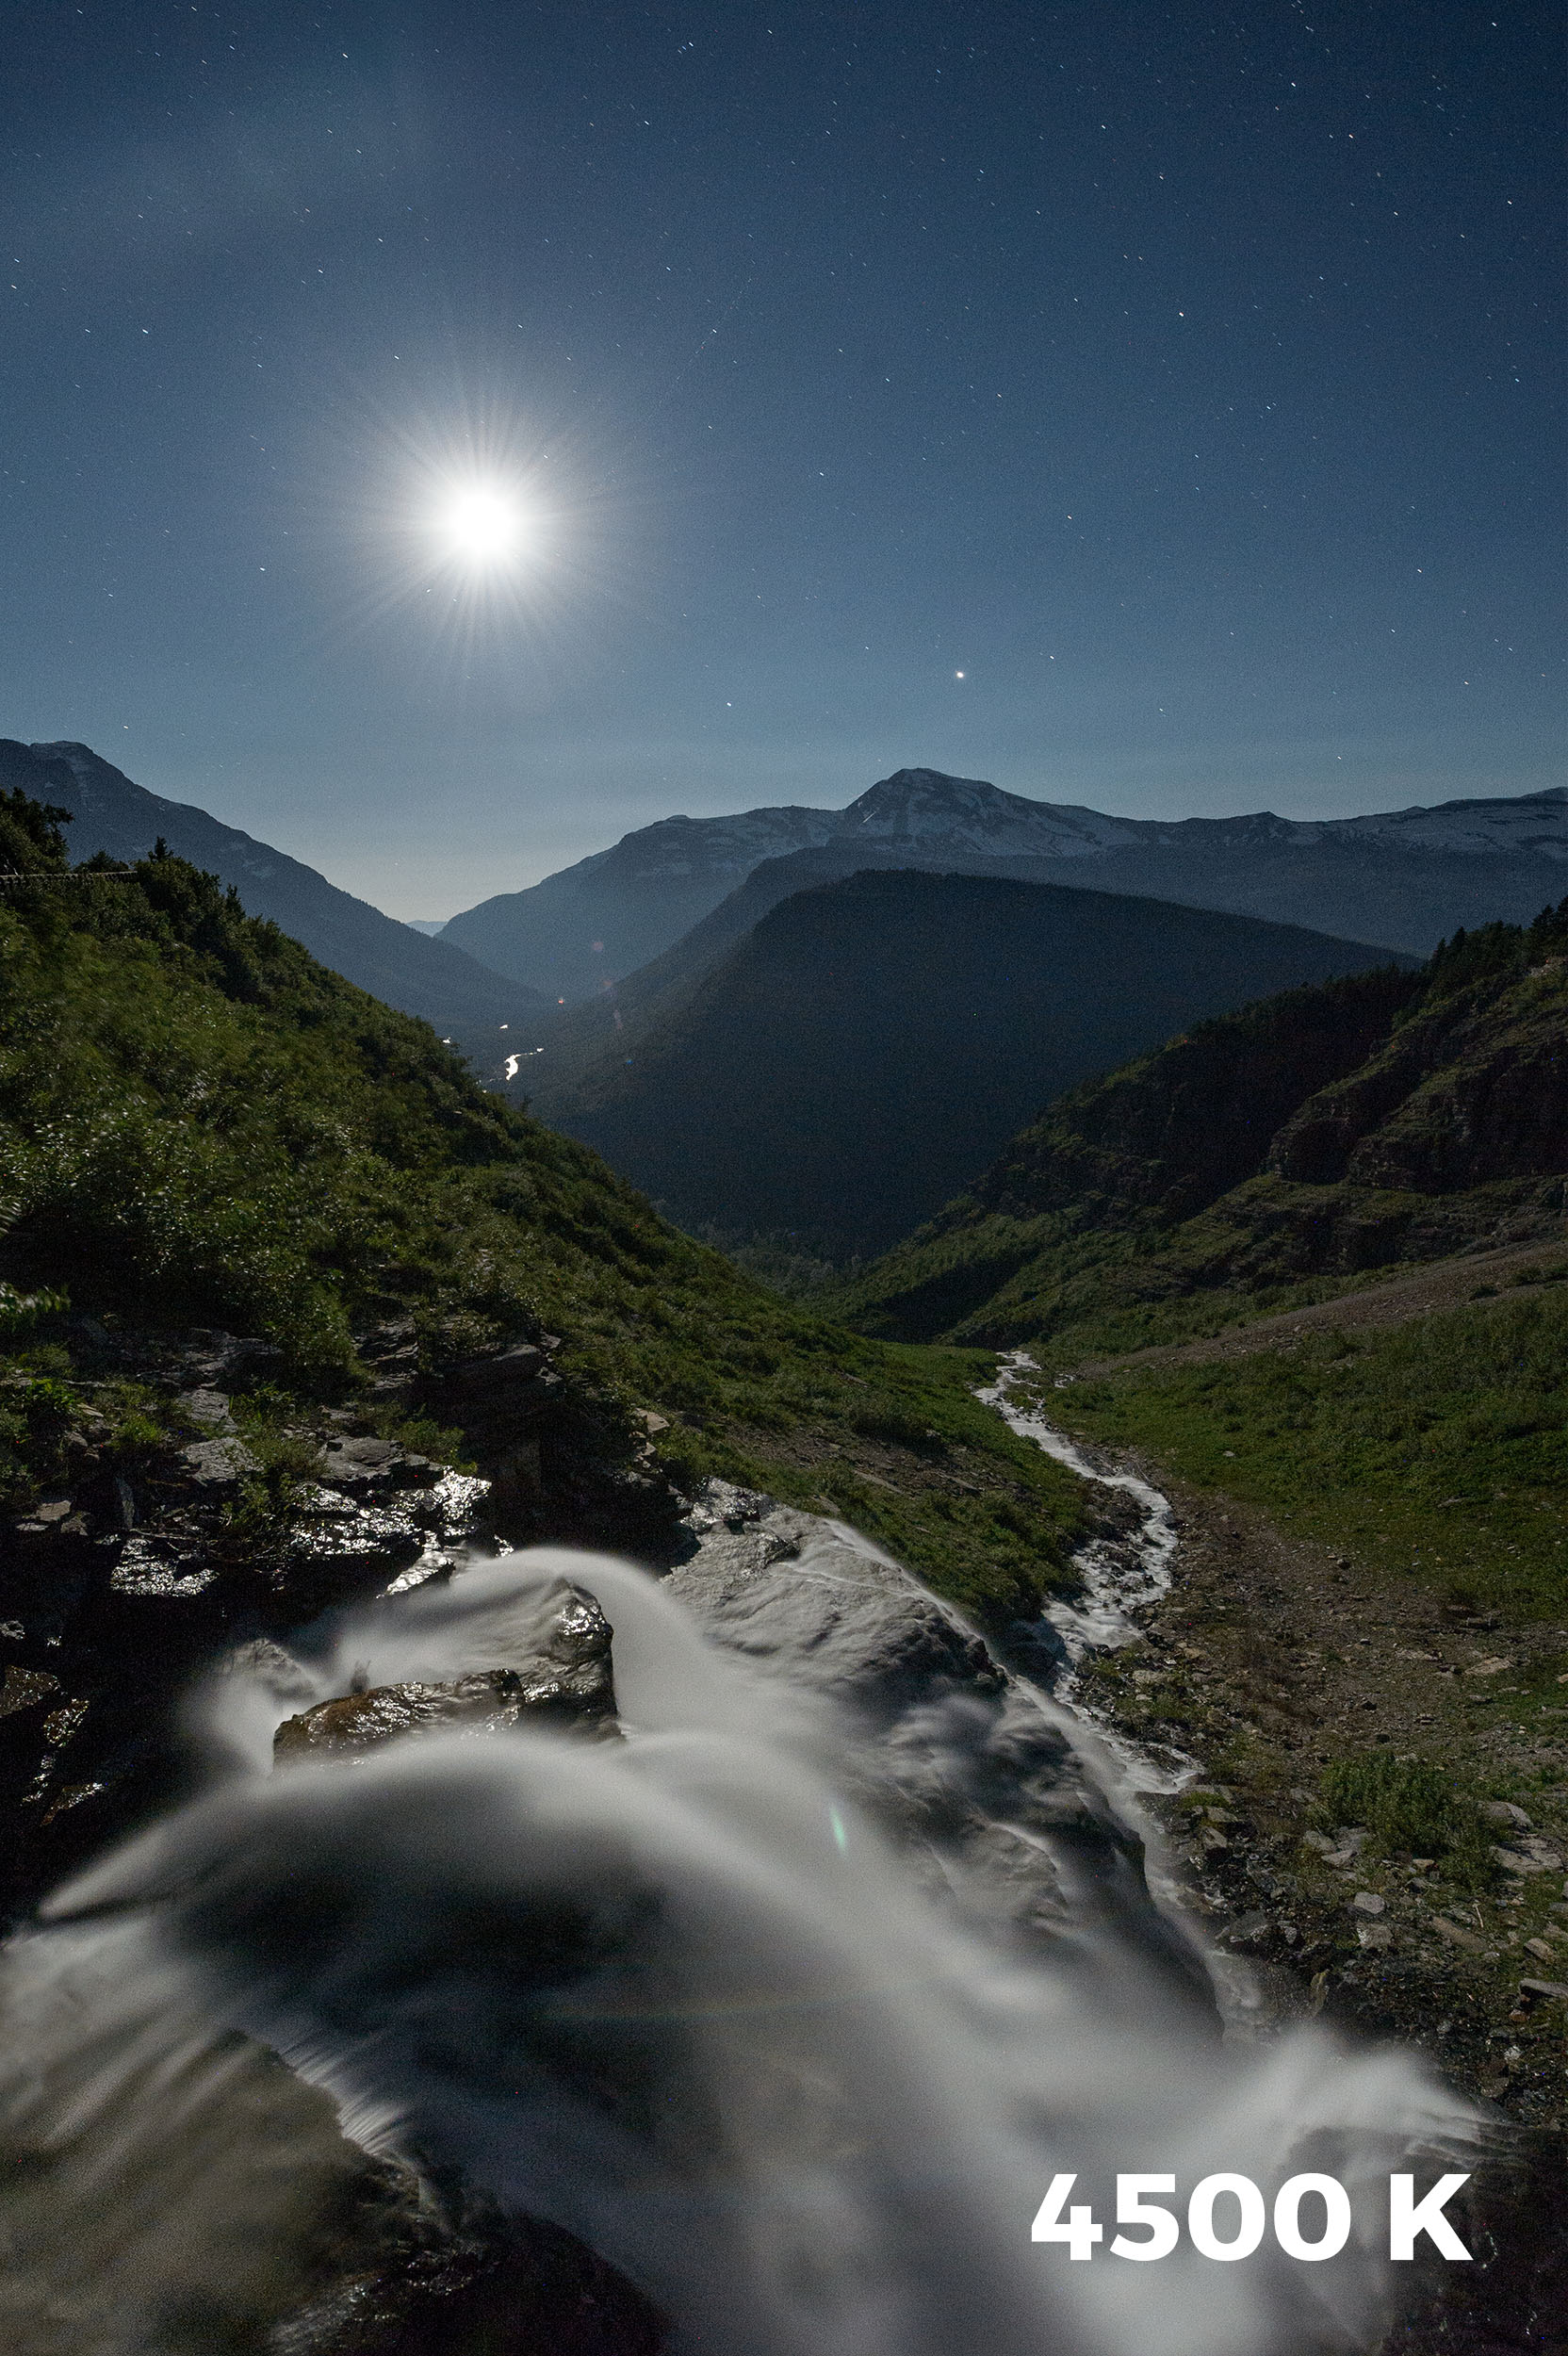
Redwood National & State Parks
The Redwood workshop challenged even the most experienced night photographers in the group. The dense canopy of the giant trees made it exceptionally dark in the forest, and their sheer size made them difficult to photograph. It was essential to find and plan images before darkness set in completely.
One of the best parts of the workshop was how the unique challenges of photographing enormous subject matter in total darkness brought everyone together. Collaboration was a big part of the experience, and many new friendships were formed in the forest. Redwood National & State Parks also boasts spectacular shoreline with numerous secluded beaches punctuated with sea stacks reminiscent of Olympic National Park, and we divided our time between those beaches and the forests.


The Exhibits
So what are the details of our celebration? Will you be able to join us? We sure hope so!
Lance, Chris, Tim and I will be heading back to both parks for festivities that will include opening receptions, talks and night walks. Below is the “All You Need to Know.”
Biscayne
Dante Fascell Visitor Center Gallery
Friday, October 19: Night workshop (boat ride to Boca Chita), 5 to 11 p.m. ($70. Click here to register.)
Saturday, October 20: Opening Reception, with a moonlight walk around Convoy Point, 5:30 to 8 p.m. (Free to attend.)
Redwood
Hiouchi Visitor Center
Friday, October 19: Opening Reception, 5:30 to 7 p.m. (Free to attend.)
Saturday, October 20: Gallery talk with an explanation of the photographs, 1 to 2 p.m. (Free to attend.)
Saturday, October 20: Mini-workshop, 5 to 11 p.m. (Email Lance to register.)

Bay Photo will be making all the prints for both exhibits, using their patented Xposer print format that comes with custom hanging hardware.
We’d love to share this celebration with you in person, but if you can’t make it to the opening, you can still visit the exhibits, as they will be up in both parks until January 13. To keep this information handy, download the PDF version of the event post card here.
Buy the Prints Online & Support the Parks
Can’t make it to either park during that time? You can see our online gallery of the show on SmugMug. Prints are available for purchase in a variety of sizes and materials from our good friends at Bay Photo Lab. They were thrilled at the opportunity to show our students’ and instructors’ work at both parks, so sponsored the exhibits and our involvement with both events.
We at National Parks at Night are big fans of getting your images off your computer and on your walls. It’s the ultimate respect for those 5-star photos. Bay Photo does an outstanding job, and we couldn’t be more proud that they support our programs. They offer a variety of print materials, from metal and wood to canvas and wraps and beyond! Just a reminder: First-time customers of Bay save 25 percent off their first order—click here to get that savings and create some precious prints!

Just to up the ante a little bit more: If you purchase a print from our online gallery, the proceeds will go to supporting both parks! The holidays are just around the corner …
With Gratitude …
Finally, we want to thank the 22 students who explored each of these parks with us. We literally couldn’t have done this without you!
Many of you have joined us in our pursuit to explore each one of our parks at night, and in each experience we all learn and grow. All our workshops end with a group slideshow where we revel in our week’s work. But to take it to the next level and share your visions on the walls of the place you photograph is truly special.
Seize the night!