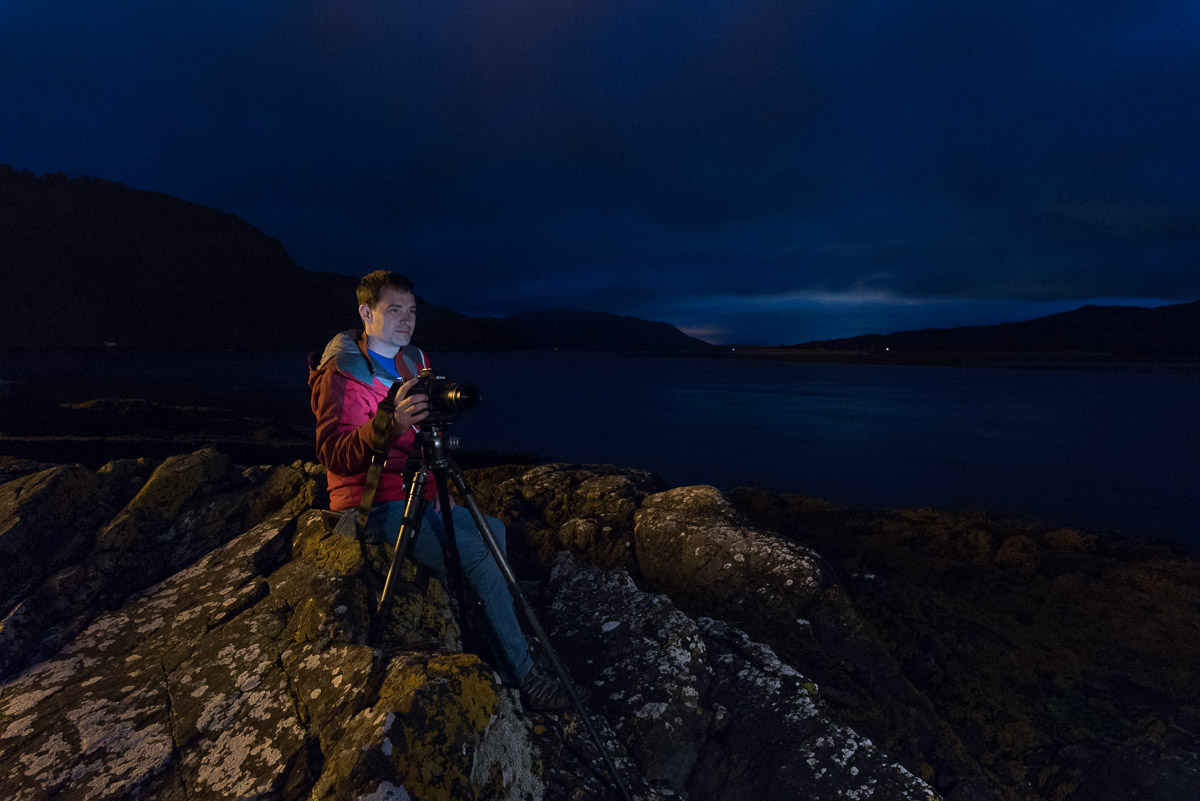
Tips for Packing for a Night Photography Trip

A common question we get at National Parks at Night is, “What should I bring on one of your photo adventures?” It’s a question that applies to any trip where the purpose is night photography.

Trips like this require specific gear that you might not normally take on a regular photo excursion or vacation. The ultimate goal is not to overpack and burden yourself with extraneous stuff. My goal is to pack in a way where I end up using everything I brought, and I take notes on things that could have enhanced the experience.

The Packing List

These travel notes have turned into a Workshop Packing List that I can review each time I’m getting ready for the next adventure. This is invaluable, because it keeps me on track and not packing for hours and days sifting through all my gear! Feel free to download my list below and customize it to fit your needs.

This list covers about 90 percent of what I need to bring, but I also suggest doing research on the locations and thinking of anything specific you’ll need that will help enhance or interpret that location better. Definitely check the weather predictions—for both days and nights—so you can be prepared and comfortable for what’s heading your way.

Know Your Gear/Vision

I always advise bringing gear you are familiar with on workshops. When you order or rent new gear, try to have it arrive at least a few days before you leave and set aside time to get to know it. The last thing you want is to be fumbling around in the dark with unfamiliar equipment.

If you’re looking to build a kit, our recommended gear page is a good starting point. But everyone sees the world differently, so gear is a very personal choice. Study the way you see, and really understand the tools that are helping create your masterpieces.

LR 20mm.jpg

You can easily do that in Lightroom. Look at your favorite 4- to 5-star photos in the Library module and then scroll down the right hand side to the Metadata section. What lens did you use? If it was a zoom lens, what focal length? If a lot of your images were shot with a 14-24mm lens set at 20mm (as in the above screen shot), then perhaps you should consider investing in a 20mm prime lens. Often the prime lens will have a faster aperture than the zoom, which can help us collect more light for the dark skies we are visiting. Plus, that’s how you are seeing the world, so embrace it! (For more about this, see my 2016 blog post “Finding Your Focal Length: Use Metadata to Divulge Your Tendencies.”)

Insurance

I highly recommend investing in photography or travel insurance that will cover your expensive gear at home and on the road. Home owner/renter’s insurance often doesn’t cover your photo gear, especially if you are making money with it. Travel insurance isn’t that expensive, but I travel so much that photography insurance covers my gear 365 days of the year.

One thing that any insurance company will ask you to do is list all your gear with serial numbers. This is a good practice anyway, and I have this document accessible to me on the road just in case.

Which Bag is Best?

When I first started working at B&H Photo in 2001, I worked in the bag and tripod department. Obviously it was my job to find the best match for the customers’ needs, but what happened was that I became convinced that so many of their solutions could also be mine. Much to the chagrin of my wife, one of our rooms quickly filled up with 20 bags in the first three months! I didn’t know which one was best for me, so I had to try them all!

I can’t recommend that strategy for others. But I can pass along the valuable lesson I learned: It is, in fact, good to have a variety of bags that can offer multiple carrying experiences.

Understand what your body is capable of carrying and which styles of bag you prefer. Bringing a roller bag of gear is great on your back but not conducive to moving around on the trails at parks or on the cobblestone streets of Europe. For me, a compromise is best: I do bring a lot of photo gear on most trips, and for me a roller and a backpack is the best way to carry it all.

Roller

For a roller, my hardy, well-traveled companion is The Large case by Away Travel. It’s guaranteed for life, and large enough to carry pretty much anything I need to pack, from tripods to clothing. I generally use this case for any trip of five days or more. For shorter trips, I use a smaller roller by Travelpro.

Backpack

For a non-roller option, the Peak Design Everyday Backpack suits my needs perfectly. The 30L model fits up to a 15-inch laptop, plus a tablet and most of my cameras and lenses. It is super comfortable and the innovative divider system keeps me organized.

However, I always like to also bring a smaller bag on my trips. When I get on-site and go out for a shoot, I don’t need or want to carry all my gear all the time. When Peak Design released their Everyday Sling bag, I found my perfect daily companion.

The Sling is my go-to work bag, which fits lunch, an iPad and a little camera. When I went to the Galapagos Islands, I was able to fit any non-vertical-grip DSLR camera with a 150-600mm style lens! You can fit a whole mirrorless system in the bag as well. Don’t believe me? Check out the video I did with that bag in Galapagos:

Does It Fit?

Bags are definitely a personal choice, and, like with a good pair of shoes, we often don’t know how a bag “fits” us until we try it on. Some things to look for are:

  • Does it safely protect your gear?
  • Is it comfortable to carry or wear?
  • Does it fit your style?

B&H has a 30-day return policy that really can help you take the time to figure it out which of their 500-plus bags fits you best.

Just as important as bags are cable organizers and pouches. Tenba’s Cable Duo 4 helps me keep the variety of cables, cords, remotes, and other little bits and bobs organized inside my bag. Another option is the Duo 8 if you travel with lots of cables and cords!

Tenba Cable Duo 4 (above) and Duo 8

I always have two to six flashlights in the field at night. Instead of putting them all in my pockets, I use the Peak Design Field Pouch matched with their Leash Camera Strap, which gives me easy access to not only my assortment of lights, but also filters, Allen wrenches and Arca-Swiss plates.

Check-in vs. Carry-on

Traveling as a photographer isn’t easy. If you don’t have TSA Pre or Clear status, most U.S. airports want you to take all of your large electronics out of your bag—sometimes even all your cameras! That could mean needing to arrive to the airport even earlier. Be familiar with the restrictions, which definitely vary from country to country.

Also, pay attention to what sizes and weights your airline allows. Camera gear adds significant weight to our bags, and going over the limits could incur some serious fees. Plus, smaller planes can’t fit rollers. I’ve found that my Everyday Backpack fits on even the smaller airplanes, albeit sometimes only under the seat.

All I need for a night photography trip in two bags: My Peak Design backpack (top) containing my cameras and lenses comes on the plane as a carry-on, and my roller with everything else gets checked into the plane’'s belly.

I try to carry on all my important and expensive gear, and I check in my cloths, tripods, liquids, cables, etc. in my roller.

The main thing to remember is that we always need to carry on lithium batteries, no matter how small or big. These cannot be checked in. And they need to be either in a device, or stowed in a way so that the ends can’t come into contact with each other (wrapping them with a rubber band will suffice, though more techie options are available).

Final Thoughts and 3 Things We Can’t Live Without

That covers a lot about one half of packing, but the other half—the gear itself—is a whole other monster. I could explain my strategy here in even more words, but instead I decided I’d show you. So we created the following video, which breaks down all the gear I typically bring on a night photography workshop or trip. It goes into more detail about the gear and why each piece is important to me

Hopefully this will help you game-plan even better for your next adventure! Remember to take notes in the field and on your trip so that you can keep track of the gear that you brought and didn’t use, or that you left home and missed having. Creating your own checklist will make your gear, vision and packing experience a whole lot better!

Finally, not everything we travel with is a camera or lens. We all have ancillary items that might not help us take a picture, but they do help make our trip better. Here are three such items from each of the five of us:

For more information about the gear in Gabe’s bag and packing list:

Gabriel Biderman is a partner and workshop leader with National Parks at Night. He is a Brooklyn-based fine art and travel photographer, and author of Night Photography: From Snapshots to Great Shots (Peachpit, 2014). During the daytime hours you'll often find Gabe at one of many photo events around the world working for B&H Photo’s road marketing team. See his portfolio and workshop lineup at www.ruinism.com.

UPCOMING WORKSHOPS FROM NATIONAL PARKS AT NIGHT

So Far, So Awesome! Recapping Our First Workshops of 2018

It’s hard to believe that the year is almost half over. Our workshop season, however, is just kicking into high gear. Matt and Gabe are leading a group in Capitol Reef National Park, and Chris and I are about to do the same in Redwood National and State Parks. But this week’s post is about celebrating the amazing experiences we had with the attendees of our first six workshops and tours of 2018.

We started the year by visiting one of the lesser-known national parks, Biscayne in Florida, and in the spring we offered our very first night portraiture workshop, in Catskill, New York. For 2018 we added a second international tour, and notched both Iceland and Scotland in our passports before the end of spring. We also partnered with two of our favorite institutions—Rocky Mountain School of Photography and Atlas Obscura—to create two opportunities to seize the night in California.

We’re also working hard on a new series of workshops and programs for 2019, to be announced later this summer. (Want to be among the first to know about them? Be sure you’re on our email list!)

It may sound like we’re tooting our own horn, but what all of this really means is that (as Matt proclaimed in a lecture earlier this year) this is the golden age of night photography. It is not because we are teaching a lot of workshops, but because so many of you are out there photographing at night and continuing to produce so many amazing images.

As we move on with the second half of 2018, let’s see where the first half brought us …

Biscayne National Park

January 29-February 3
By Gabriel Biderman

They said it couldn’t be done—a night photography workshop was impossible at a location that’s 90 percent water. Well, here at National Parks at Night, we love a good challenge and we made the most of the 10 percent of land in Biscayne National Park!

The first night of the workshop was the day before the second blue supermoon of 2018, and we came prepared. Our friends at Nikon shipped us an 800mm lens with a 1.25X teleconverter, which we matched to the D500 with its 1.5X-crop APS-C sensor. With that, we practically lassoed the moon. That “kit” was set up on a Gitzo tripod and students could stick their memory card in the camera and track and capture the moon. The rest of the first night was spent getting our night feet wet with the many subjects to photograph around the Dante Fascall Visitor Center, the only mainland section of the park.

The next two nights we were transported by charter boat to Elliot and Boca Chita keys. Elliott provided a supermoon moonrise, mangroves, dock and other subjects. But Boca Chita is definitely the crown jewel of the location. We literally “lit up” the ornamental Honeywell lighthouse, photographed the Miami skyline, light painted the cutest little chapel, and explored the many views along this picturesque curved key.

We also got to spend an evening at Bill Baggs Cape Florida State Park, which offered spectacular views of off-shore Stilstsville at sunset, which is in the northernmost part of Biscayne National Park. Baggs is also home of the oldest standing structure in greater Miami—the Cape Florida Light, which we were able to wrap lots of star trails around as well as climb up and sing an opera song or two!

Our last night was even more special, as we were able to gain access to Stiltsville, a grouping of wooden stilt houses that are 1 mile from Miami.  The structures are still recovering/rebuilding from Hurricane Irma, but we were able to watch a spectacular moonrise over Leshaw House as well as shoot a few other unique “floating" houses from the dreamlike location of the Baldwin-Sessions house.

Tim and I have taught many workshops, but this was definitely one to remember—from being transported to and from the islands by boat at night, to just the amazing camaraderie that we had with all the students and people who helped make this adventure happen. We want to give a big thank you to Biscayne National Park, Biscayne National Park Institute, Stiltsville Trust and Bill Baggs Cape Florida State Park for helping us put together this amazing experience.

Iceland South Coast

March 12-20
By Lance Keimig

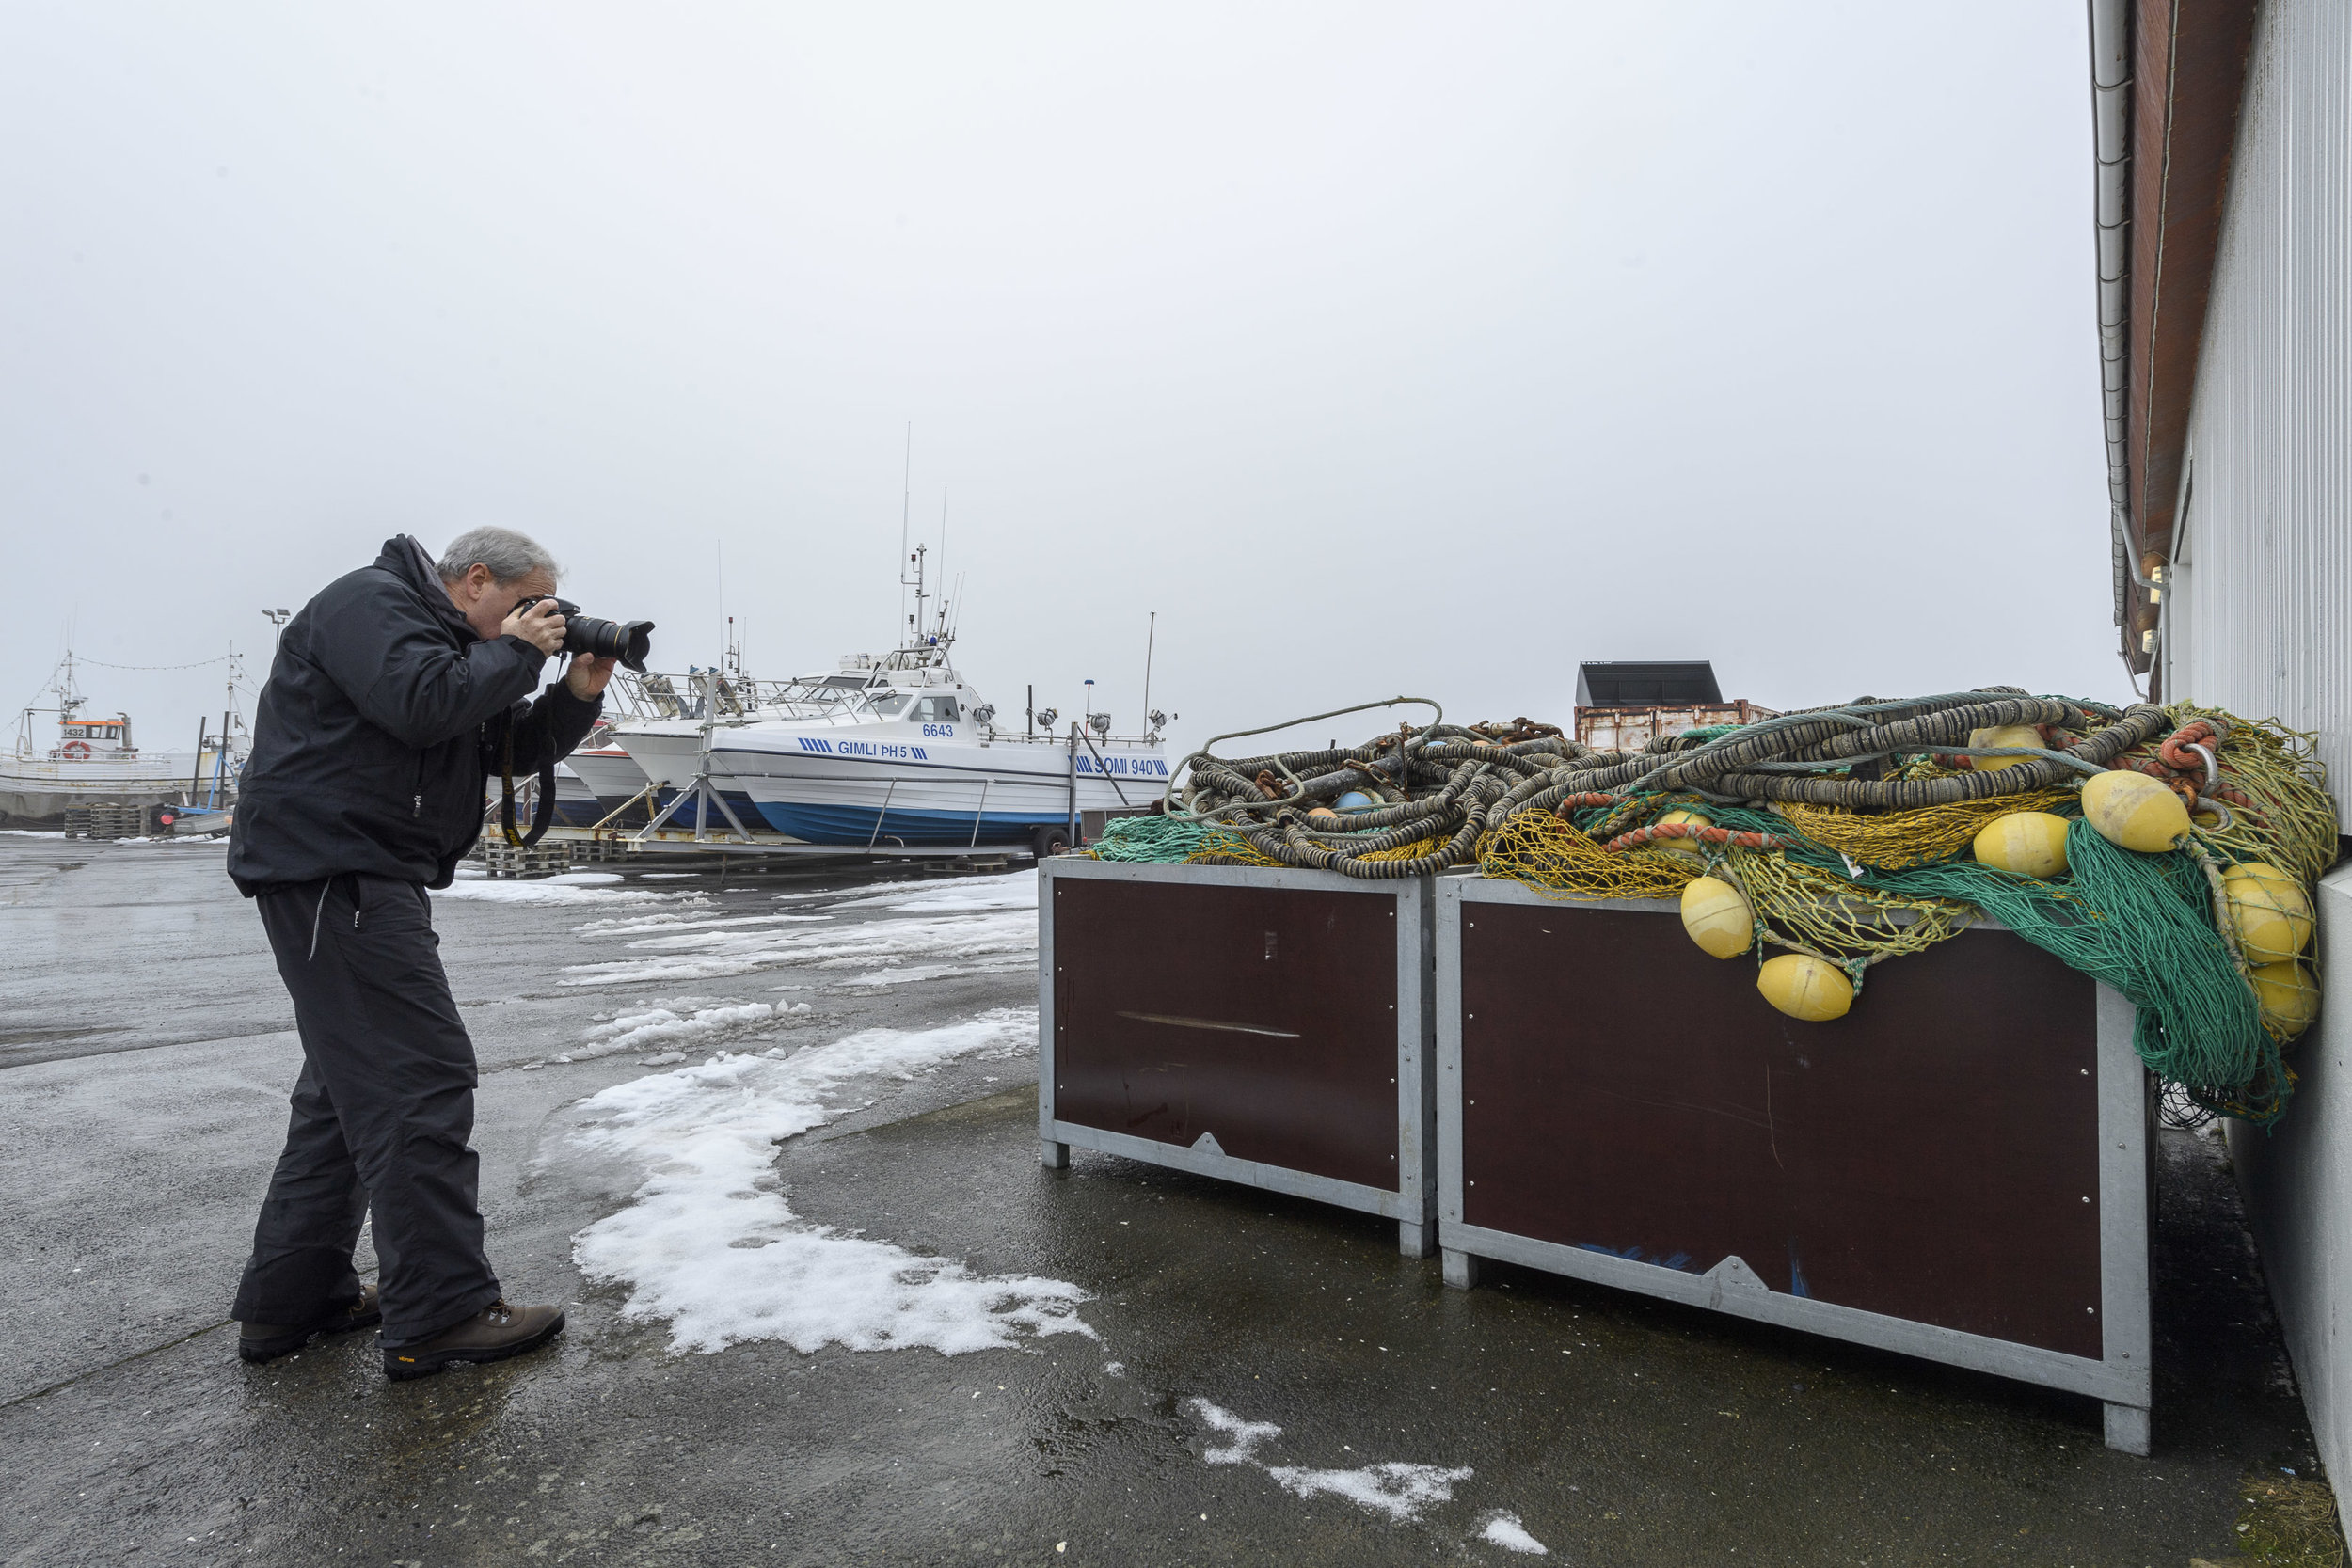
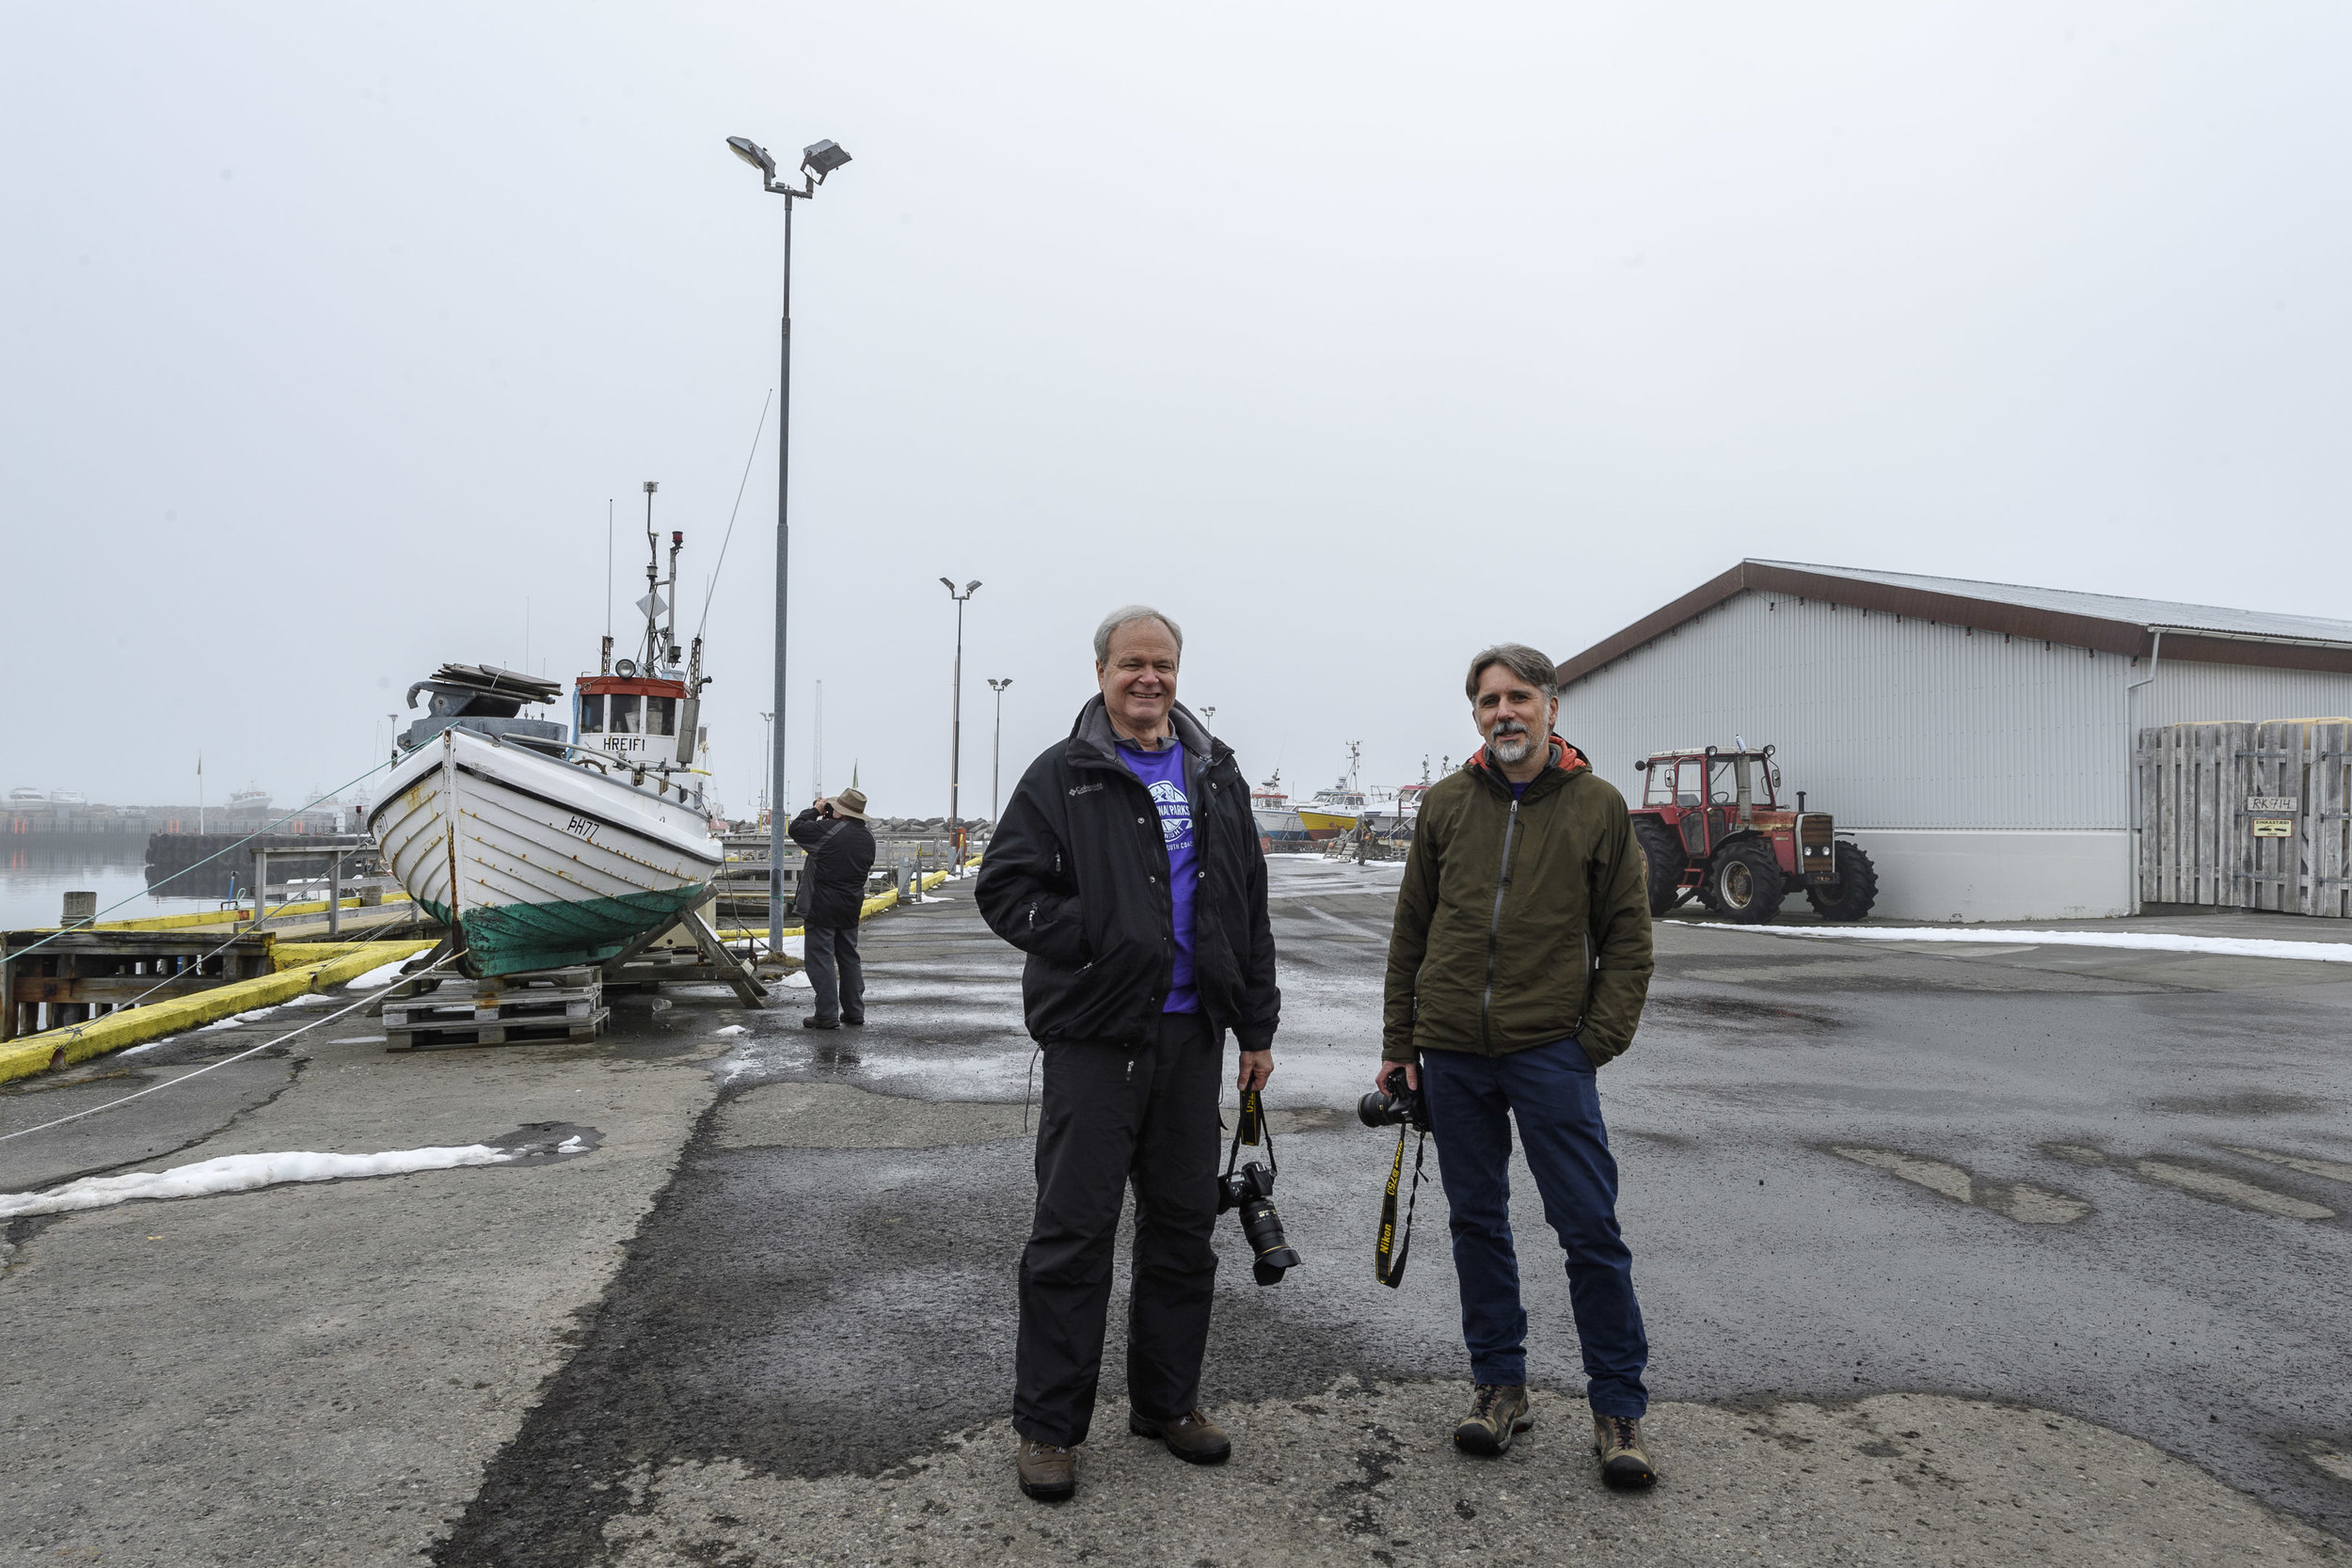
Our first international tour of 2018 was remarkable for two things: some really bad weather, and a truly extraordinary group of travelers.

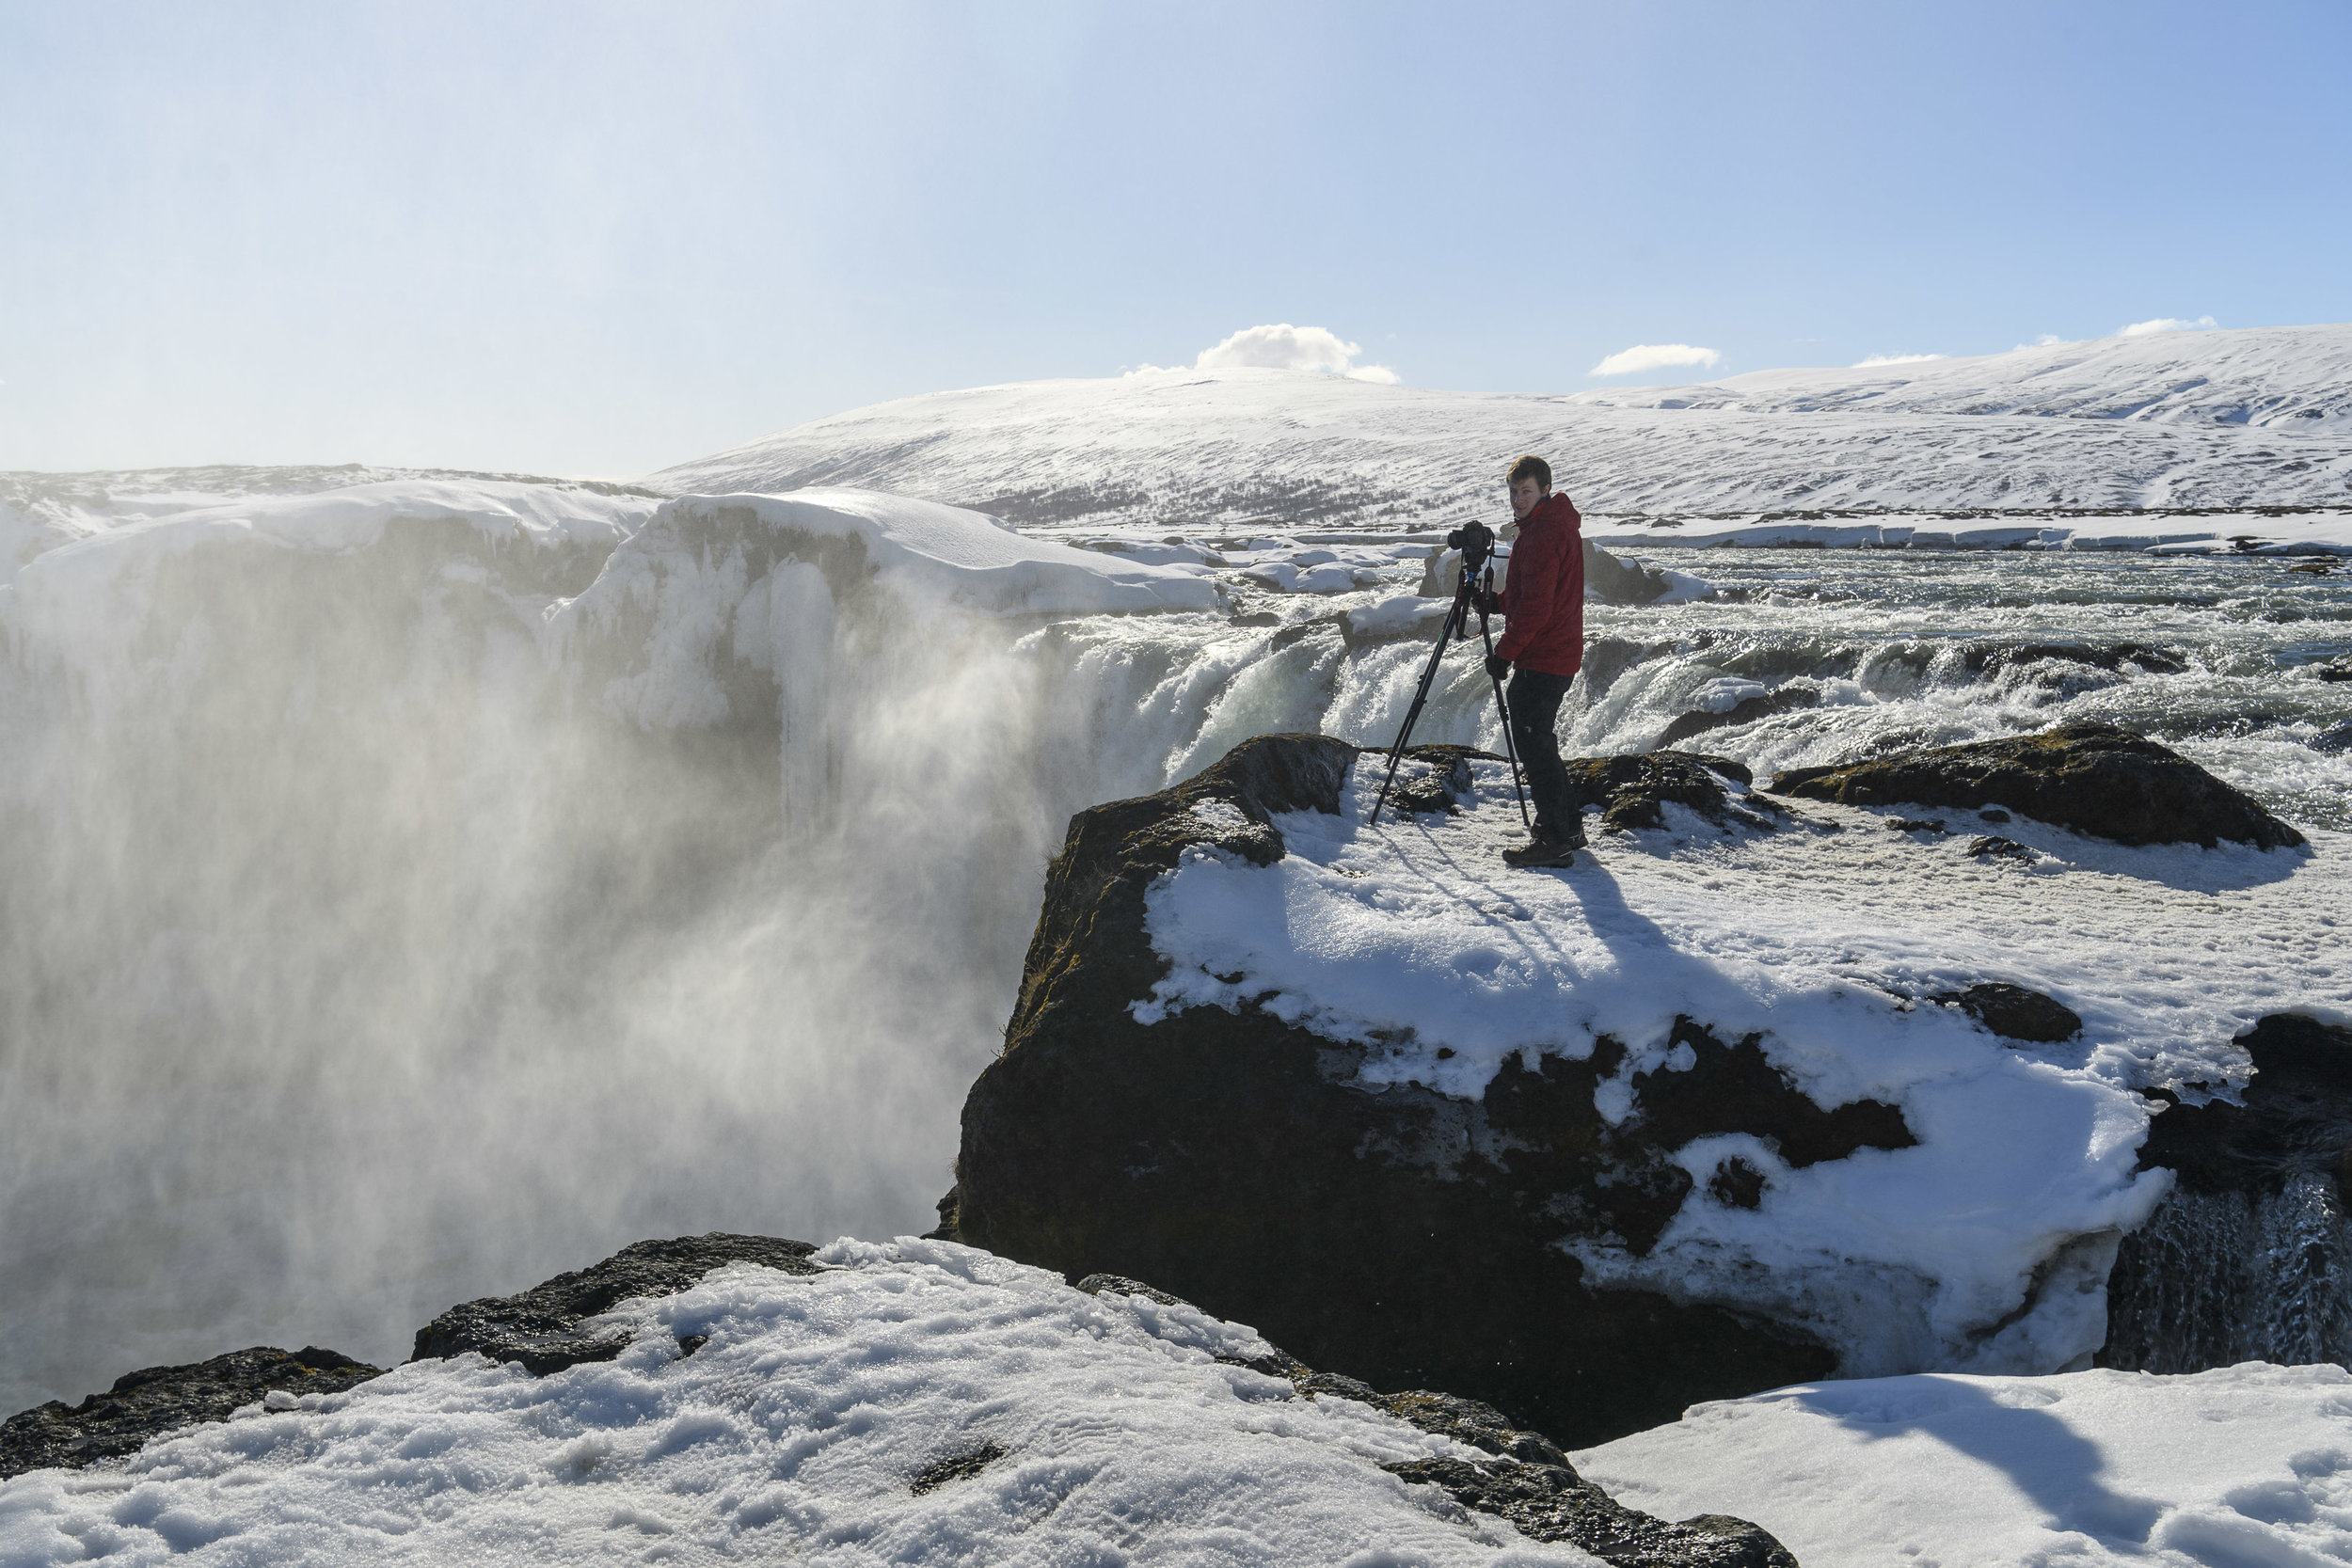
After an outstanding exploration of the remote Westfjords of Iceland in the late summer of 2017, we scheduled our second Iceland adventure to the more frequently visited south coast. This is where most visitors to Iceland end up, and for good reason. Some of the most spectacular waterfalls, along with the famous glacial lagoons and the ice beach can be found there.

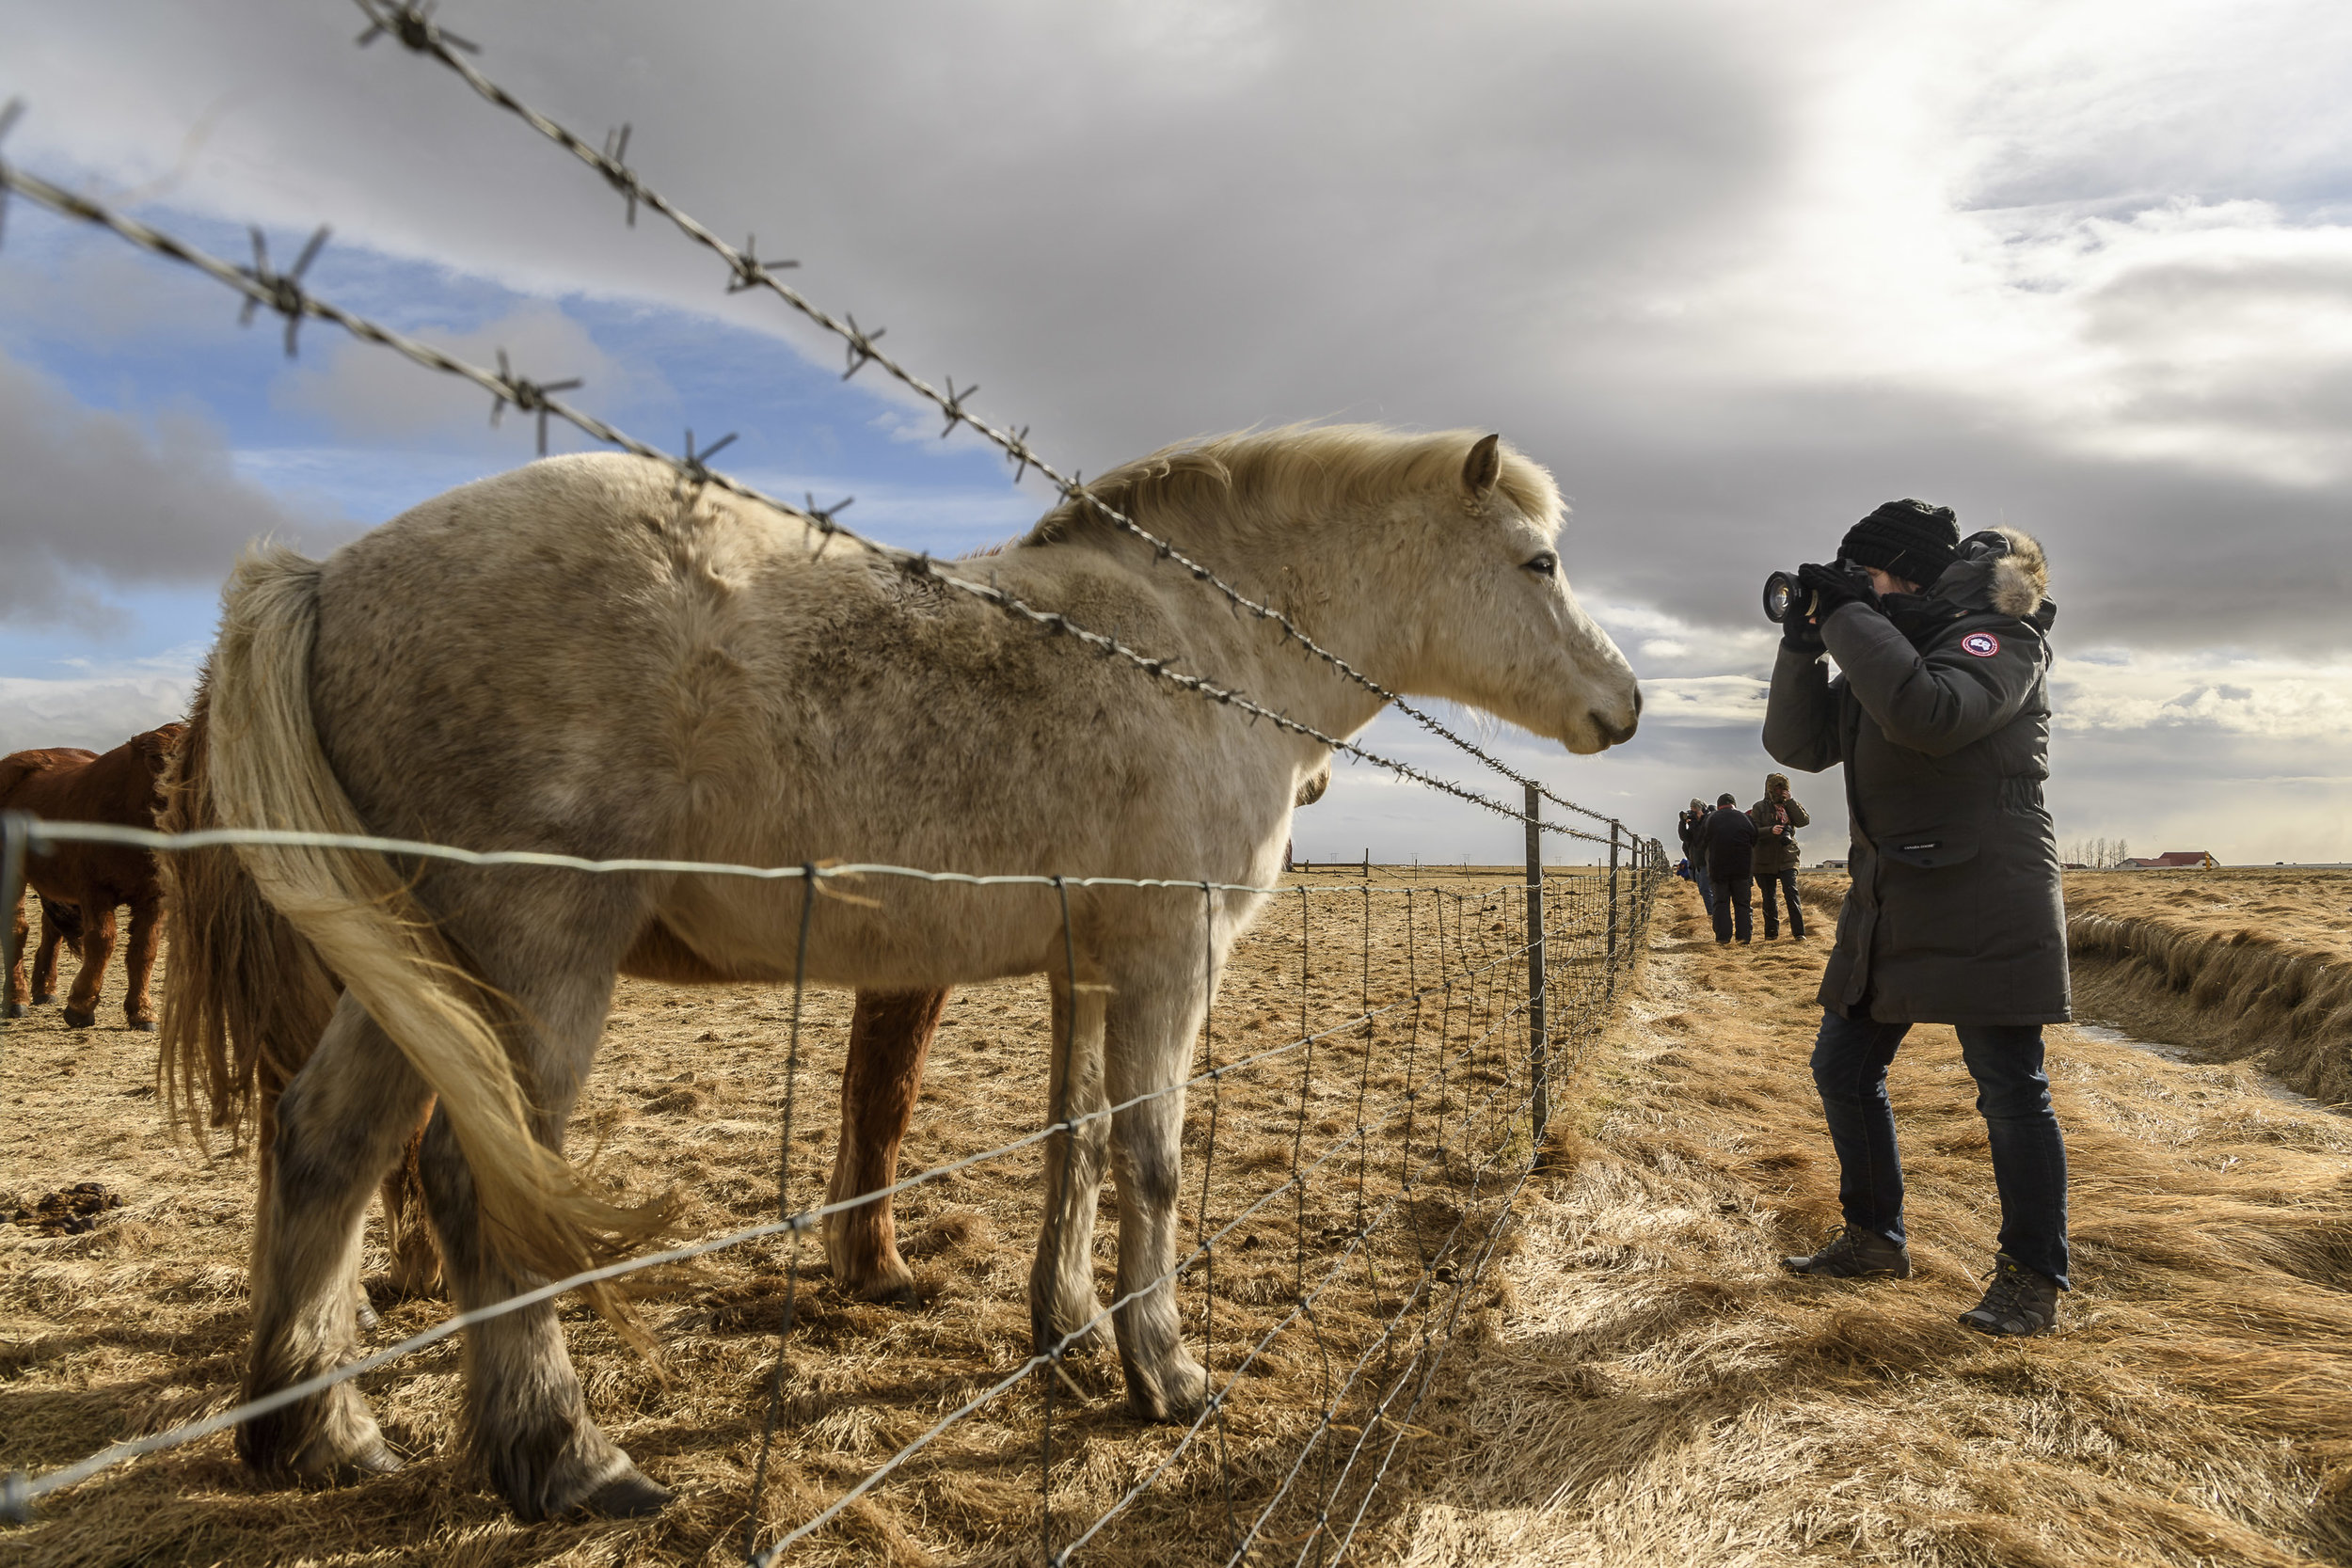
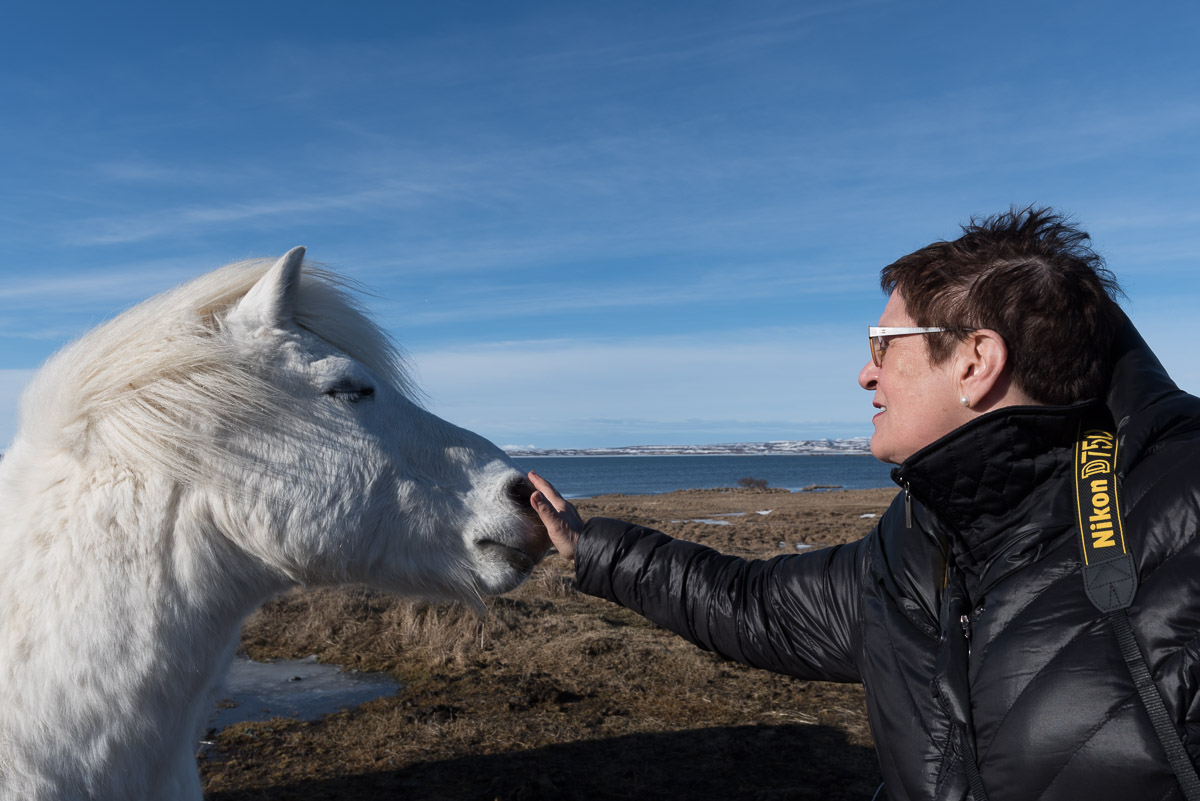
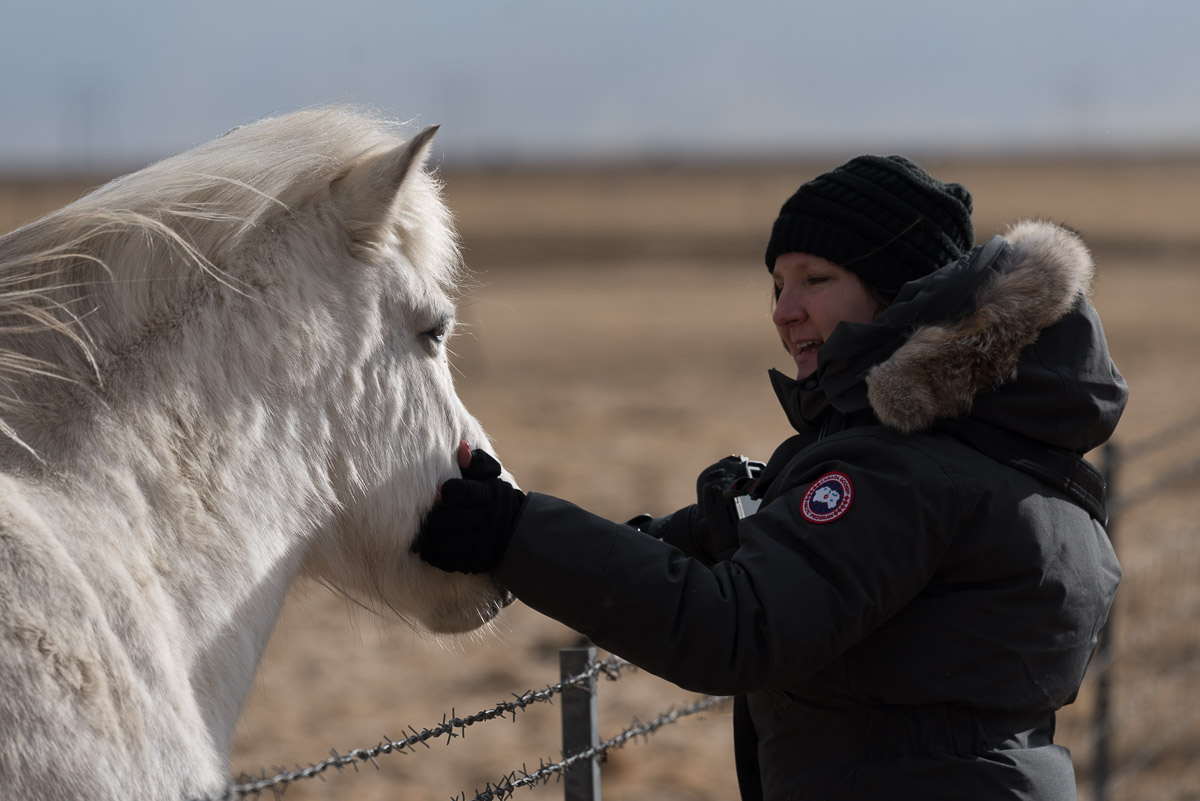
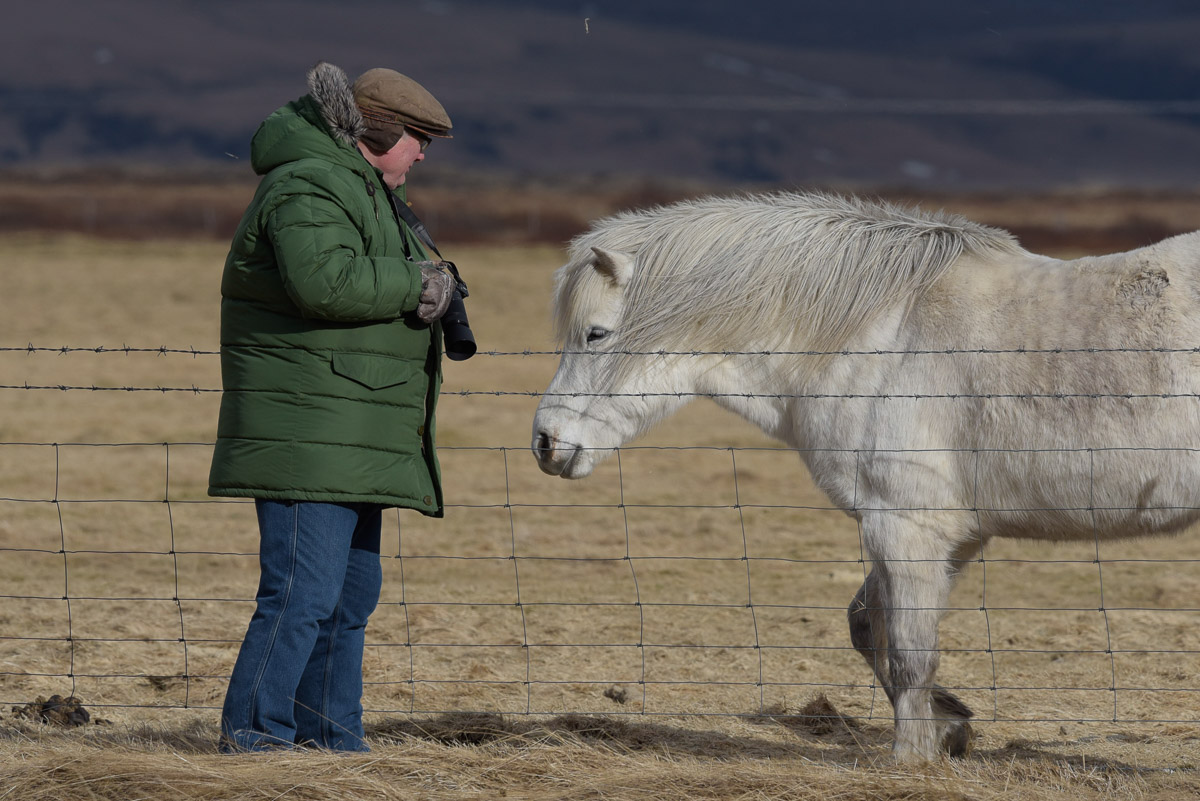
We arrived and spent our first day and night in Reykjavik, and had an amazing meal at the Fish Market with many courses of truly delicious and innovatively prepared seafood dishes. The next day we headed south under sunny skies and spent some time with a friendly herd of Icelandic horses before making our way to Vik.

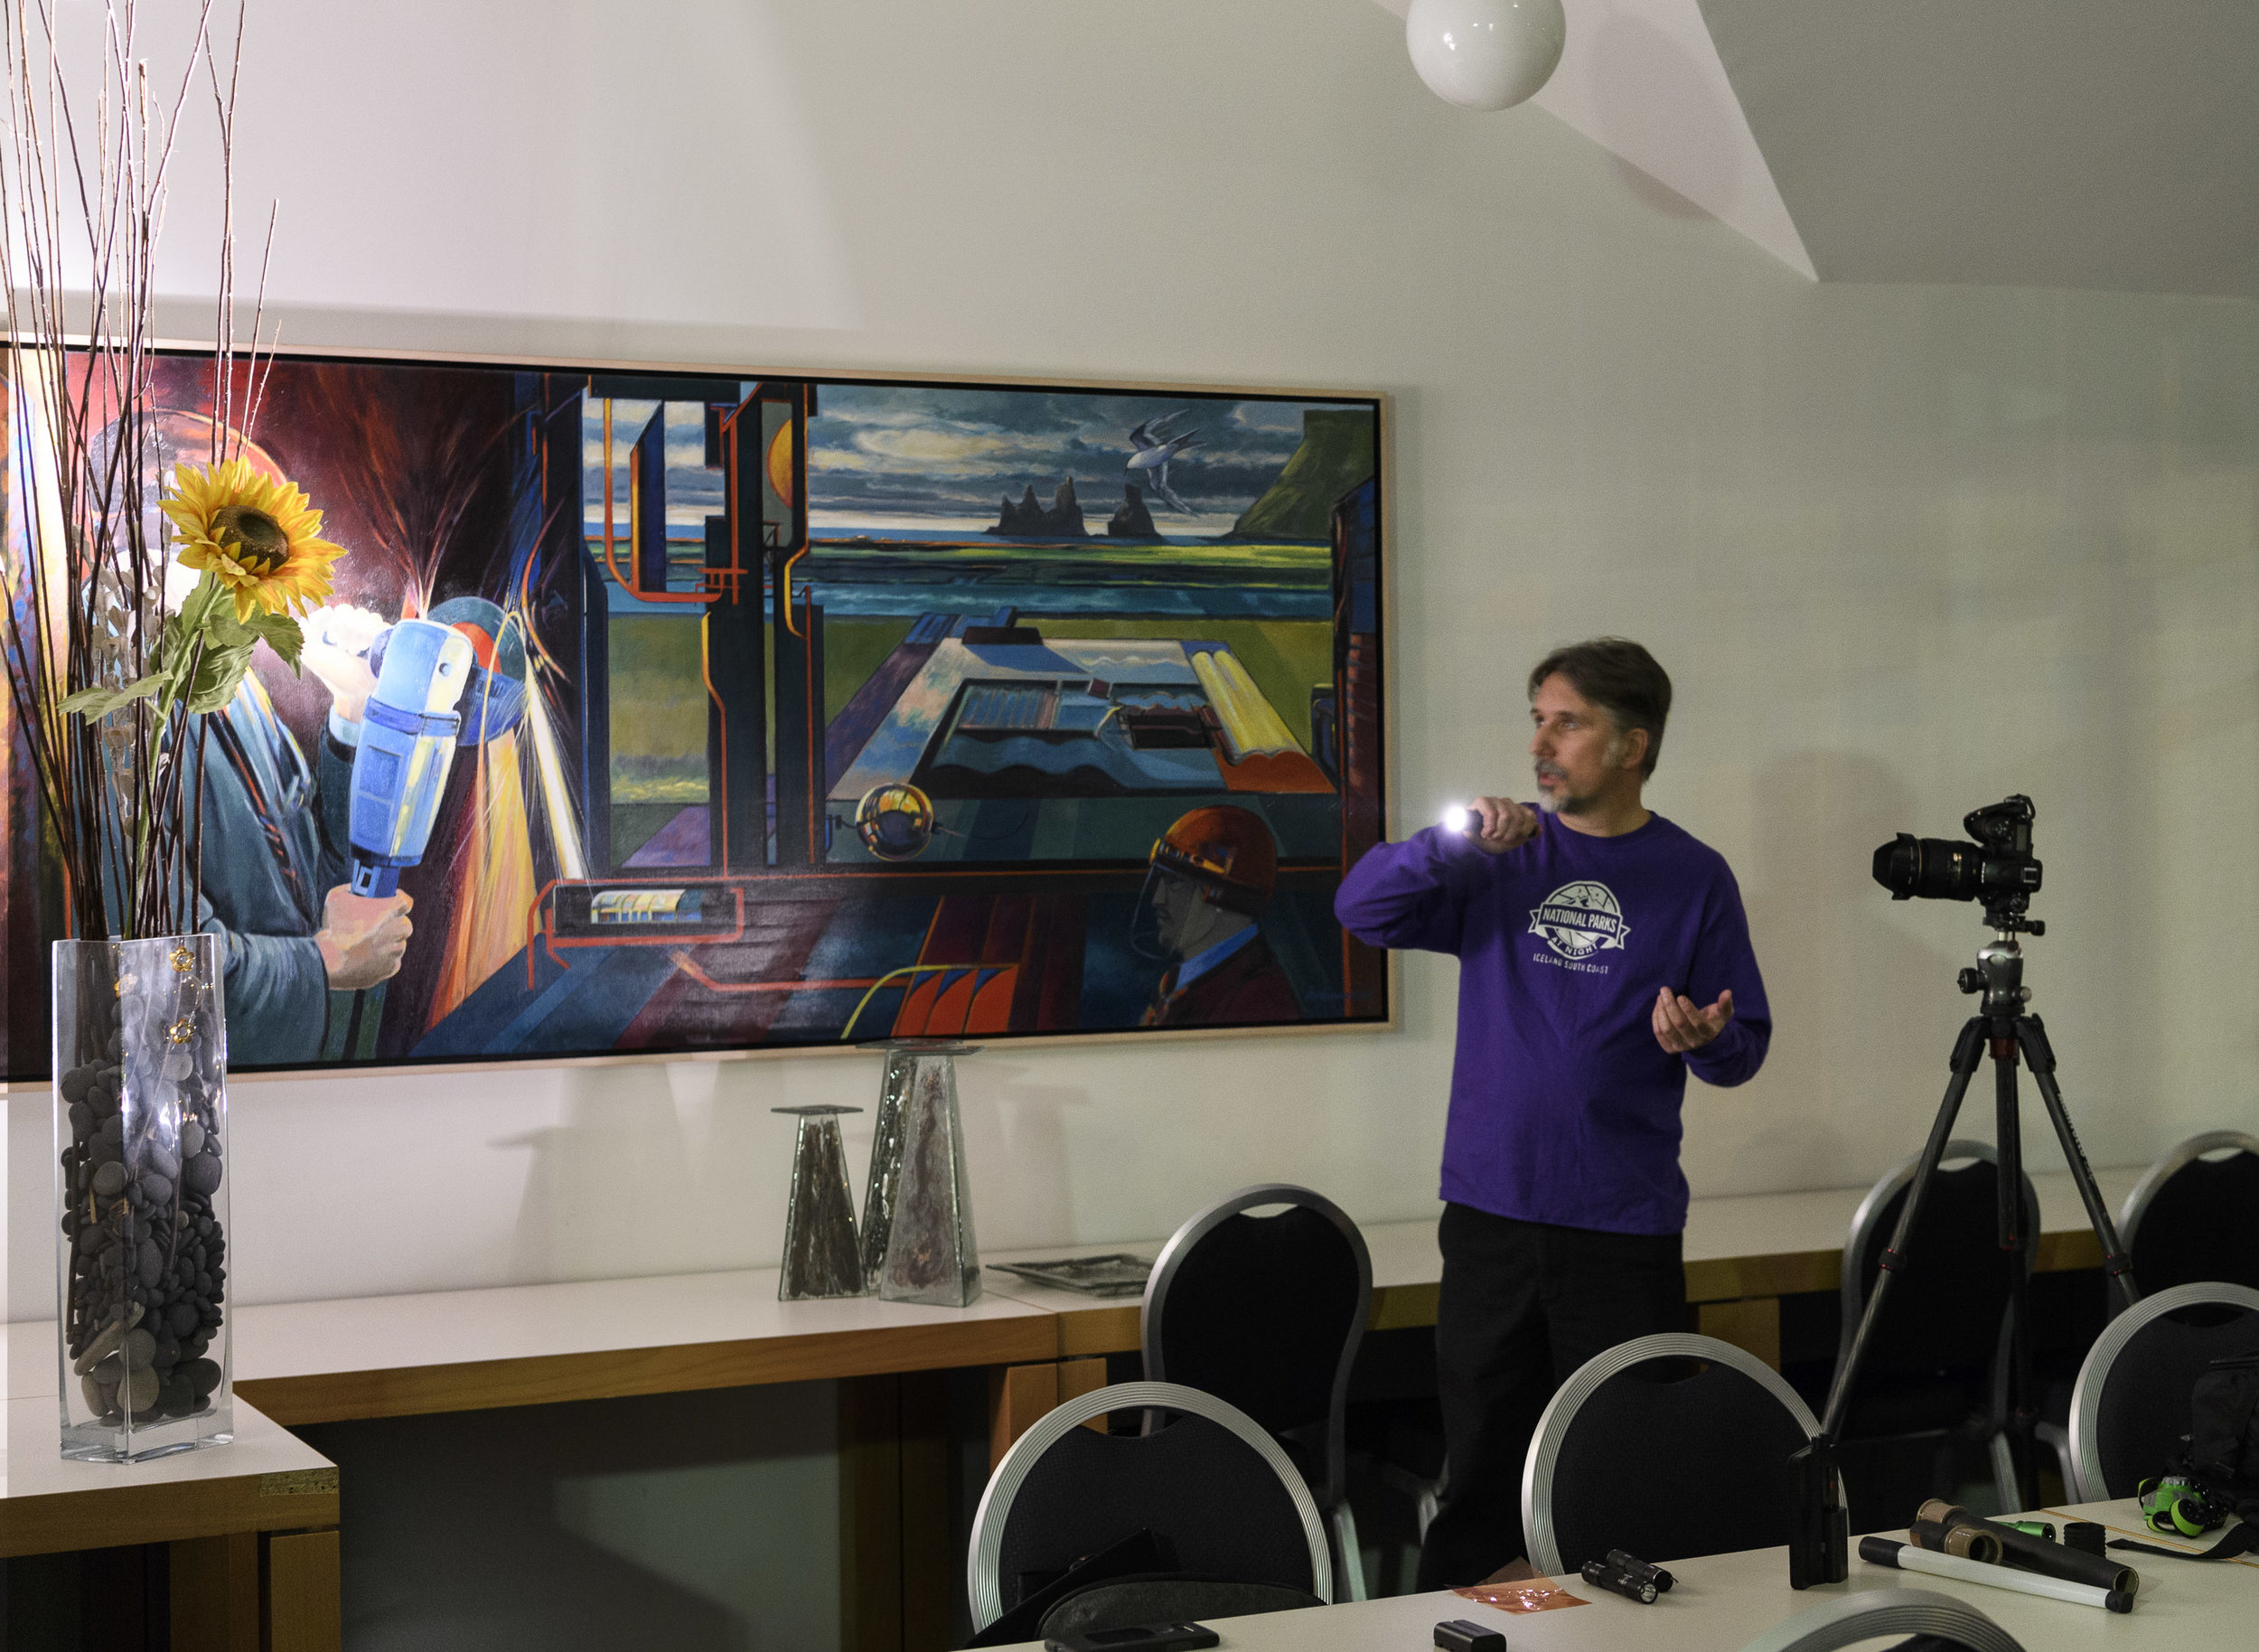
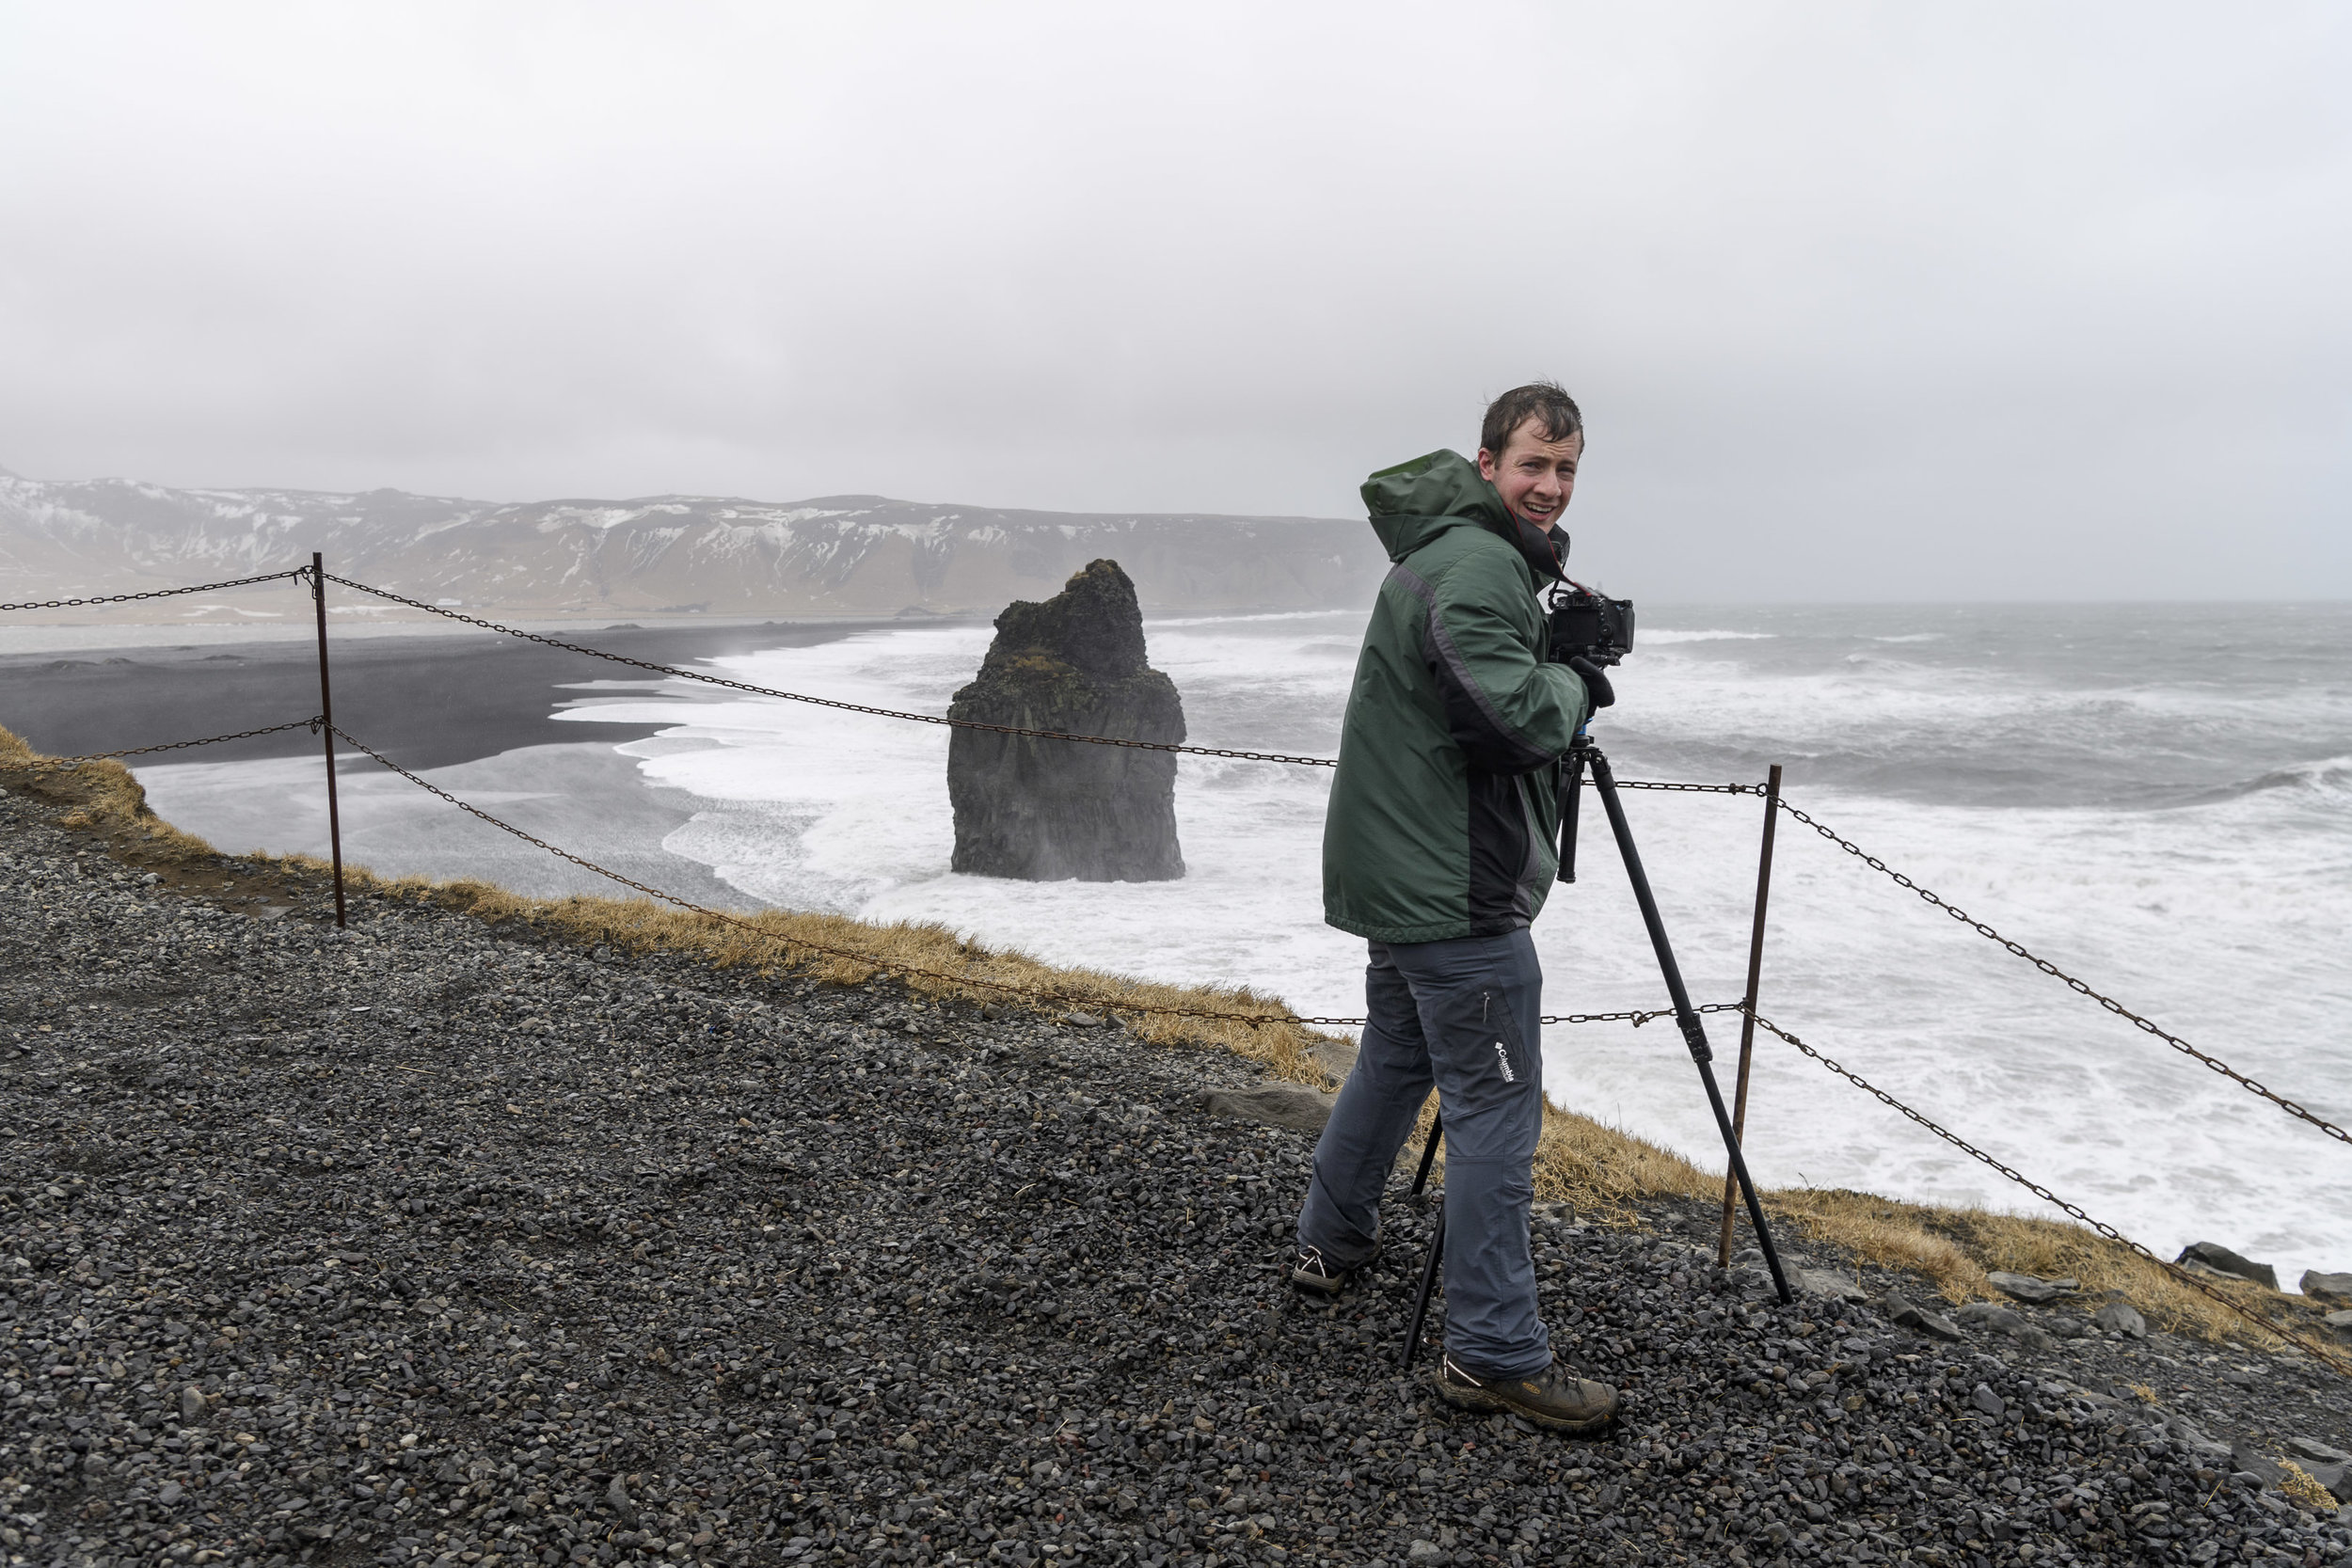
Alas, then the weather took a turn for the worse, with rain and ferocious winds. Our intrepid group made the best of it and we photographed when and where we could, and we even had an impromptu light painting lesson in the hotel meeting room when it was too wet to go out and photograph.

The nasty weather continued the next day, and the forecast was only getting worse––100 percent chance of nothing but cold, wind and rain for the entire remainder of our trip. Iceland can be like that sometimes, and you do what you can to make the best of it.

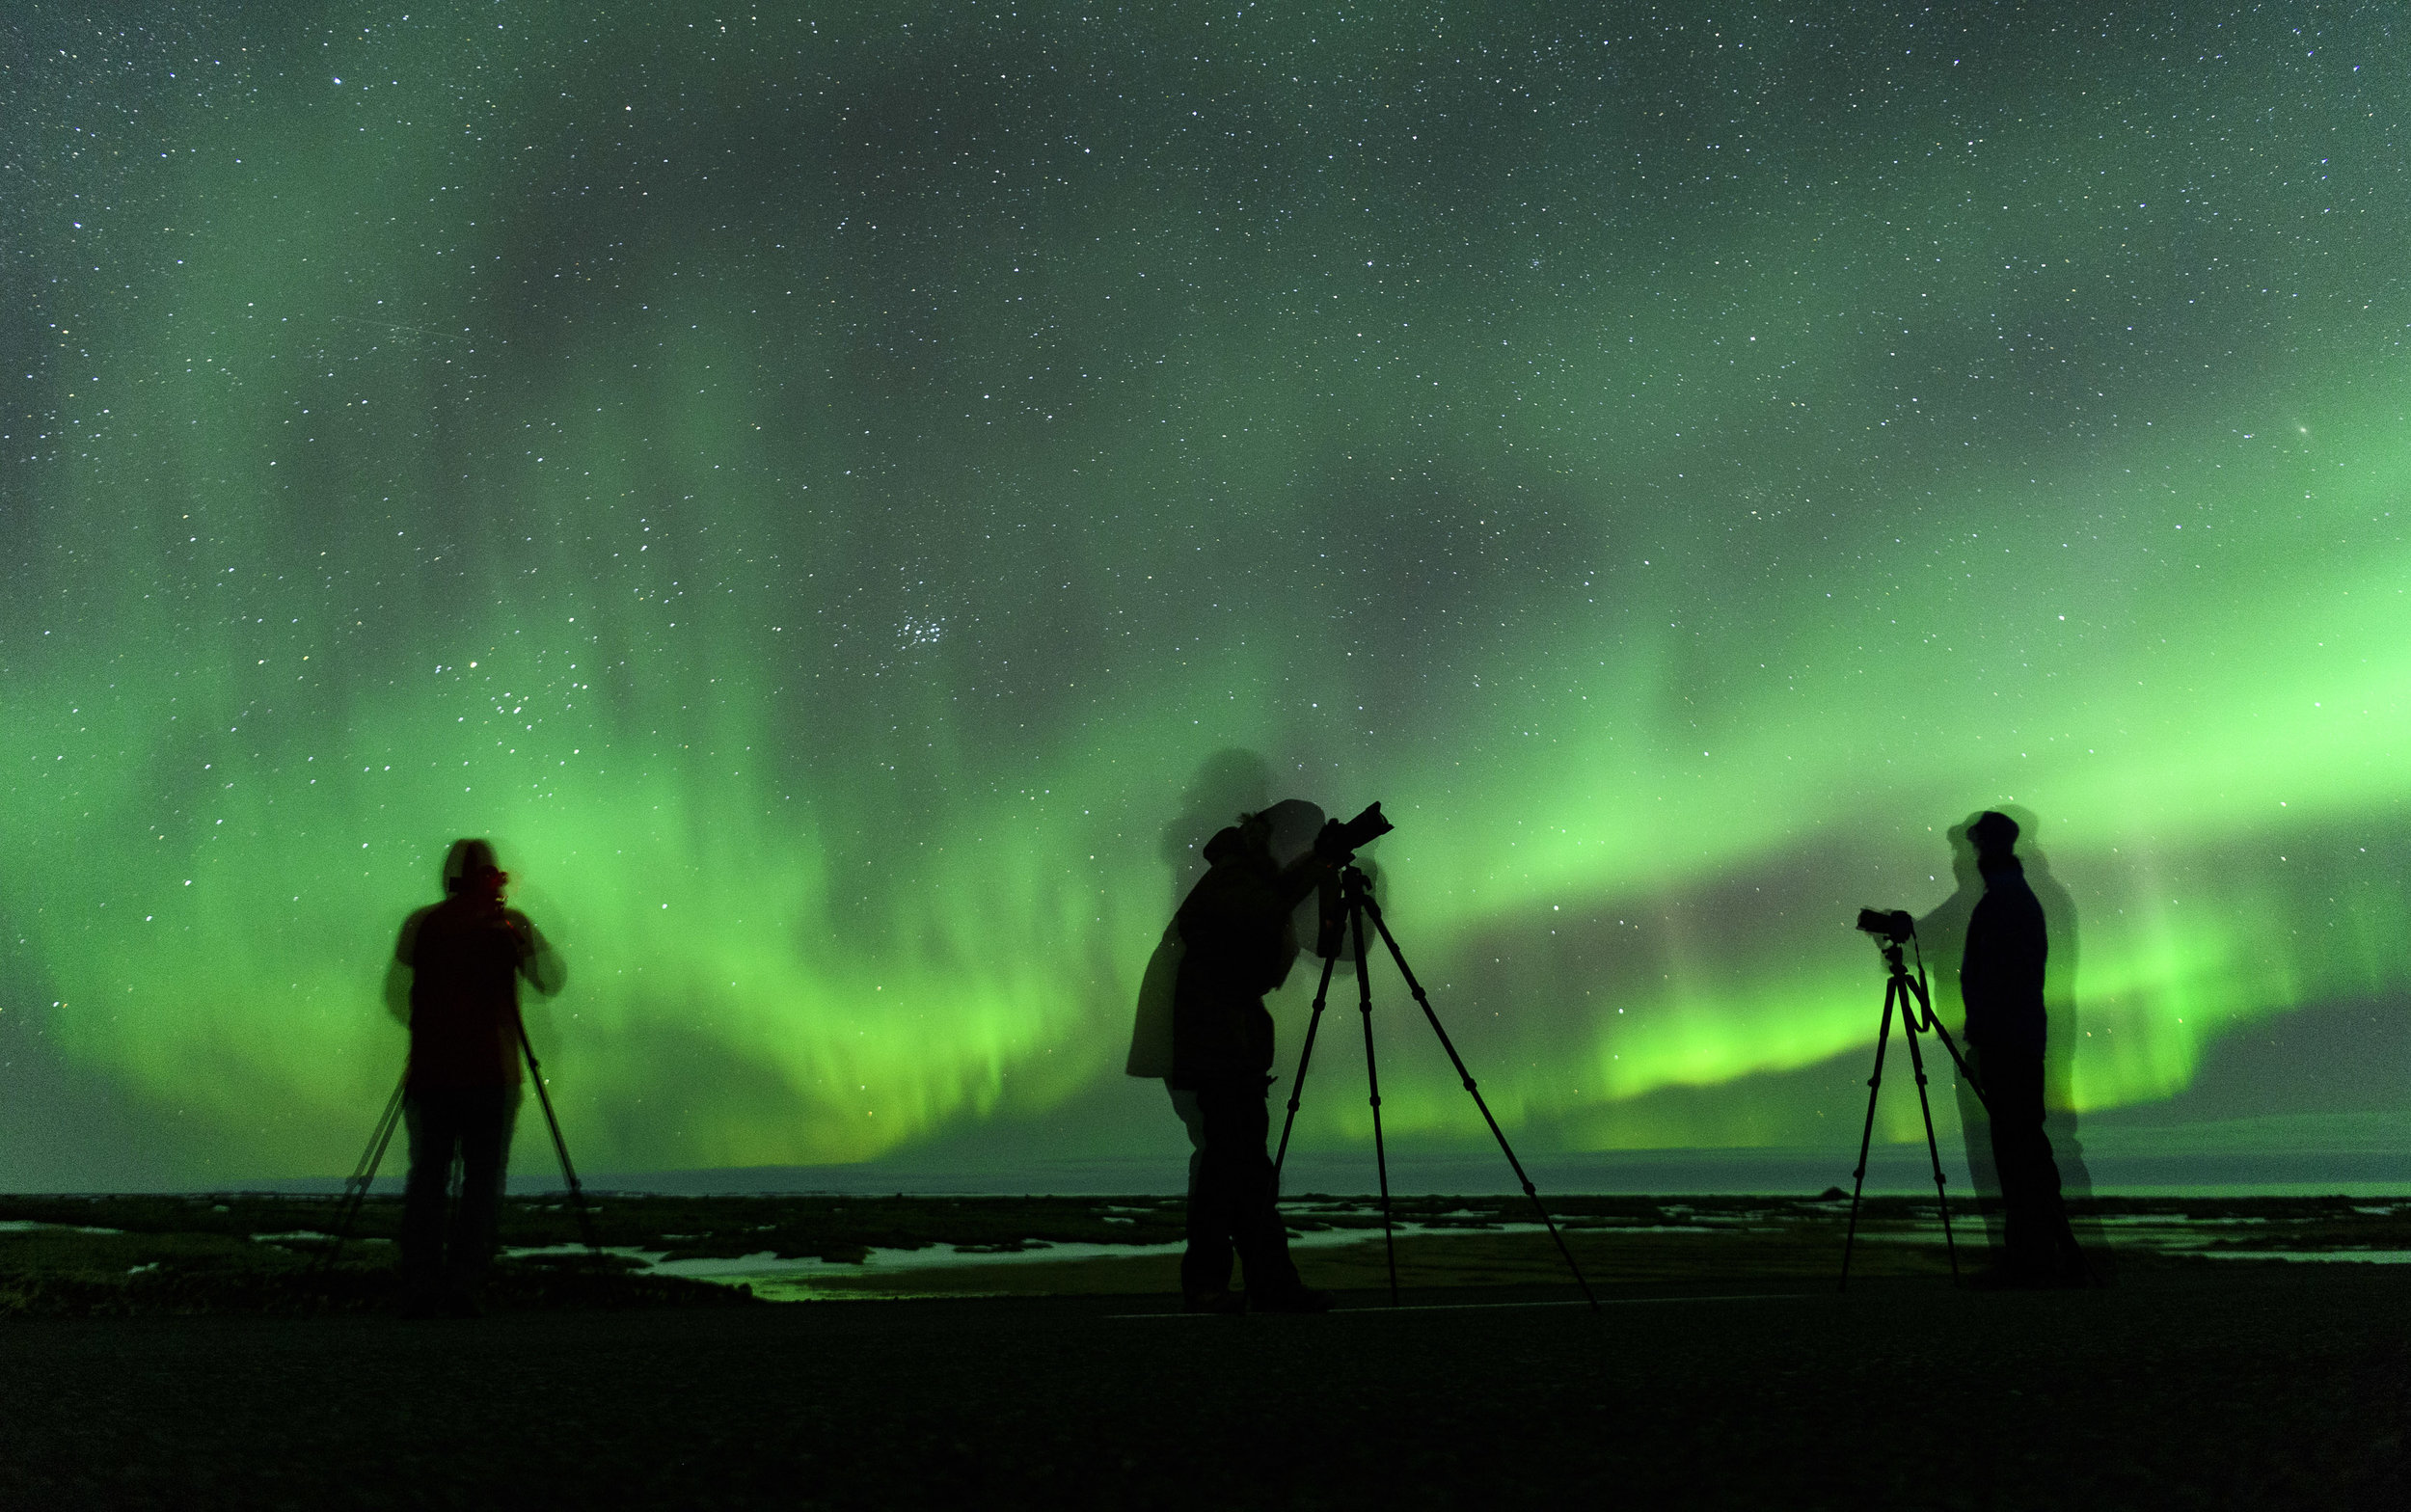
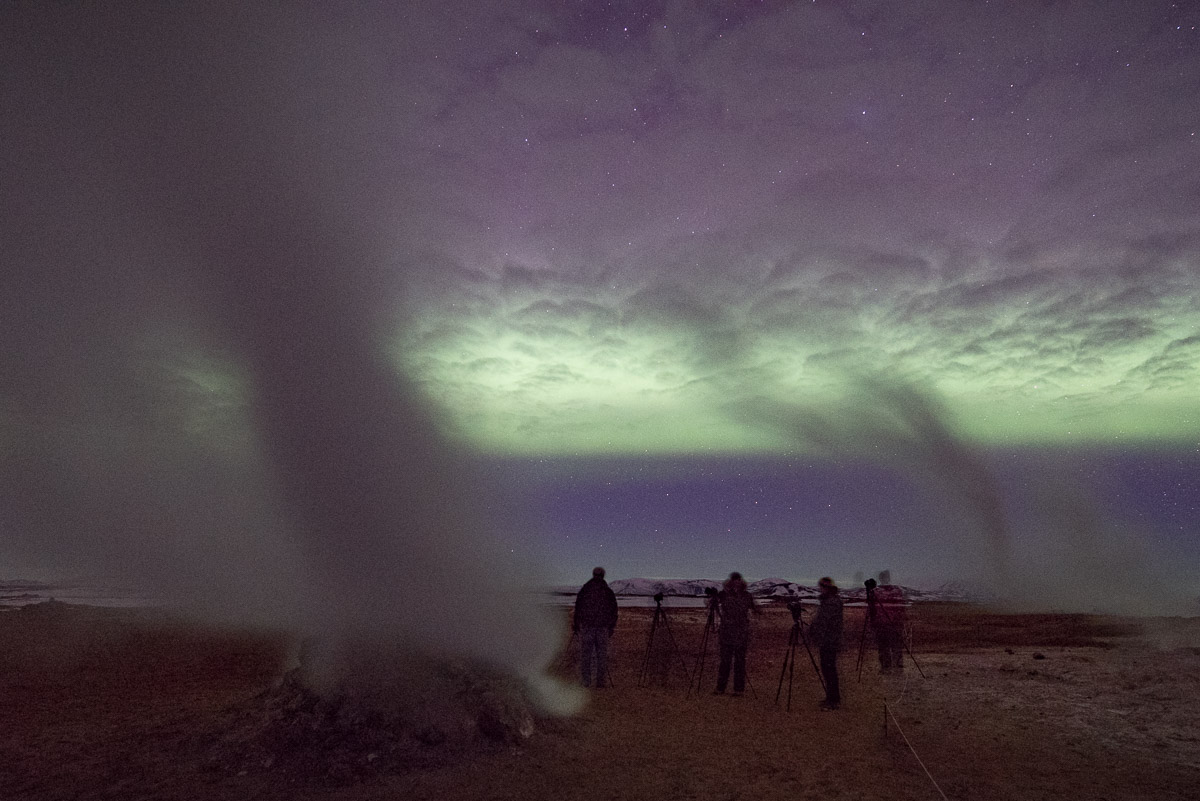
I’d never seen it quite that bad before, but we had a hardy group of outside-the-box thinkers who found a solution and presented it to Chris and I. The next thing we knew, we had changed our entire itinerary and were headed to the north coast, where the forecast was not only for clear skies, but also for lots of aurora borealis. Yup, we did it! The entire group agreed, and we changed our plans and our fortunes, and we found some great new locations and made a lot of great photographs.

I won’t ever forget how this group collectively transformed a gloomy experience into a very memorable trip. Don’t be surprised if you see a National Parks at Night trip to North Iceland show up on our website in the next few years. Maybe the weather on that one will lead us back to the south, and we can finish what we started.

Joshua Tree at Night

April 15-20
By Lance Keimig

Our friends at the Rocky Mountain School of Photography invited us to lead another workshop for them in 2018, and Gabe and I did that at Joshua Tree National Park in mid-April.

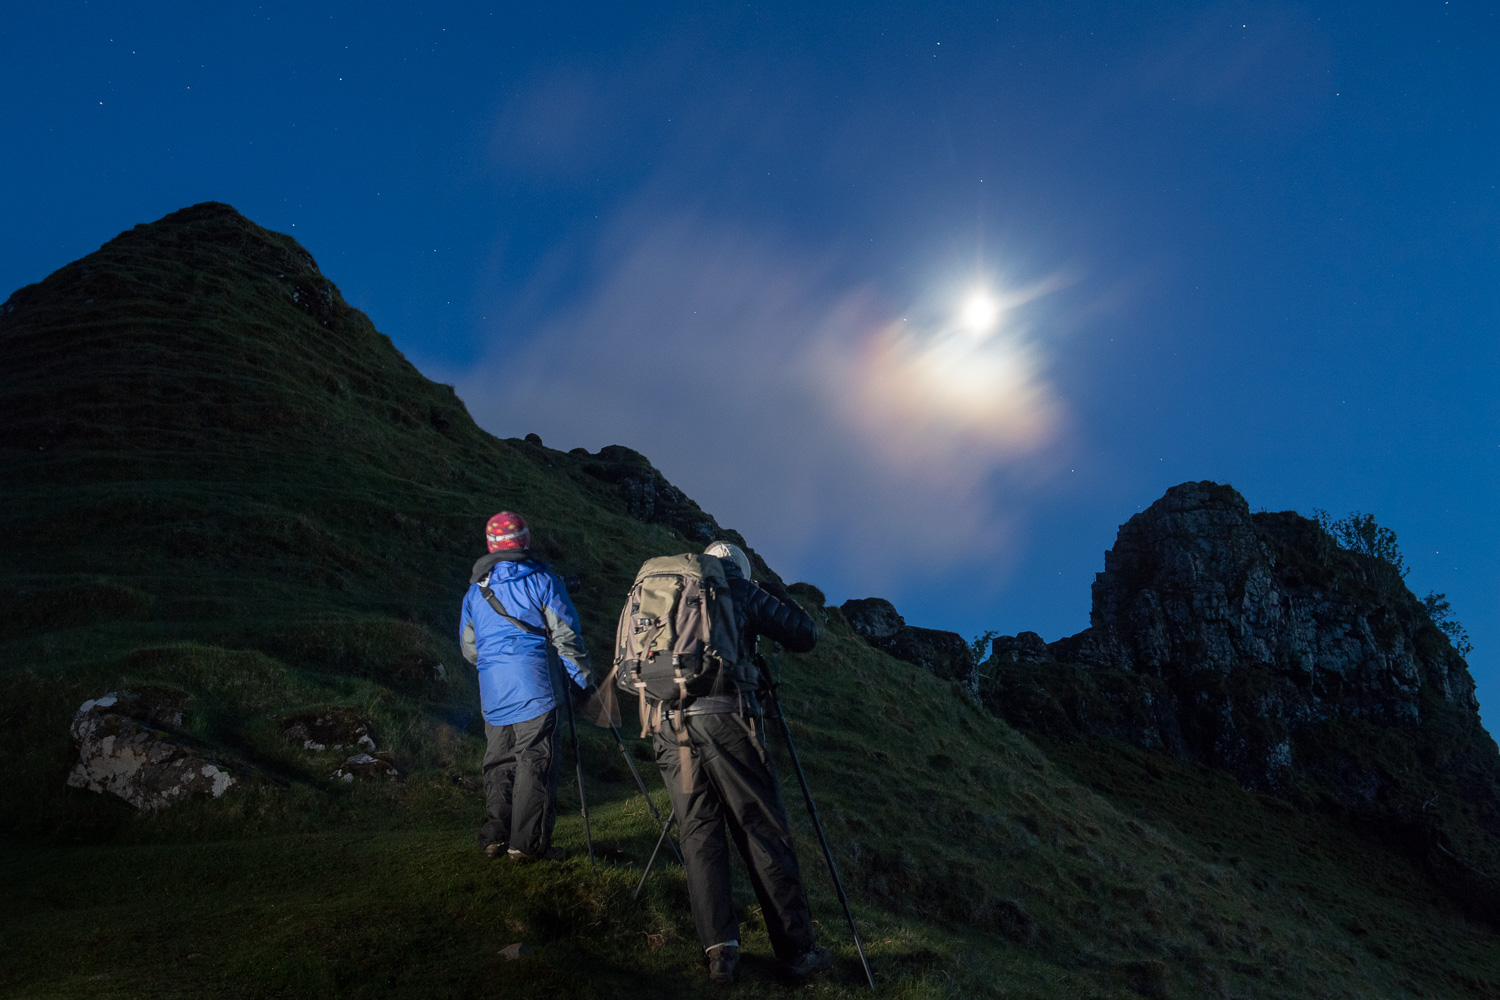
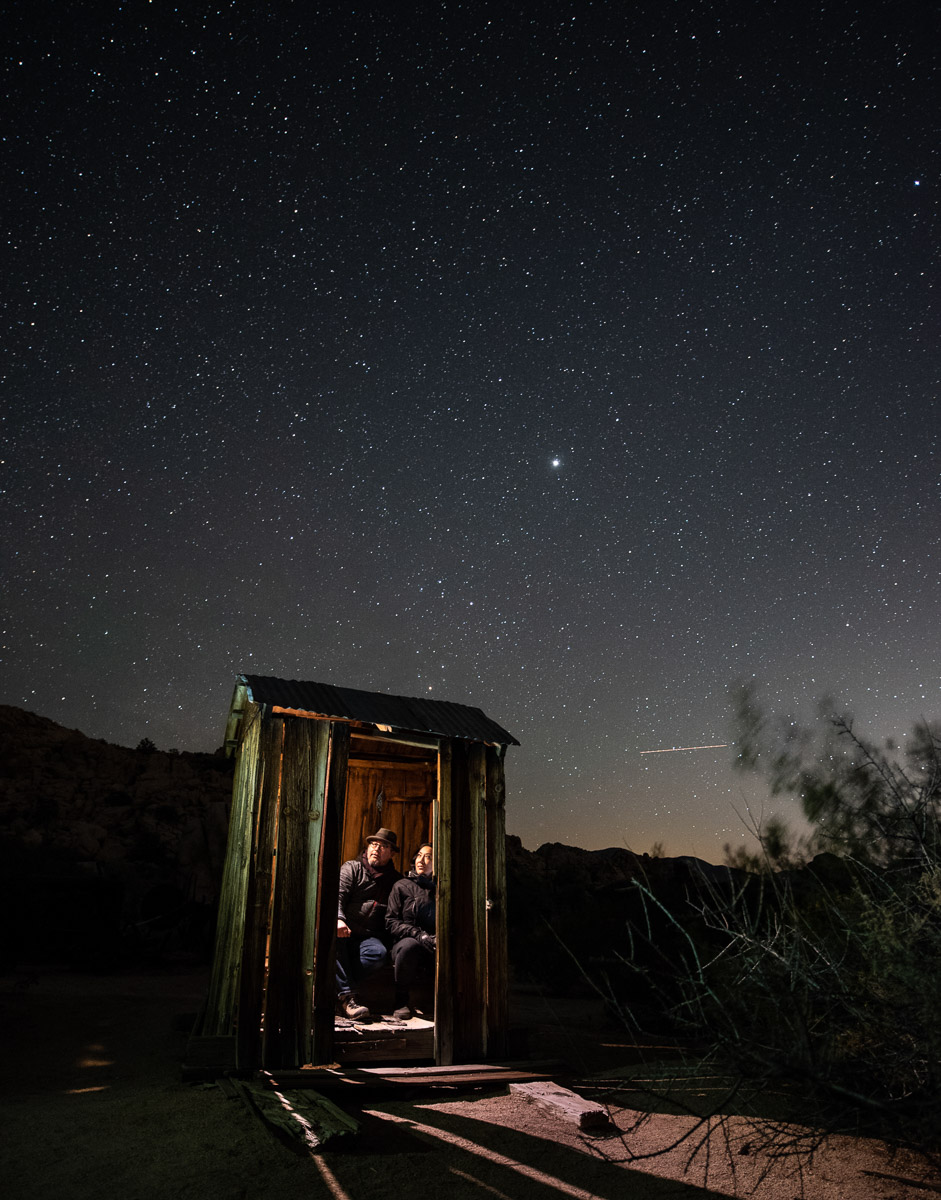
This was our first chance at the Milky Way for the year, and we planned the workshop to begin at the new moon and progress to nearly the first quarter. Conditions were perfect––cool nights, clear skies and a largely novice group of night photography converts. We had a few welcome NPAN alumni from Zion, Great Sand Dunes and Cape Cod to help lead the newbies on our dessert adventure.

Arch Rock, Hidden Valley and of course Key’s Ranch were highlight locations again this year, and we were happy to be working with the Desert Institute again as our park liaison. After our RMSP workshop, we led a second, one-night outing for the Desert Institute.

In addition to some truly stellar images, one of the memorable aspects of this workshop is that our group was not hesitant to stay out late and wait for the Milky Way to rise over the horizon—which, depending on the location, was not until 1 a.m. or later. Way to go, gang!

Catskills Night Portraiture

April 27-29 (Spring Session)
By Matt Hill

Students, model, Matt and Mabel in our headquarters backyard shortly after a massive thunderstorm.

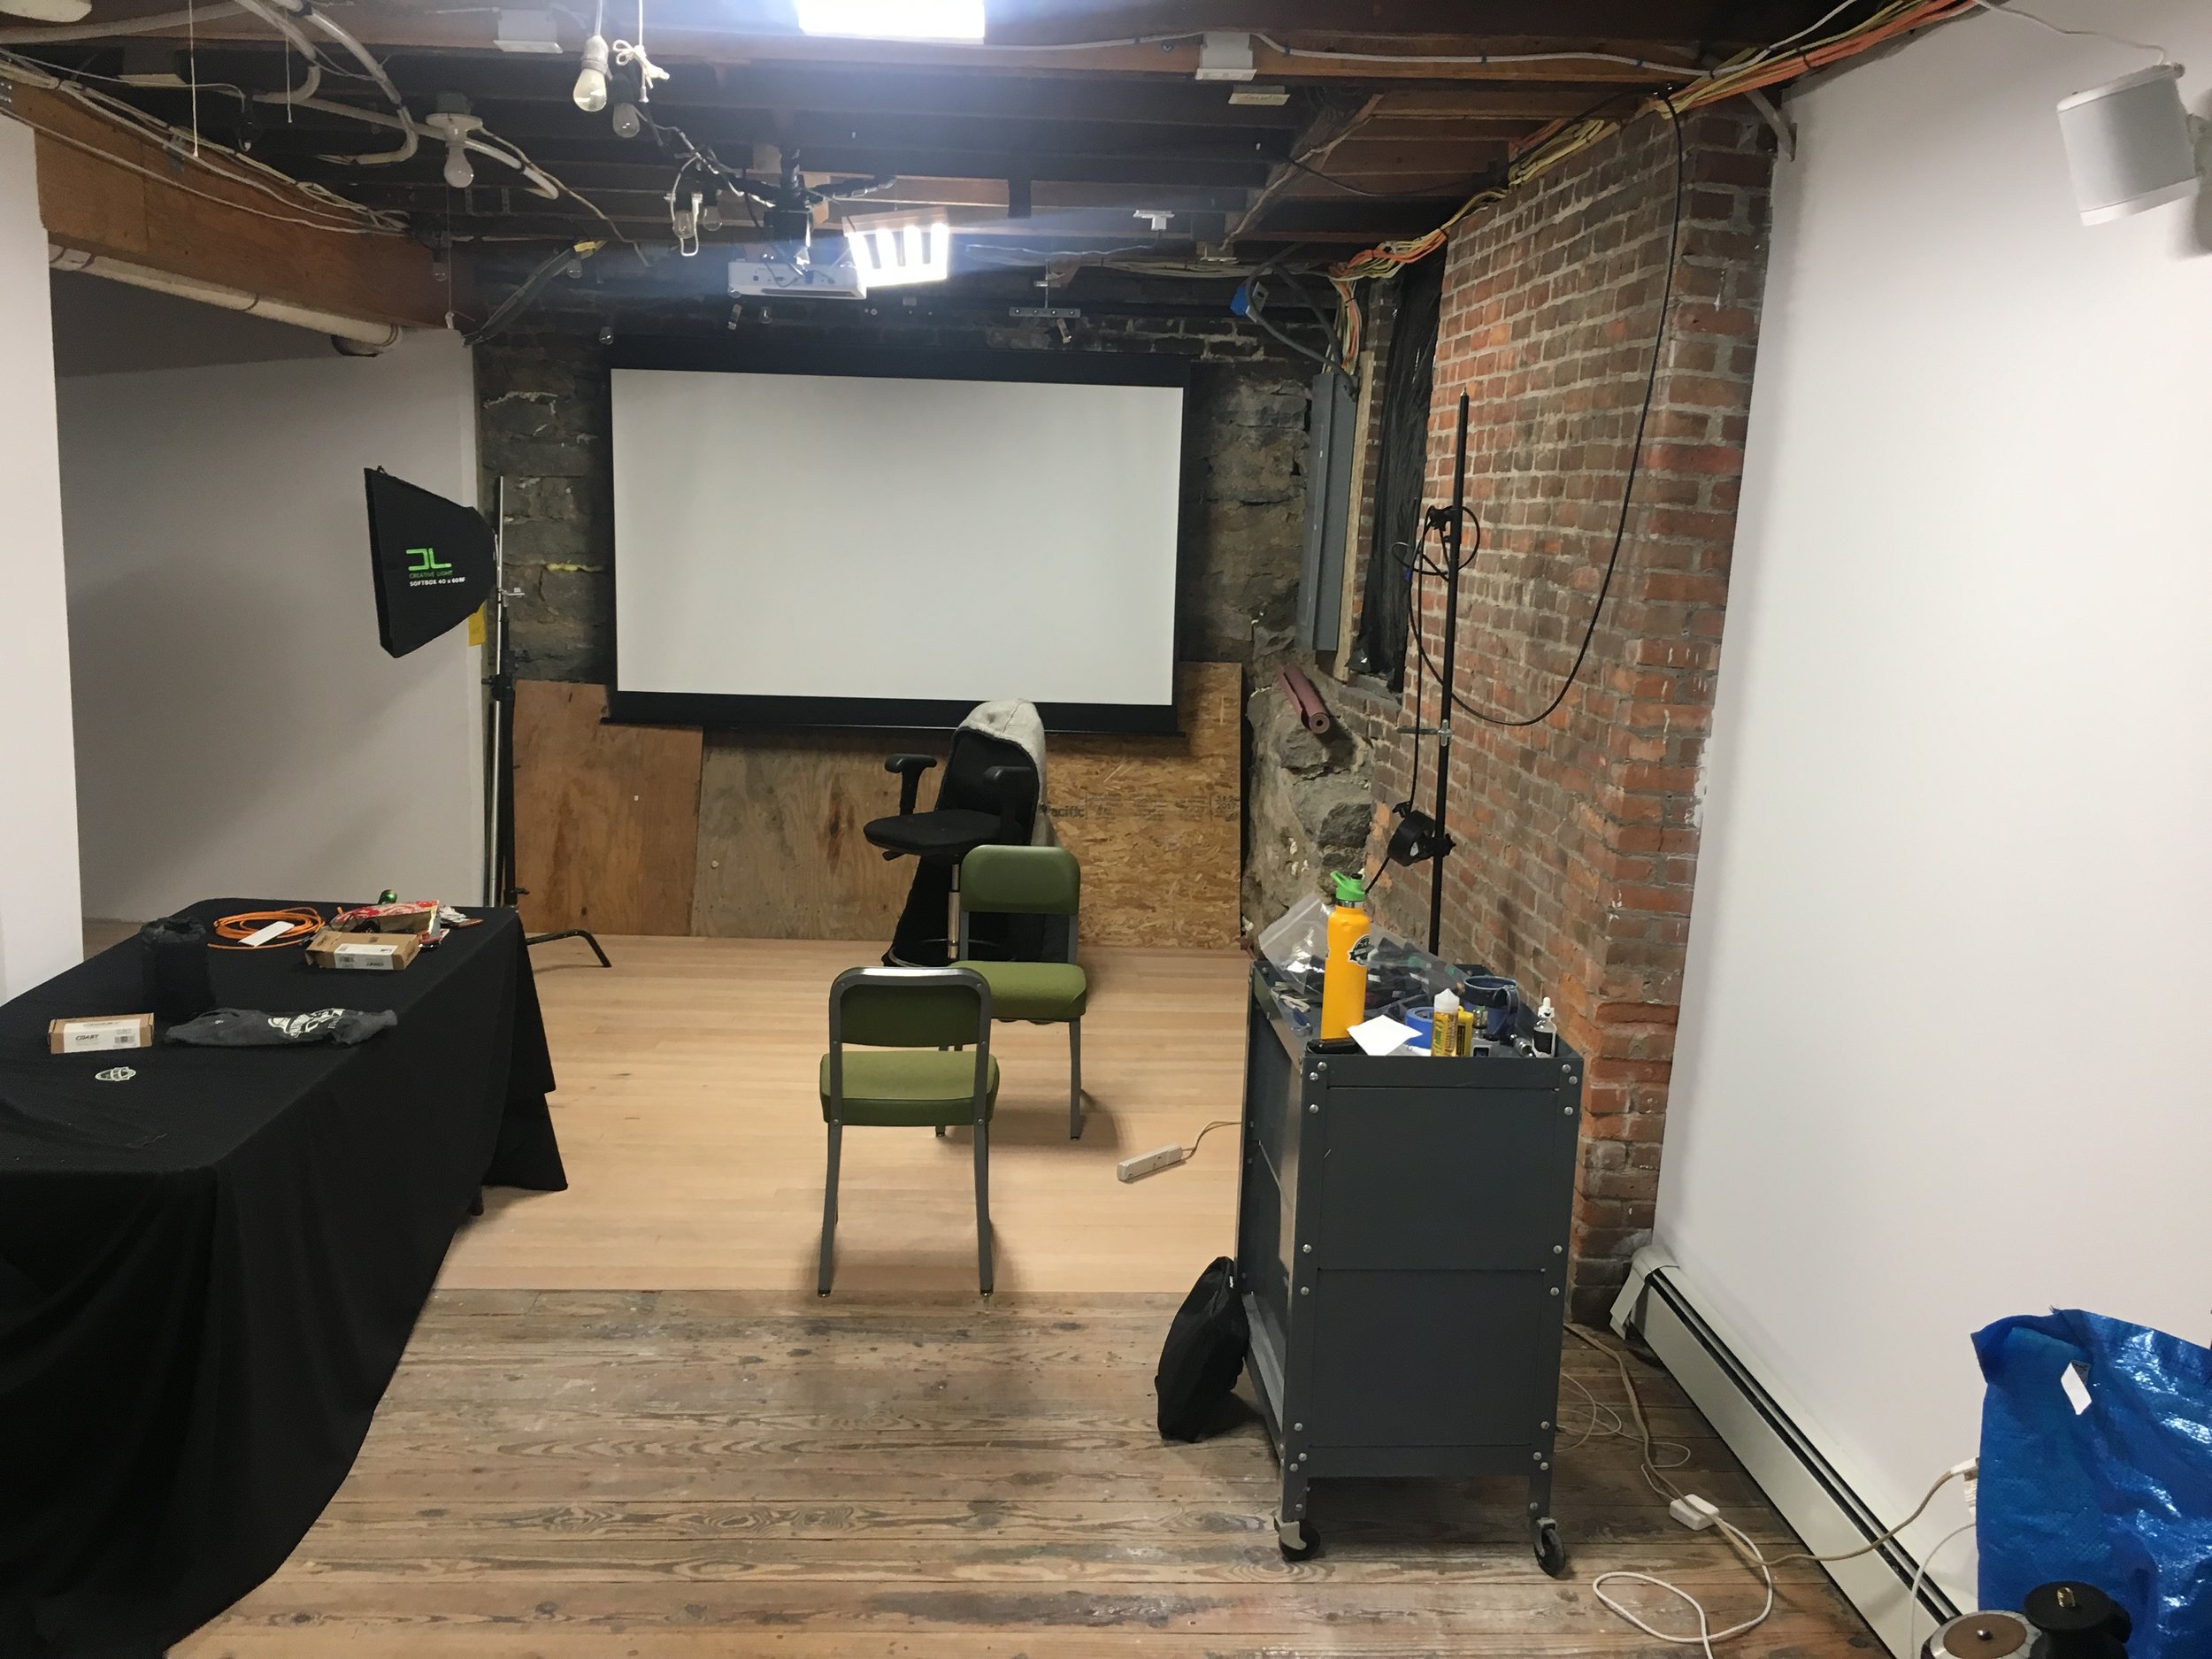
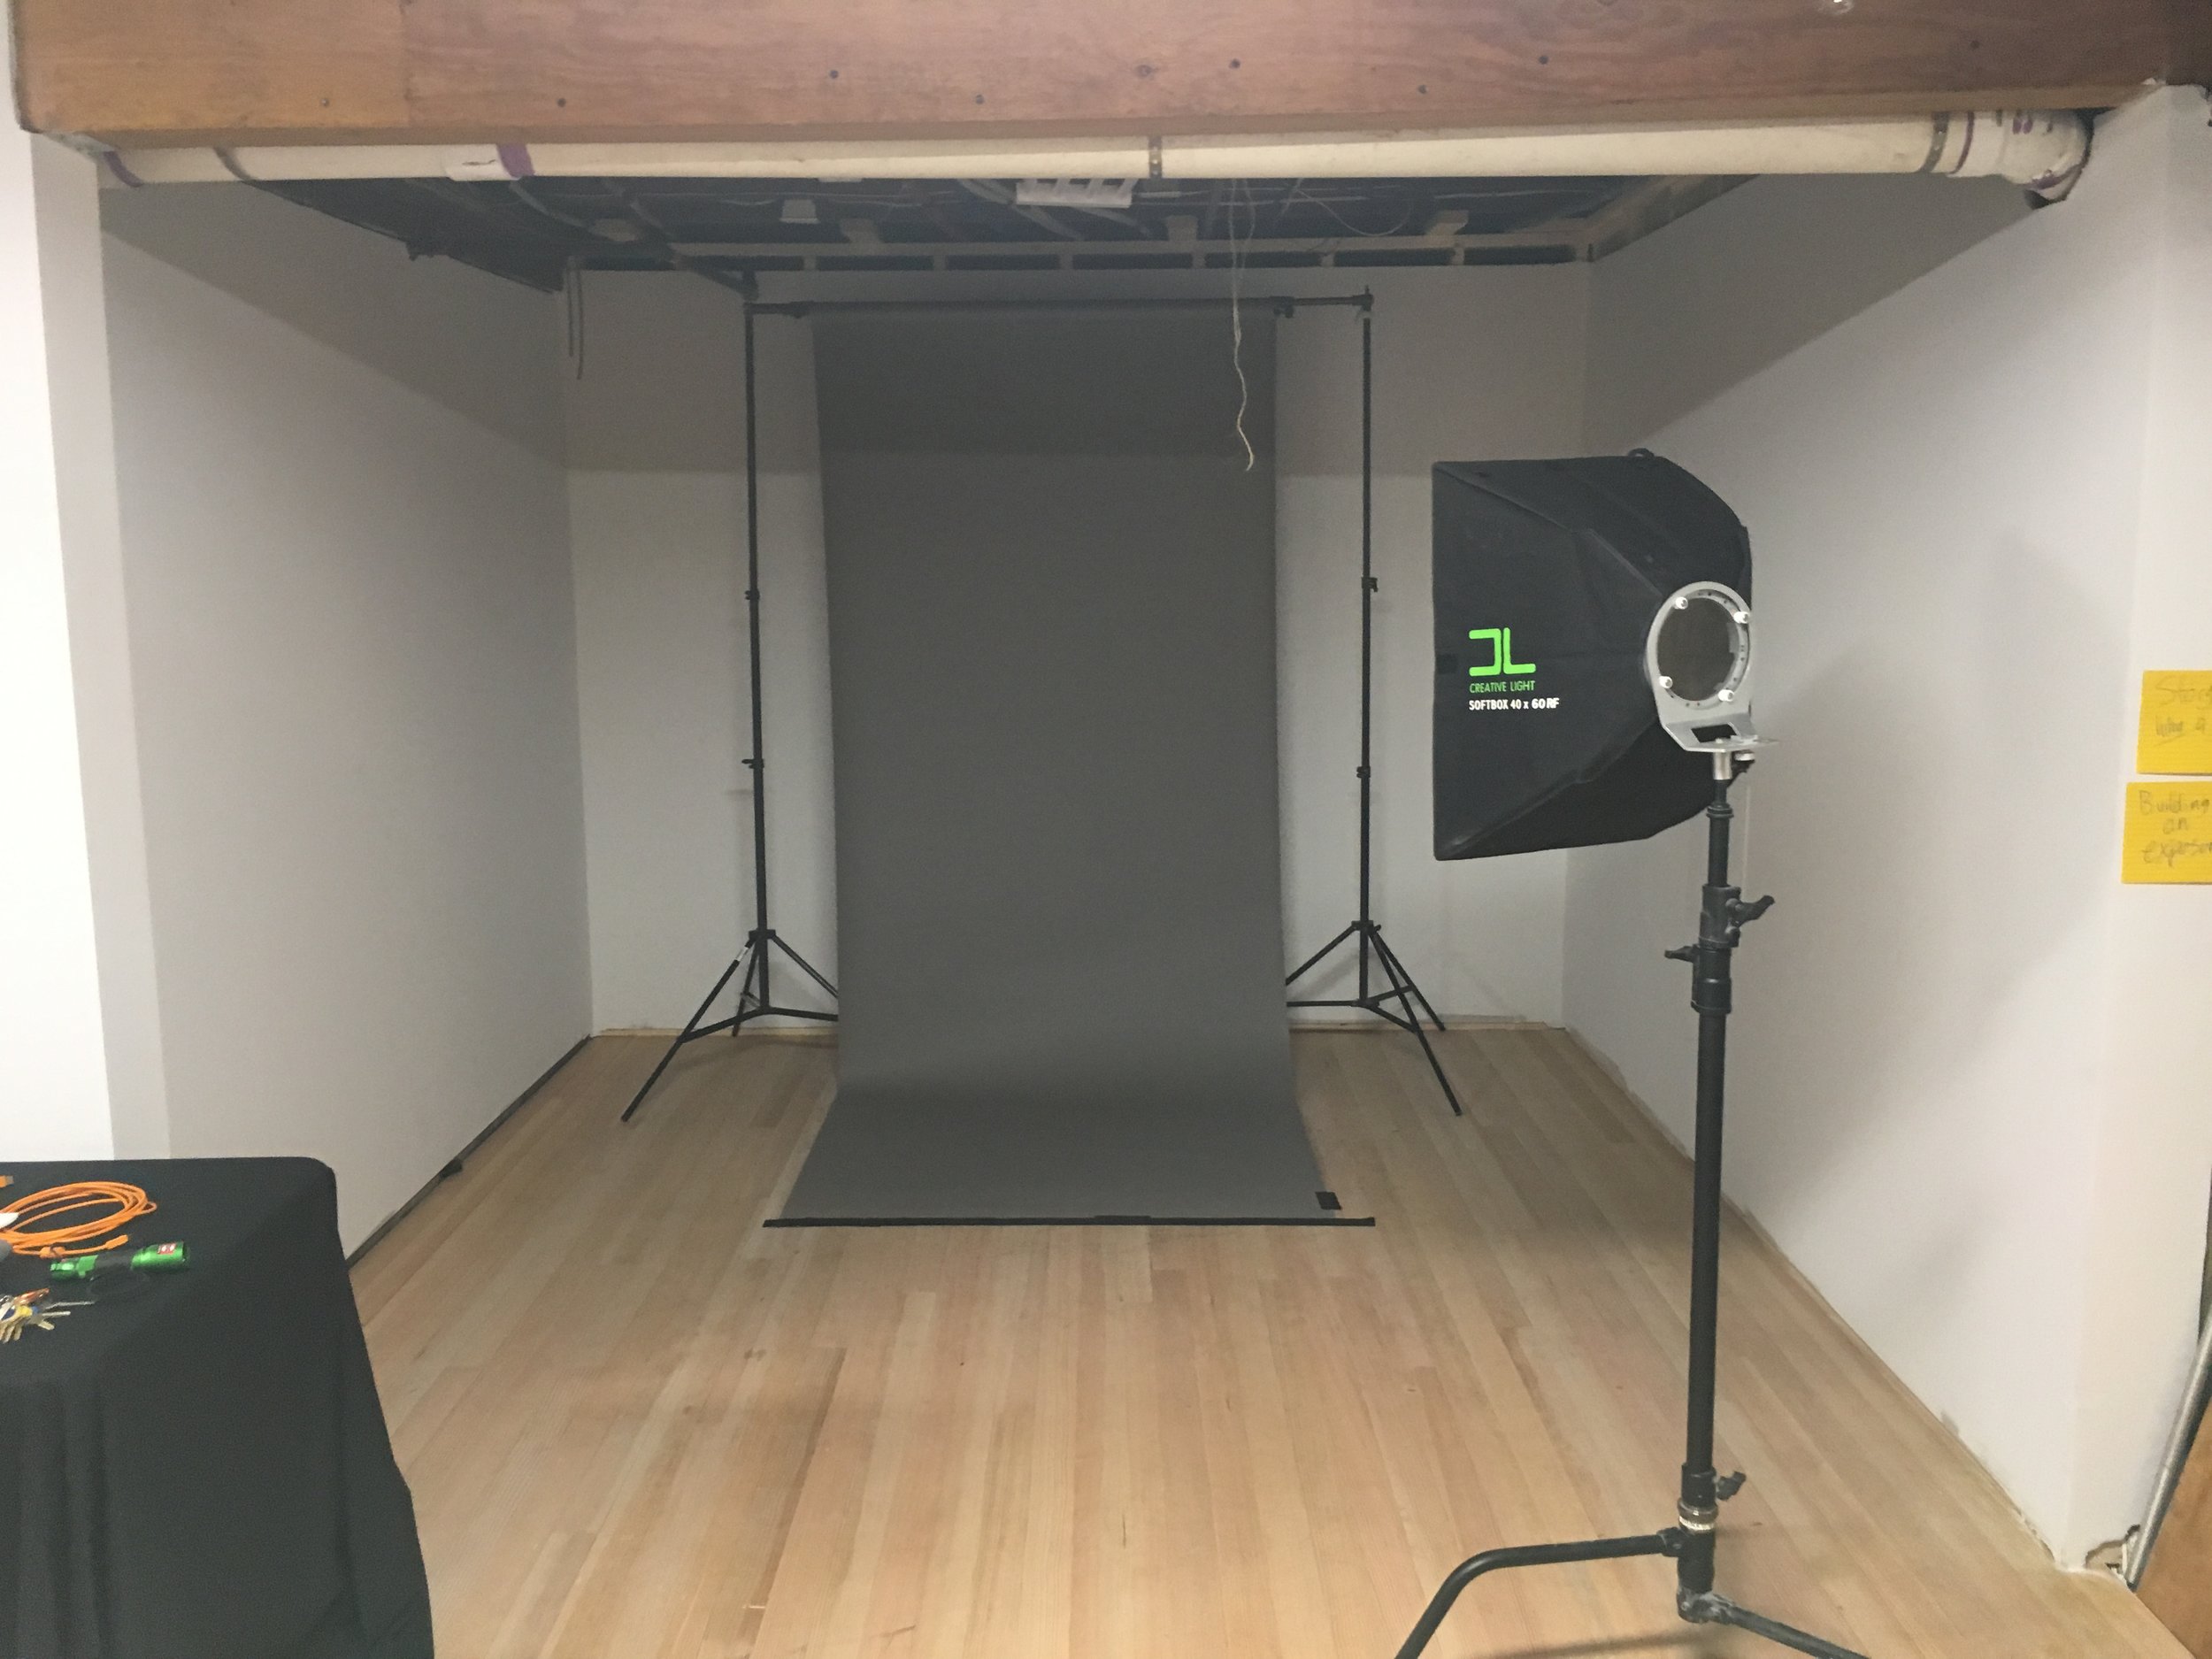
In April, I hosted our very first night portraiture workshop. It was also the inaugural workshop in the newly renovated teaching space at our headquarters in the village of Catskill, New York.

This workshop was very intimate, catered farm-to-table by a local chef and designed for advanced students who want to make long exposure portraits of people at night.

From Friday afternoon until Sunday afternoon, we worked on lighting, posing and storytelling. Our wonderful local model, Galaexius Quasar, worked with us in studio and on location in the area to bring to life fantastic ideas.

We had challenging weather, but on the first night, that was a real boon. The clouds and misty rain added a moodiness that complemented the scene.

Nikon D750 with a Nikon 105mm f/1.4 lens. 15 seconds, f/4, ISO 200.

The second night brought a very energetic thunderstorm. We decided to stay dry and warm and proceeded to build long exposure portraits in the studio until the weather cleared. After that, we went in the backyard, popped a couple of smoke grenades and made some more magic.

By spending time working on individual skills, both students really leveled up. I’m so happy we did it, and I’m looking forward to the six-person workshop in the fall that I am co-teaching with Tim Cooper.

Dark Skies, Desert Beasts: Borrego Springs, California

May 10-13
By Gabriel Biderman

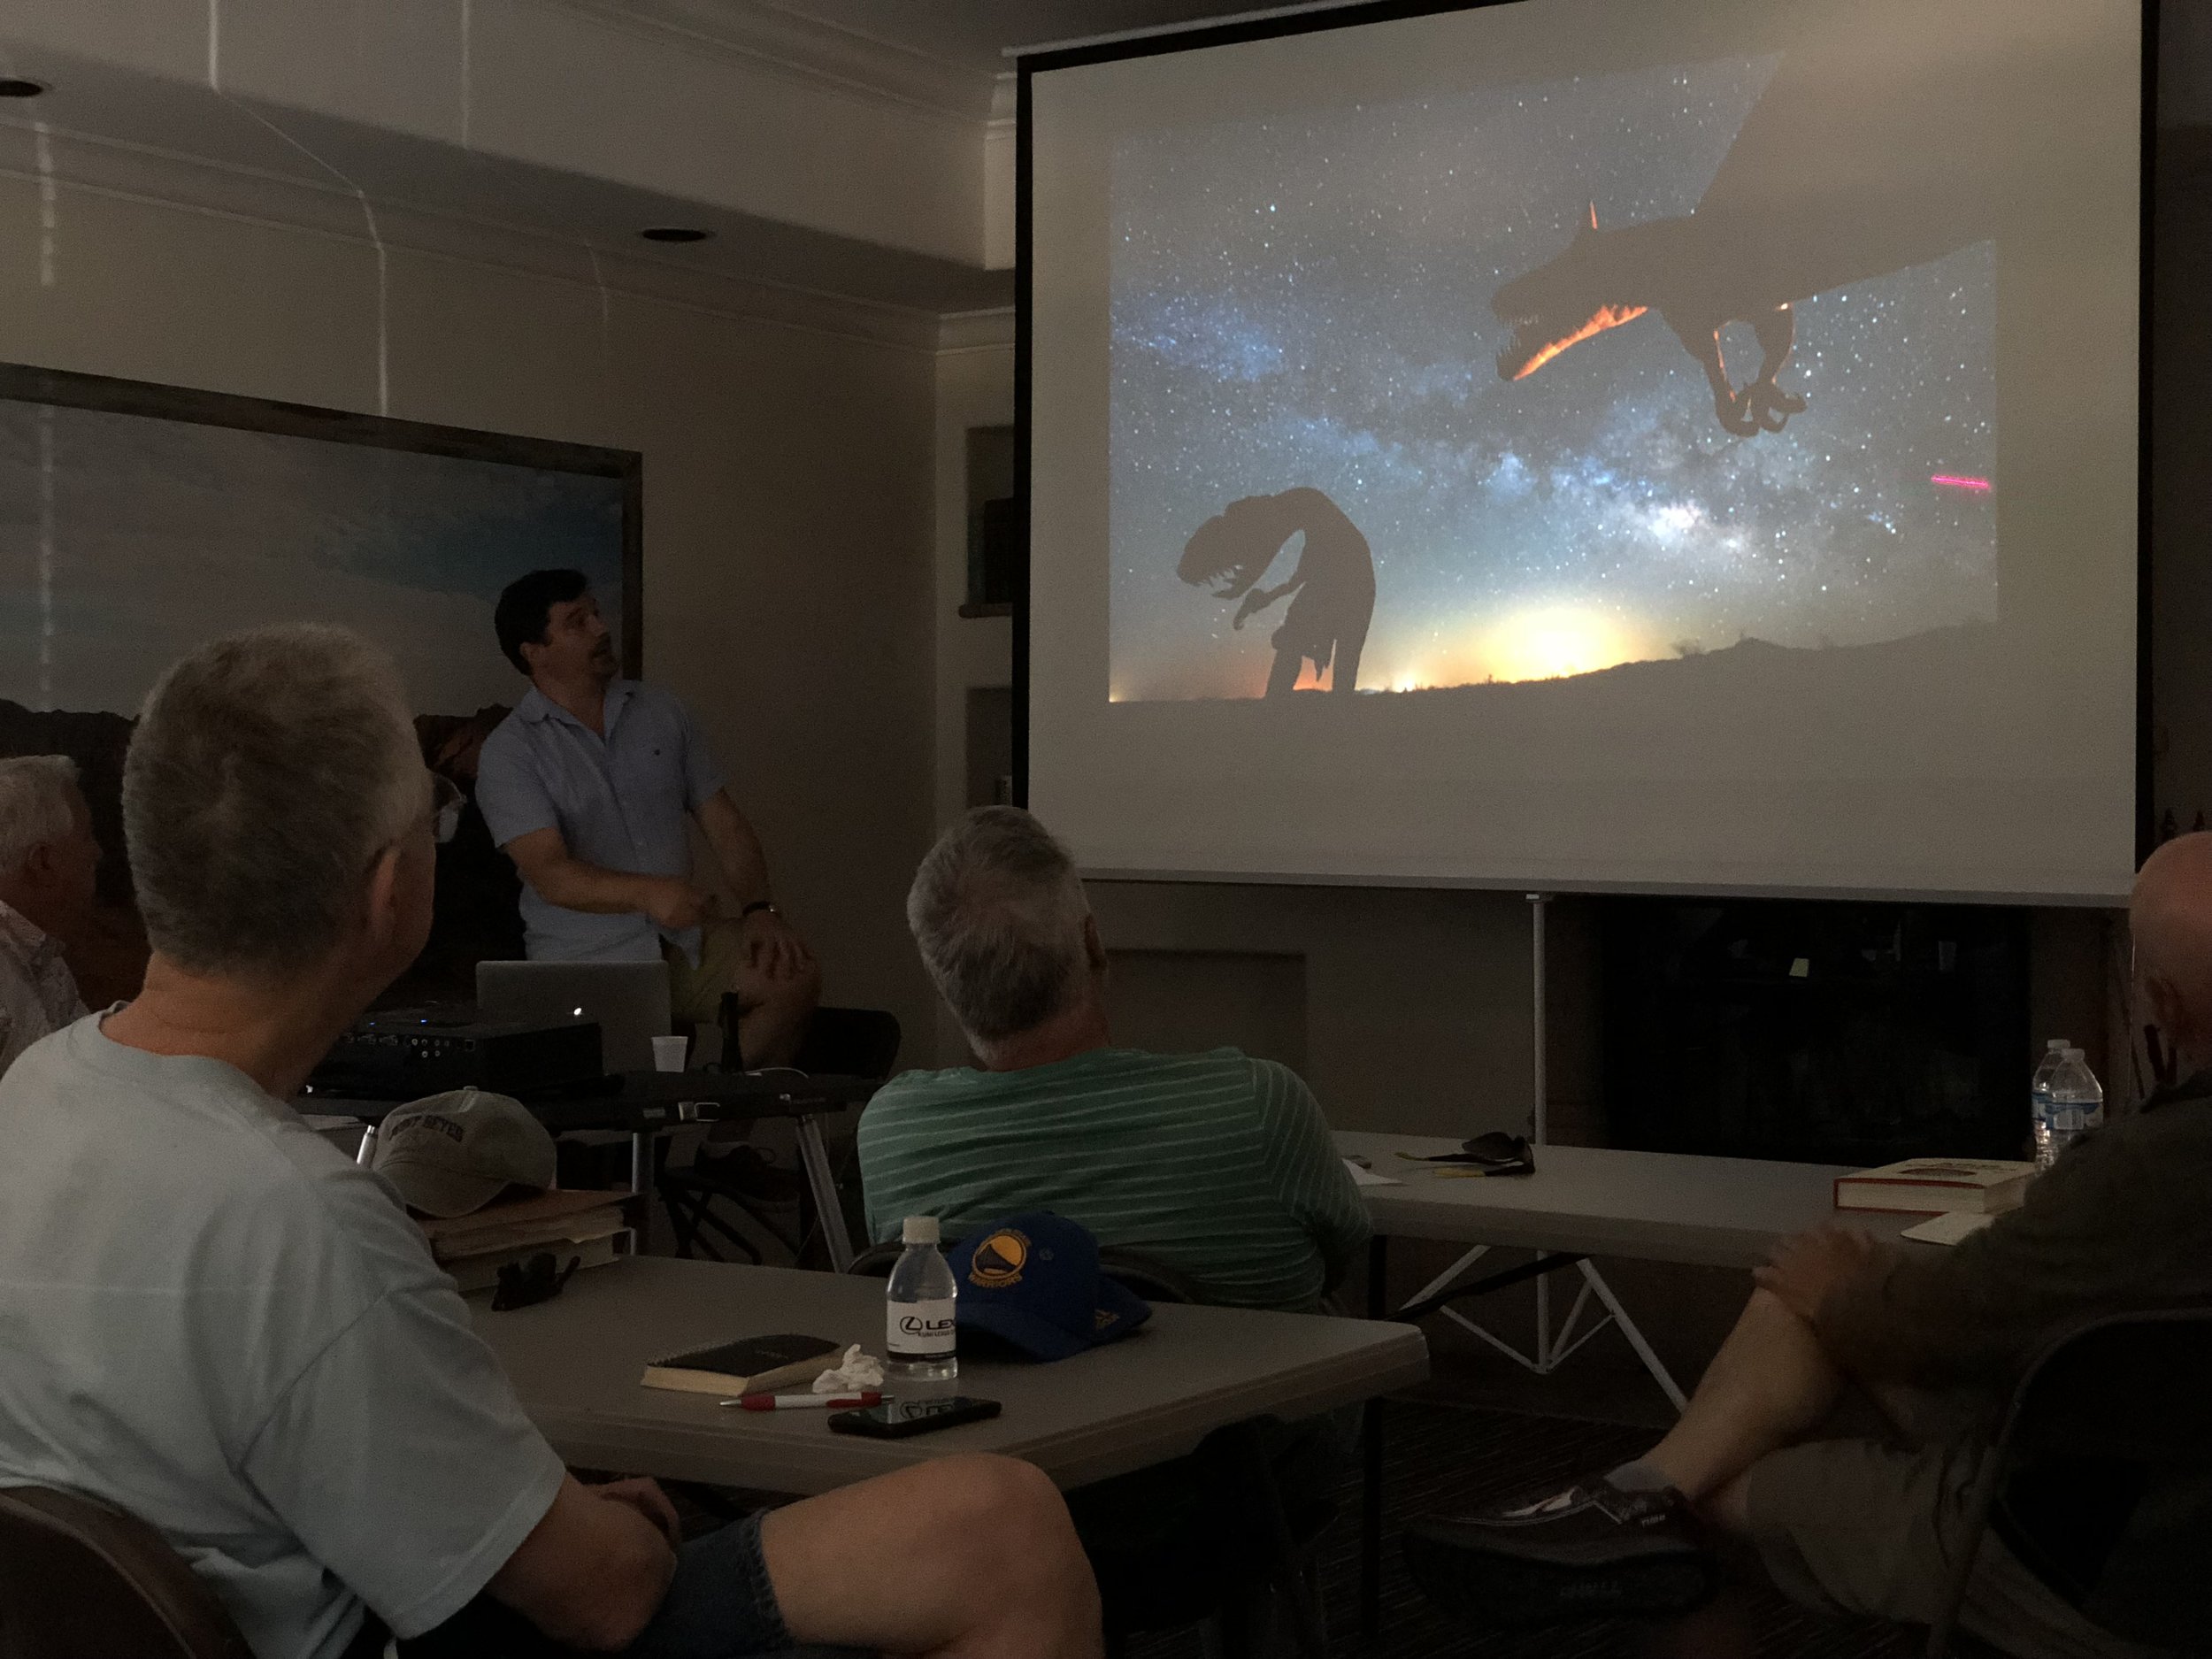
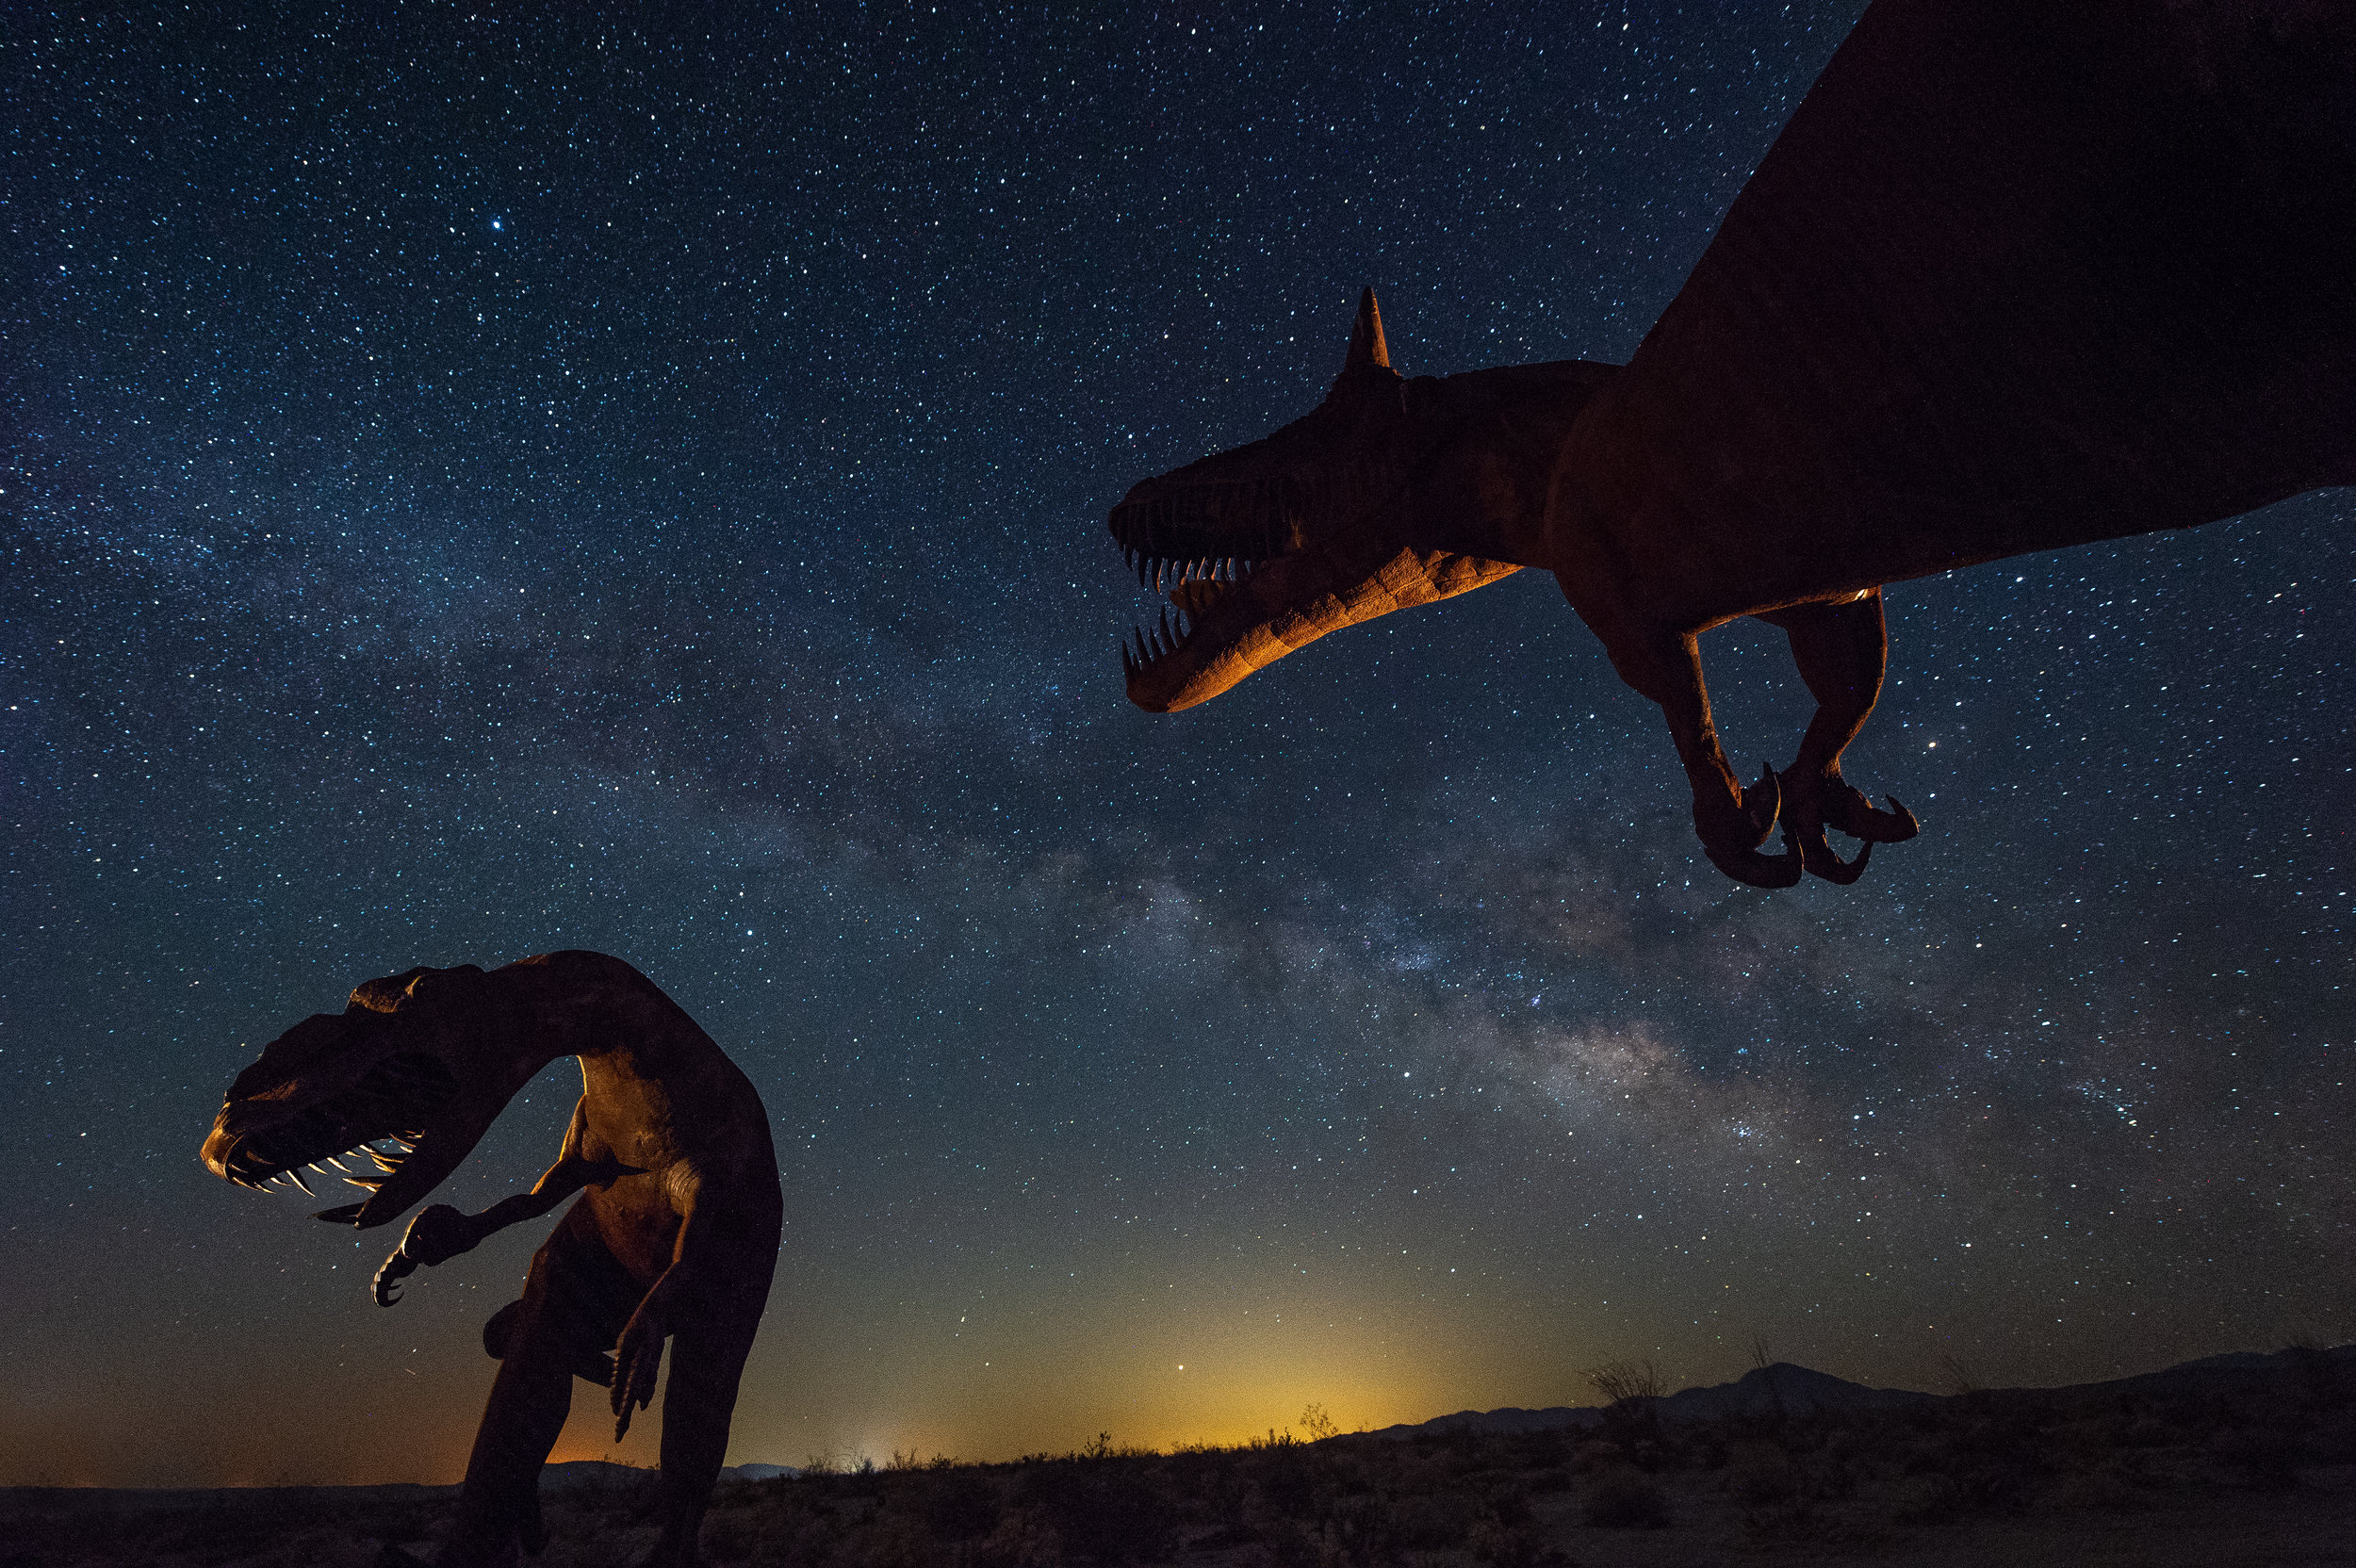
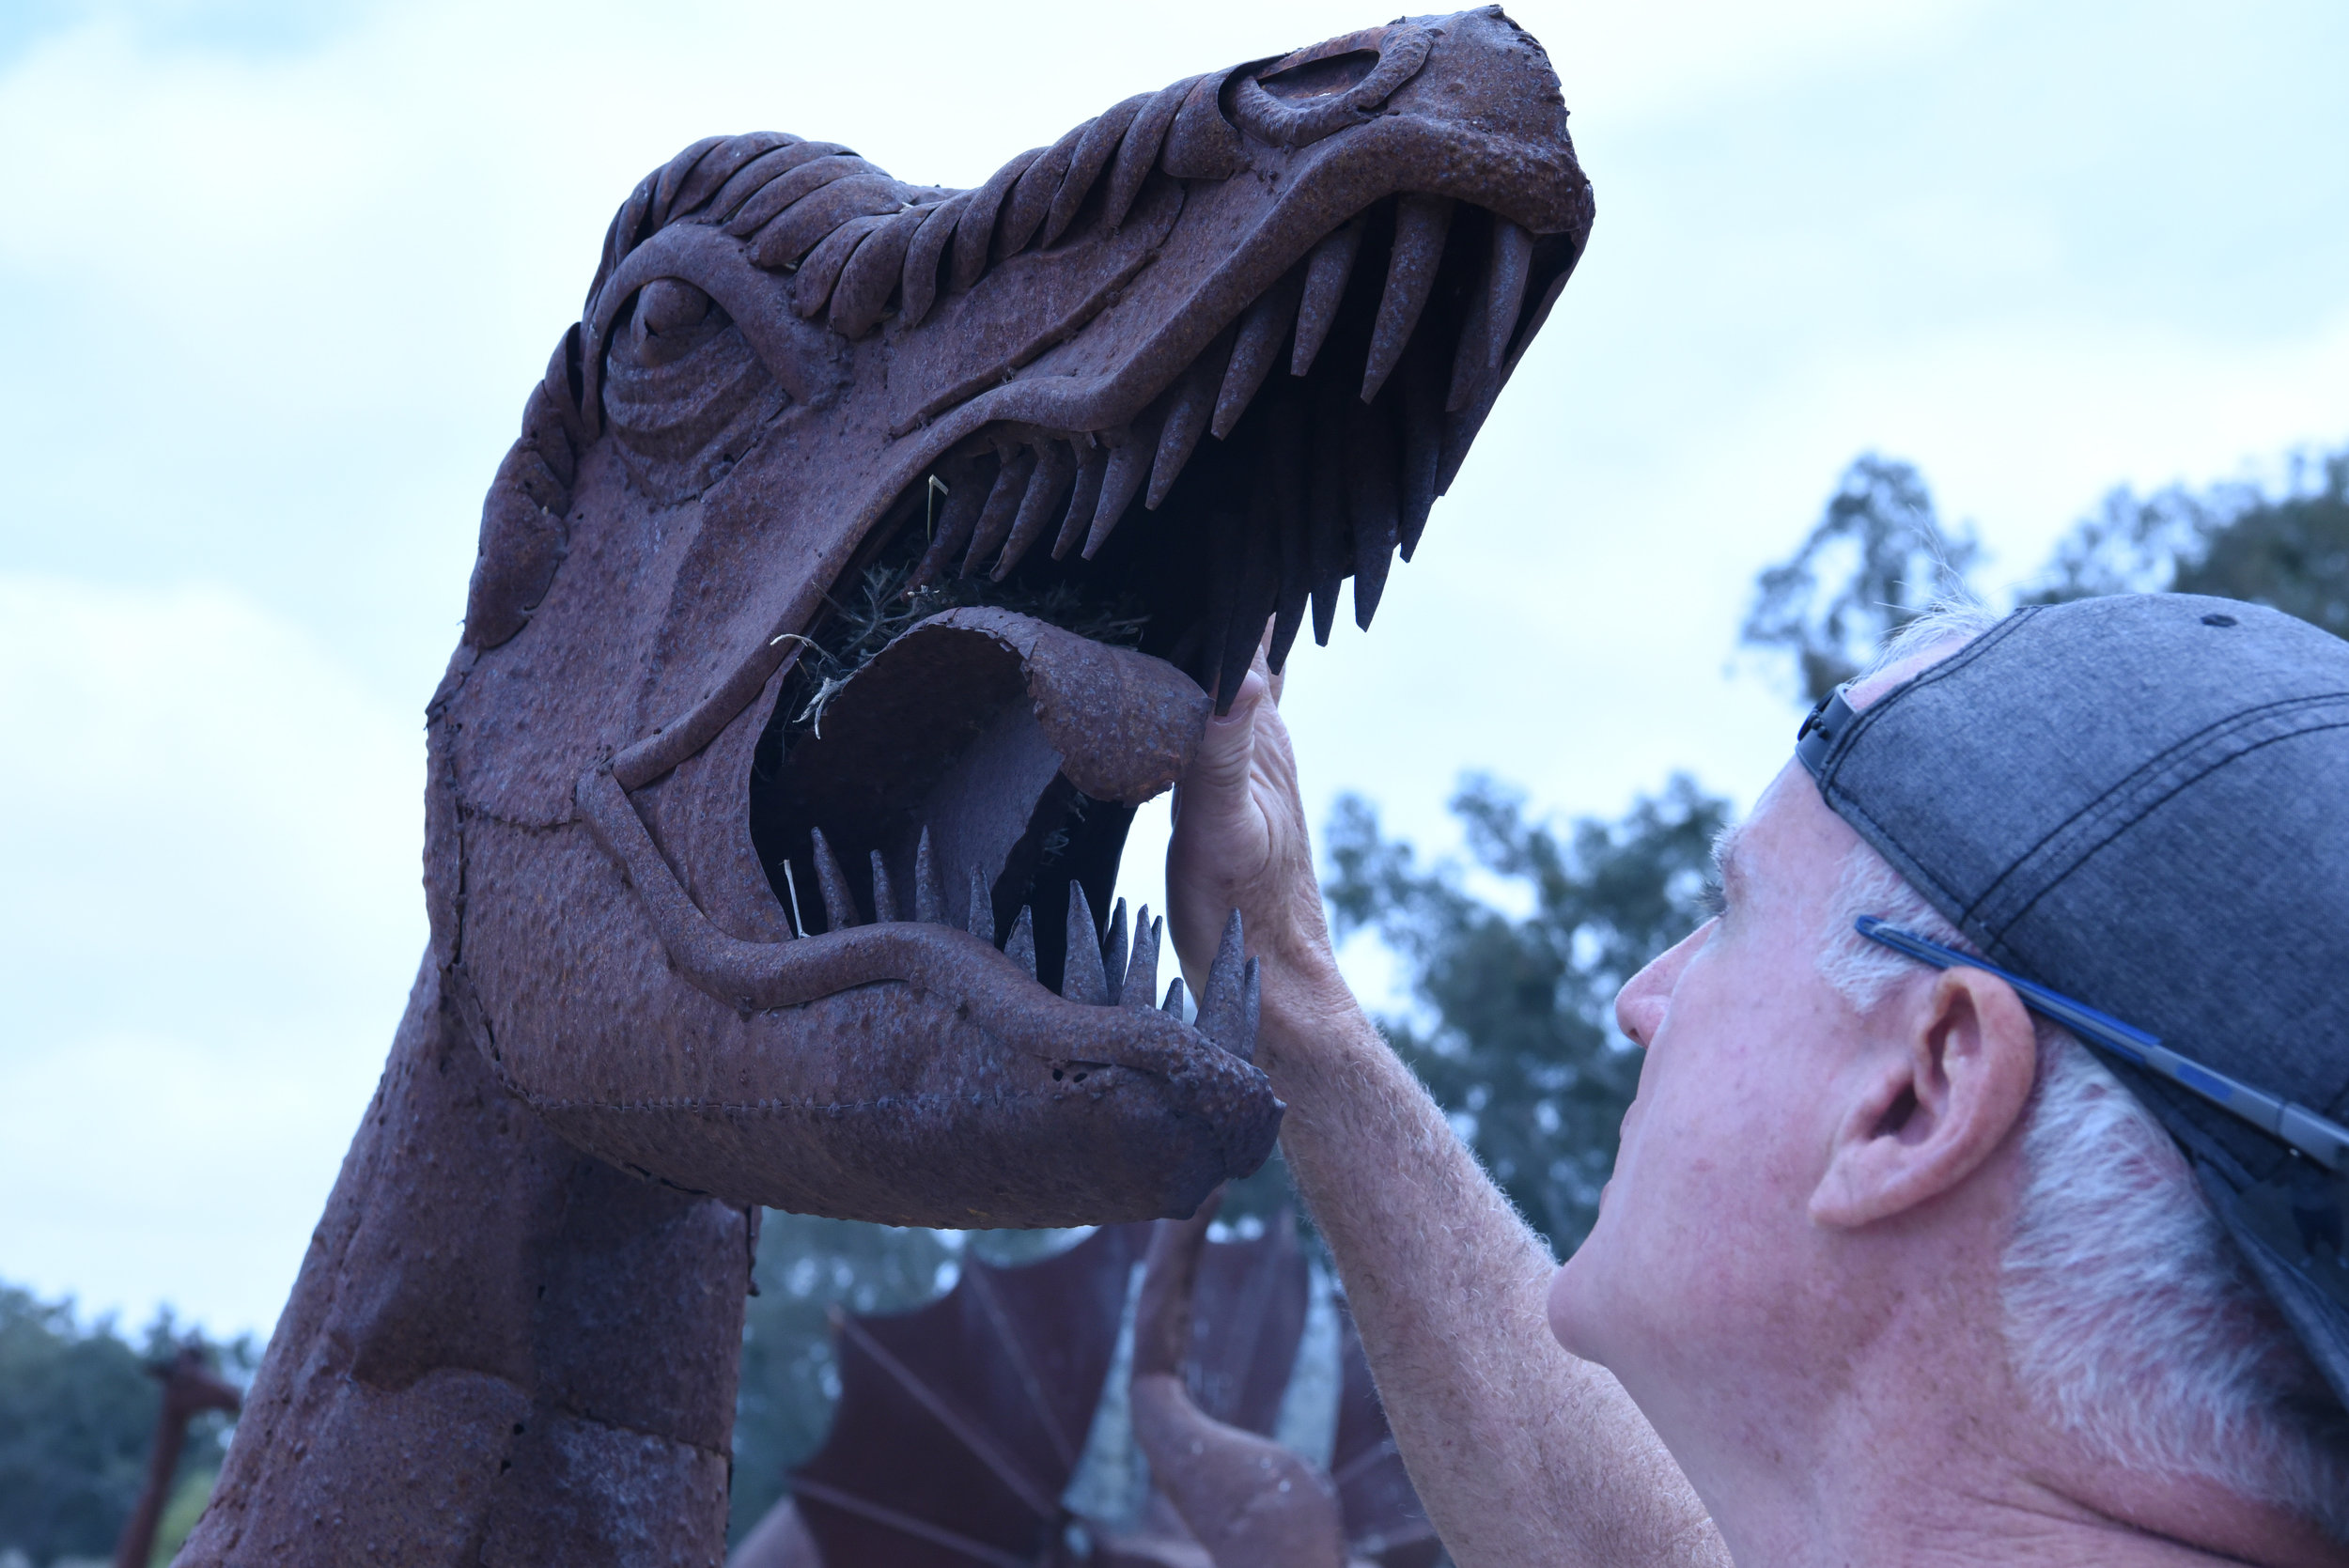
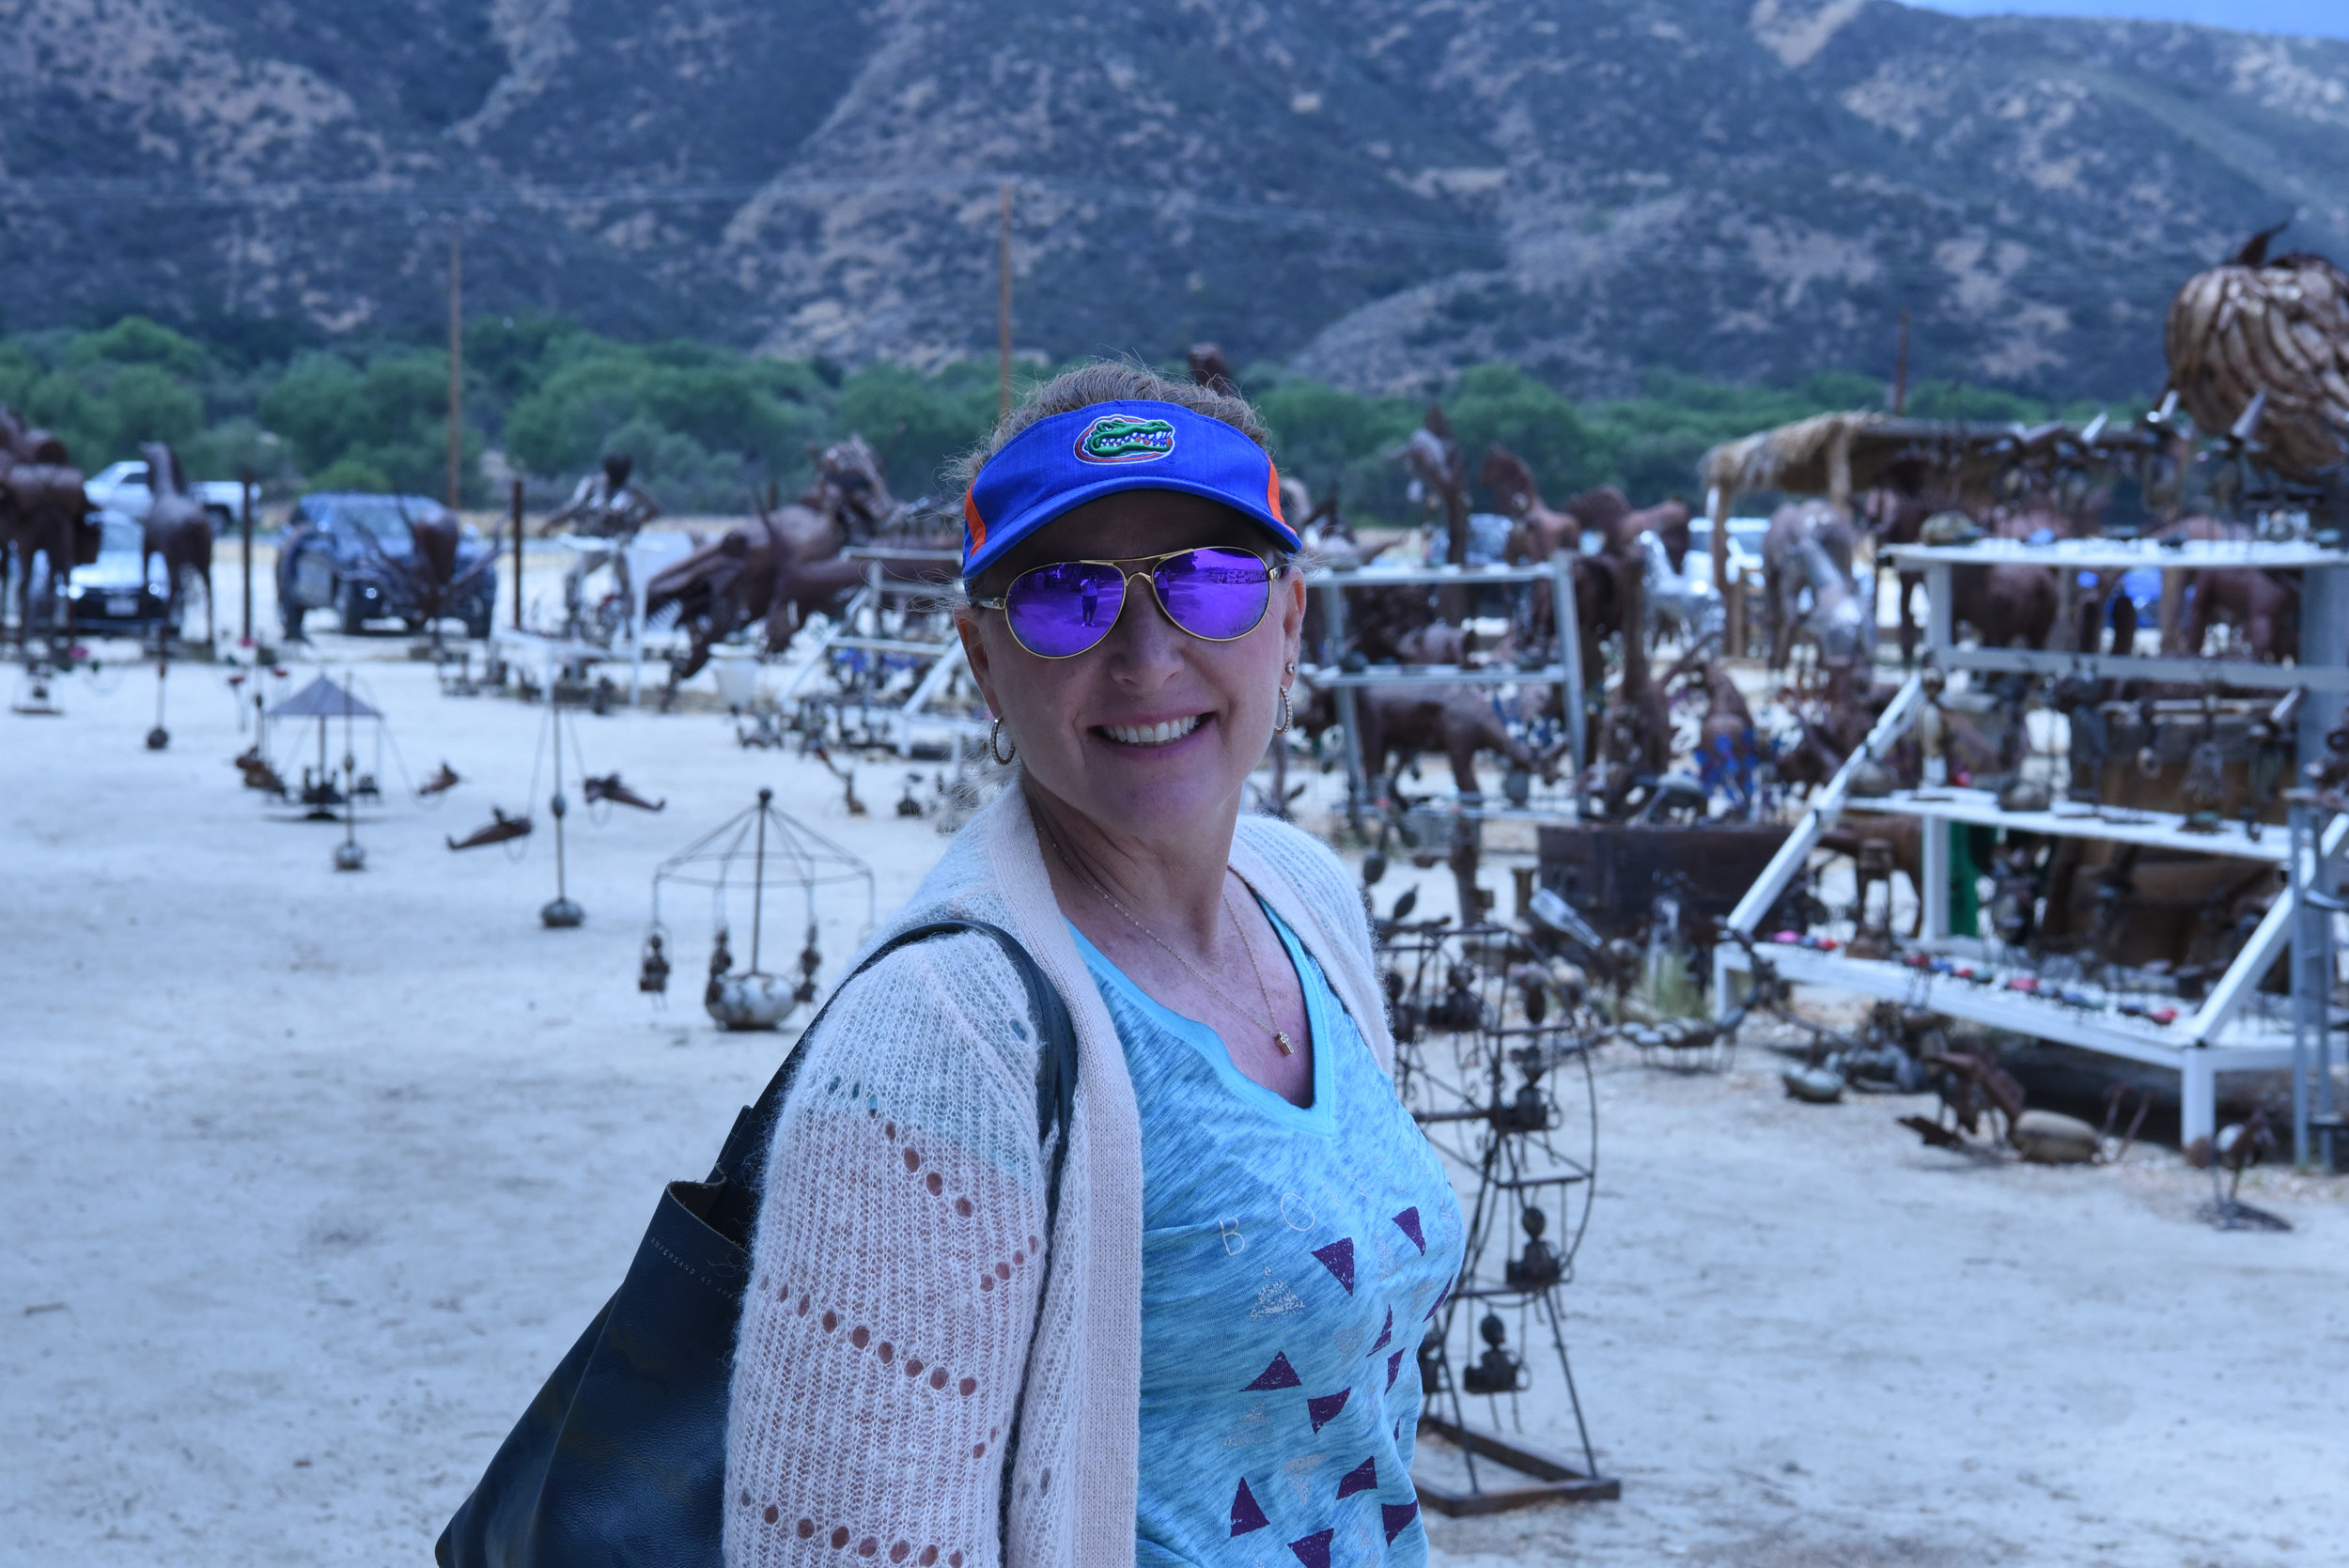
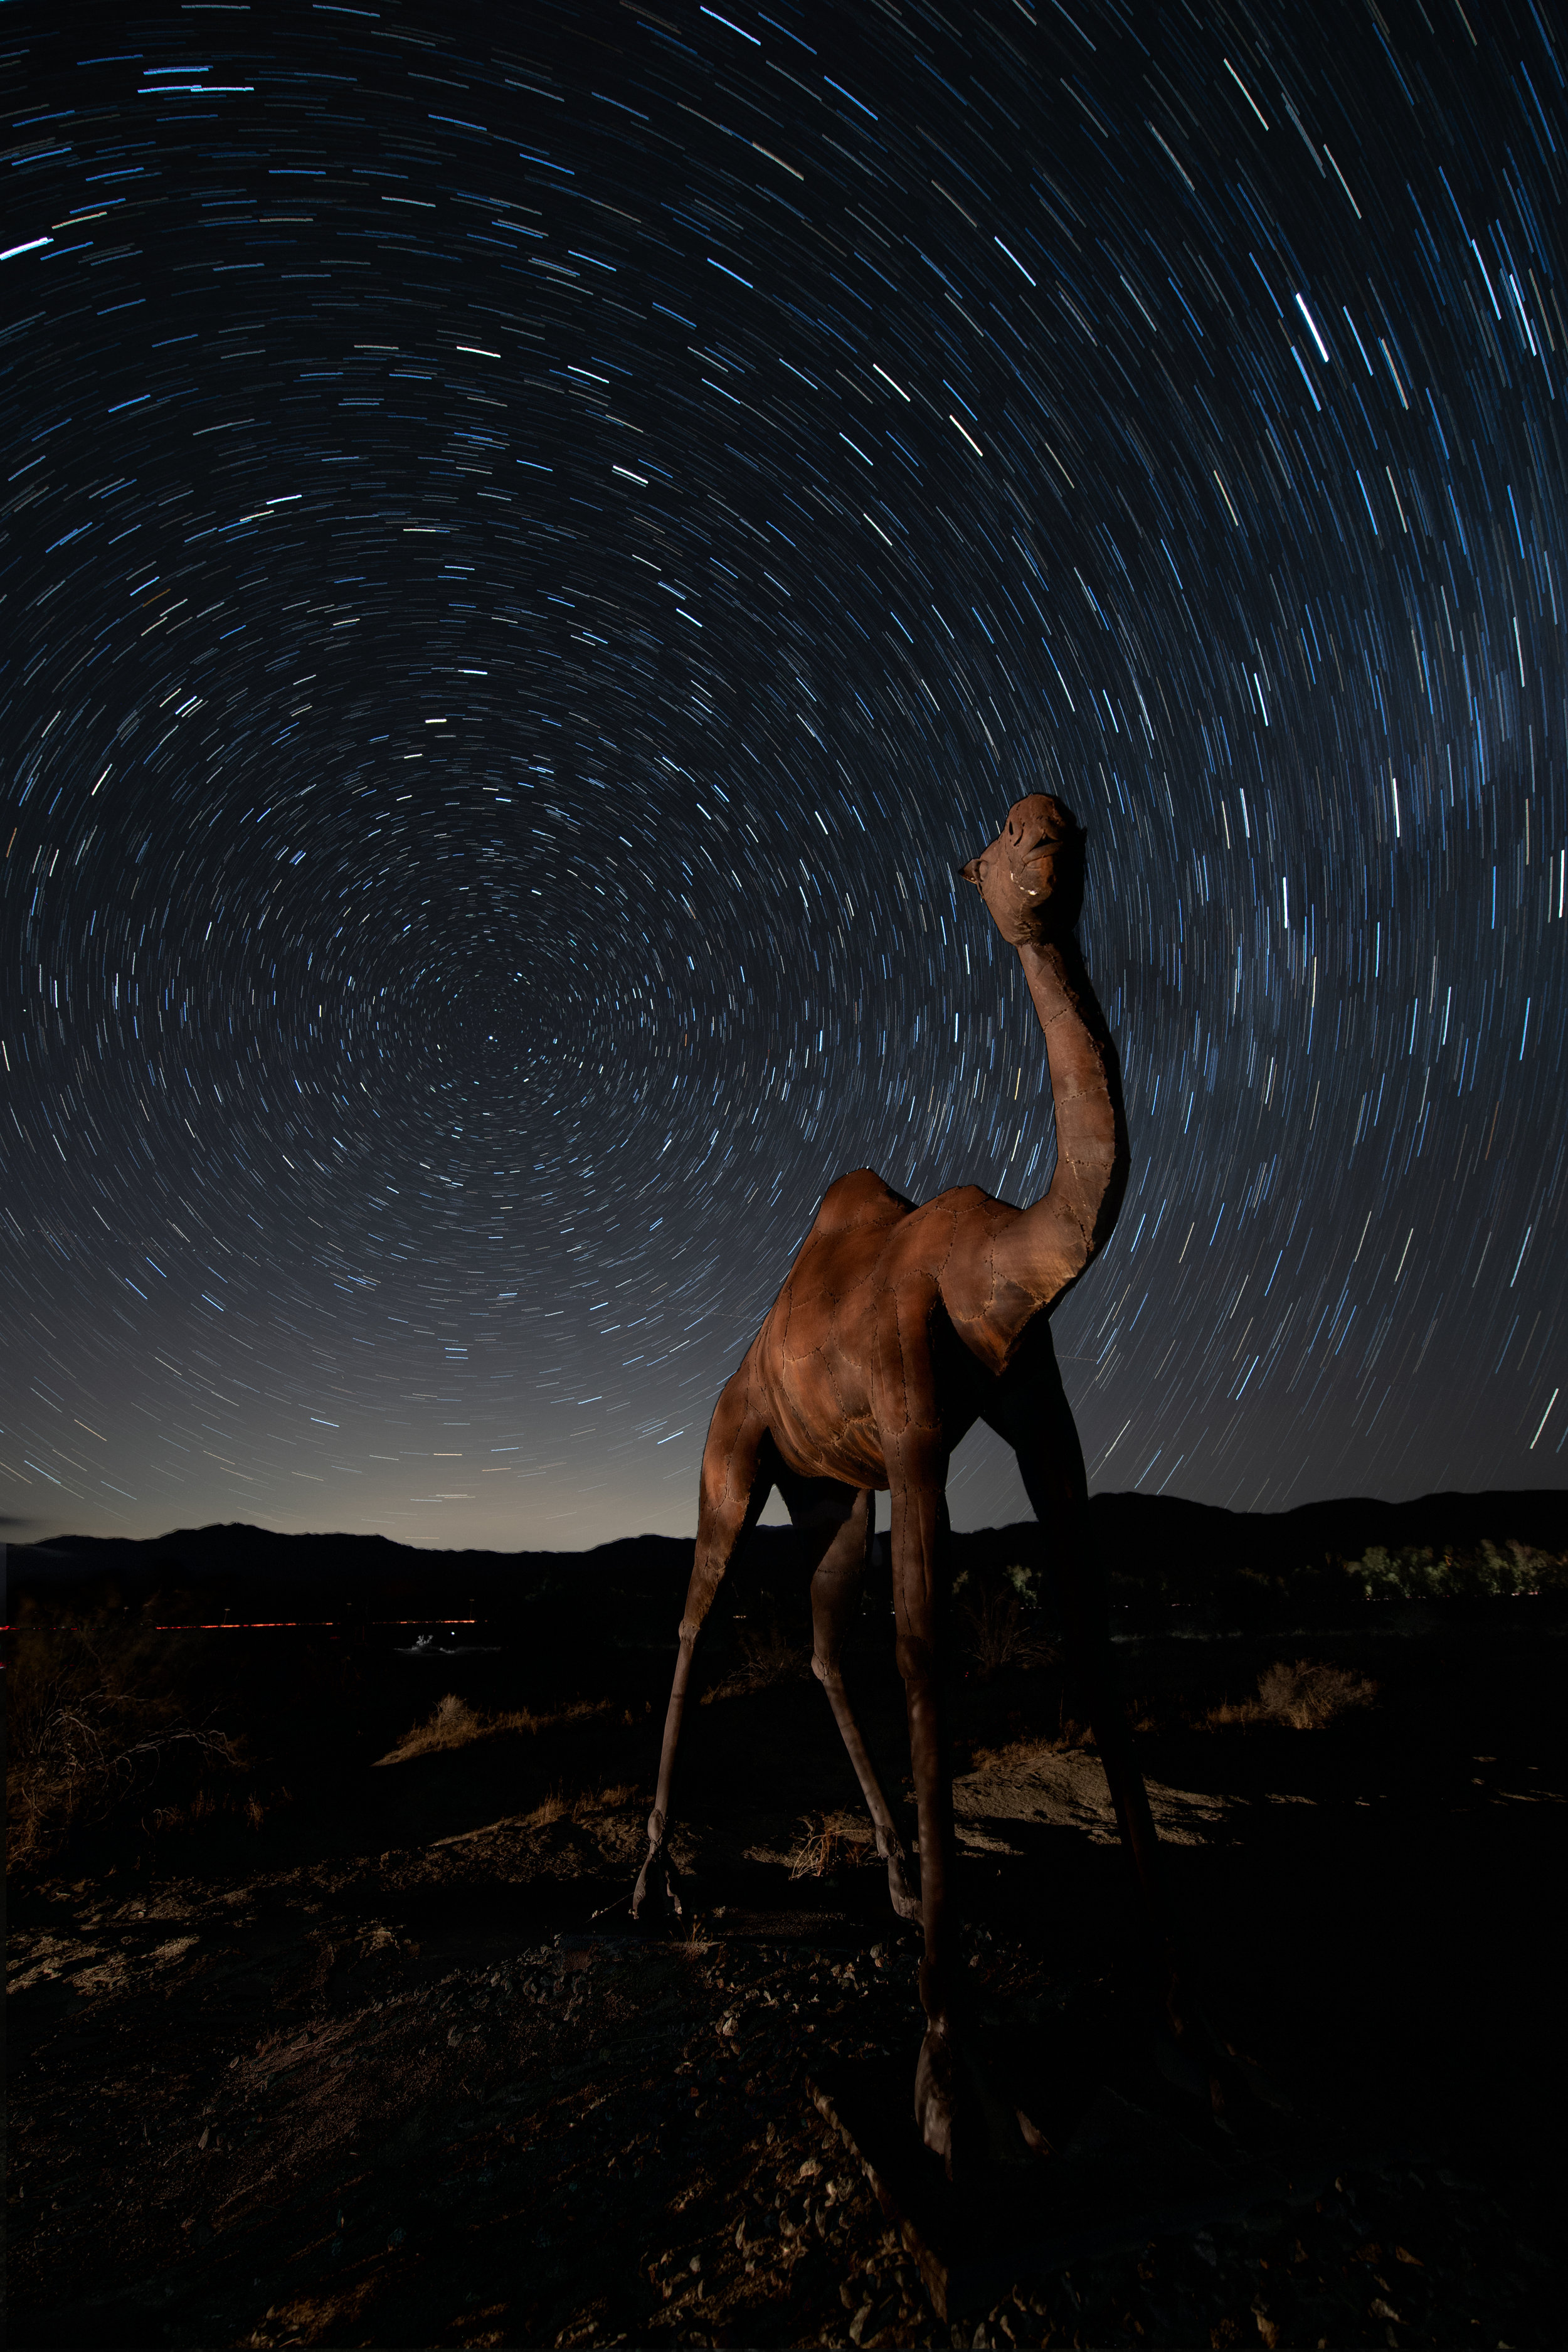
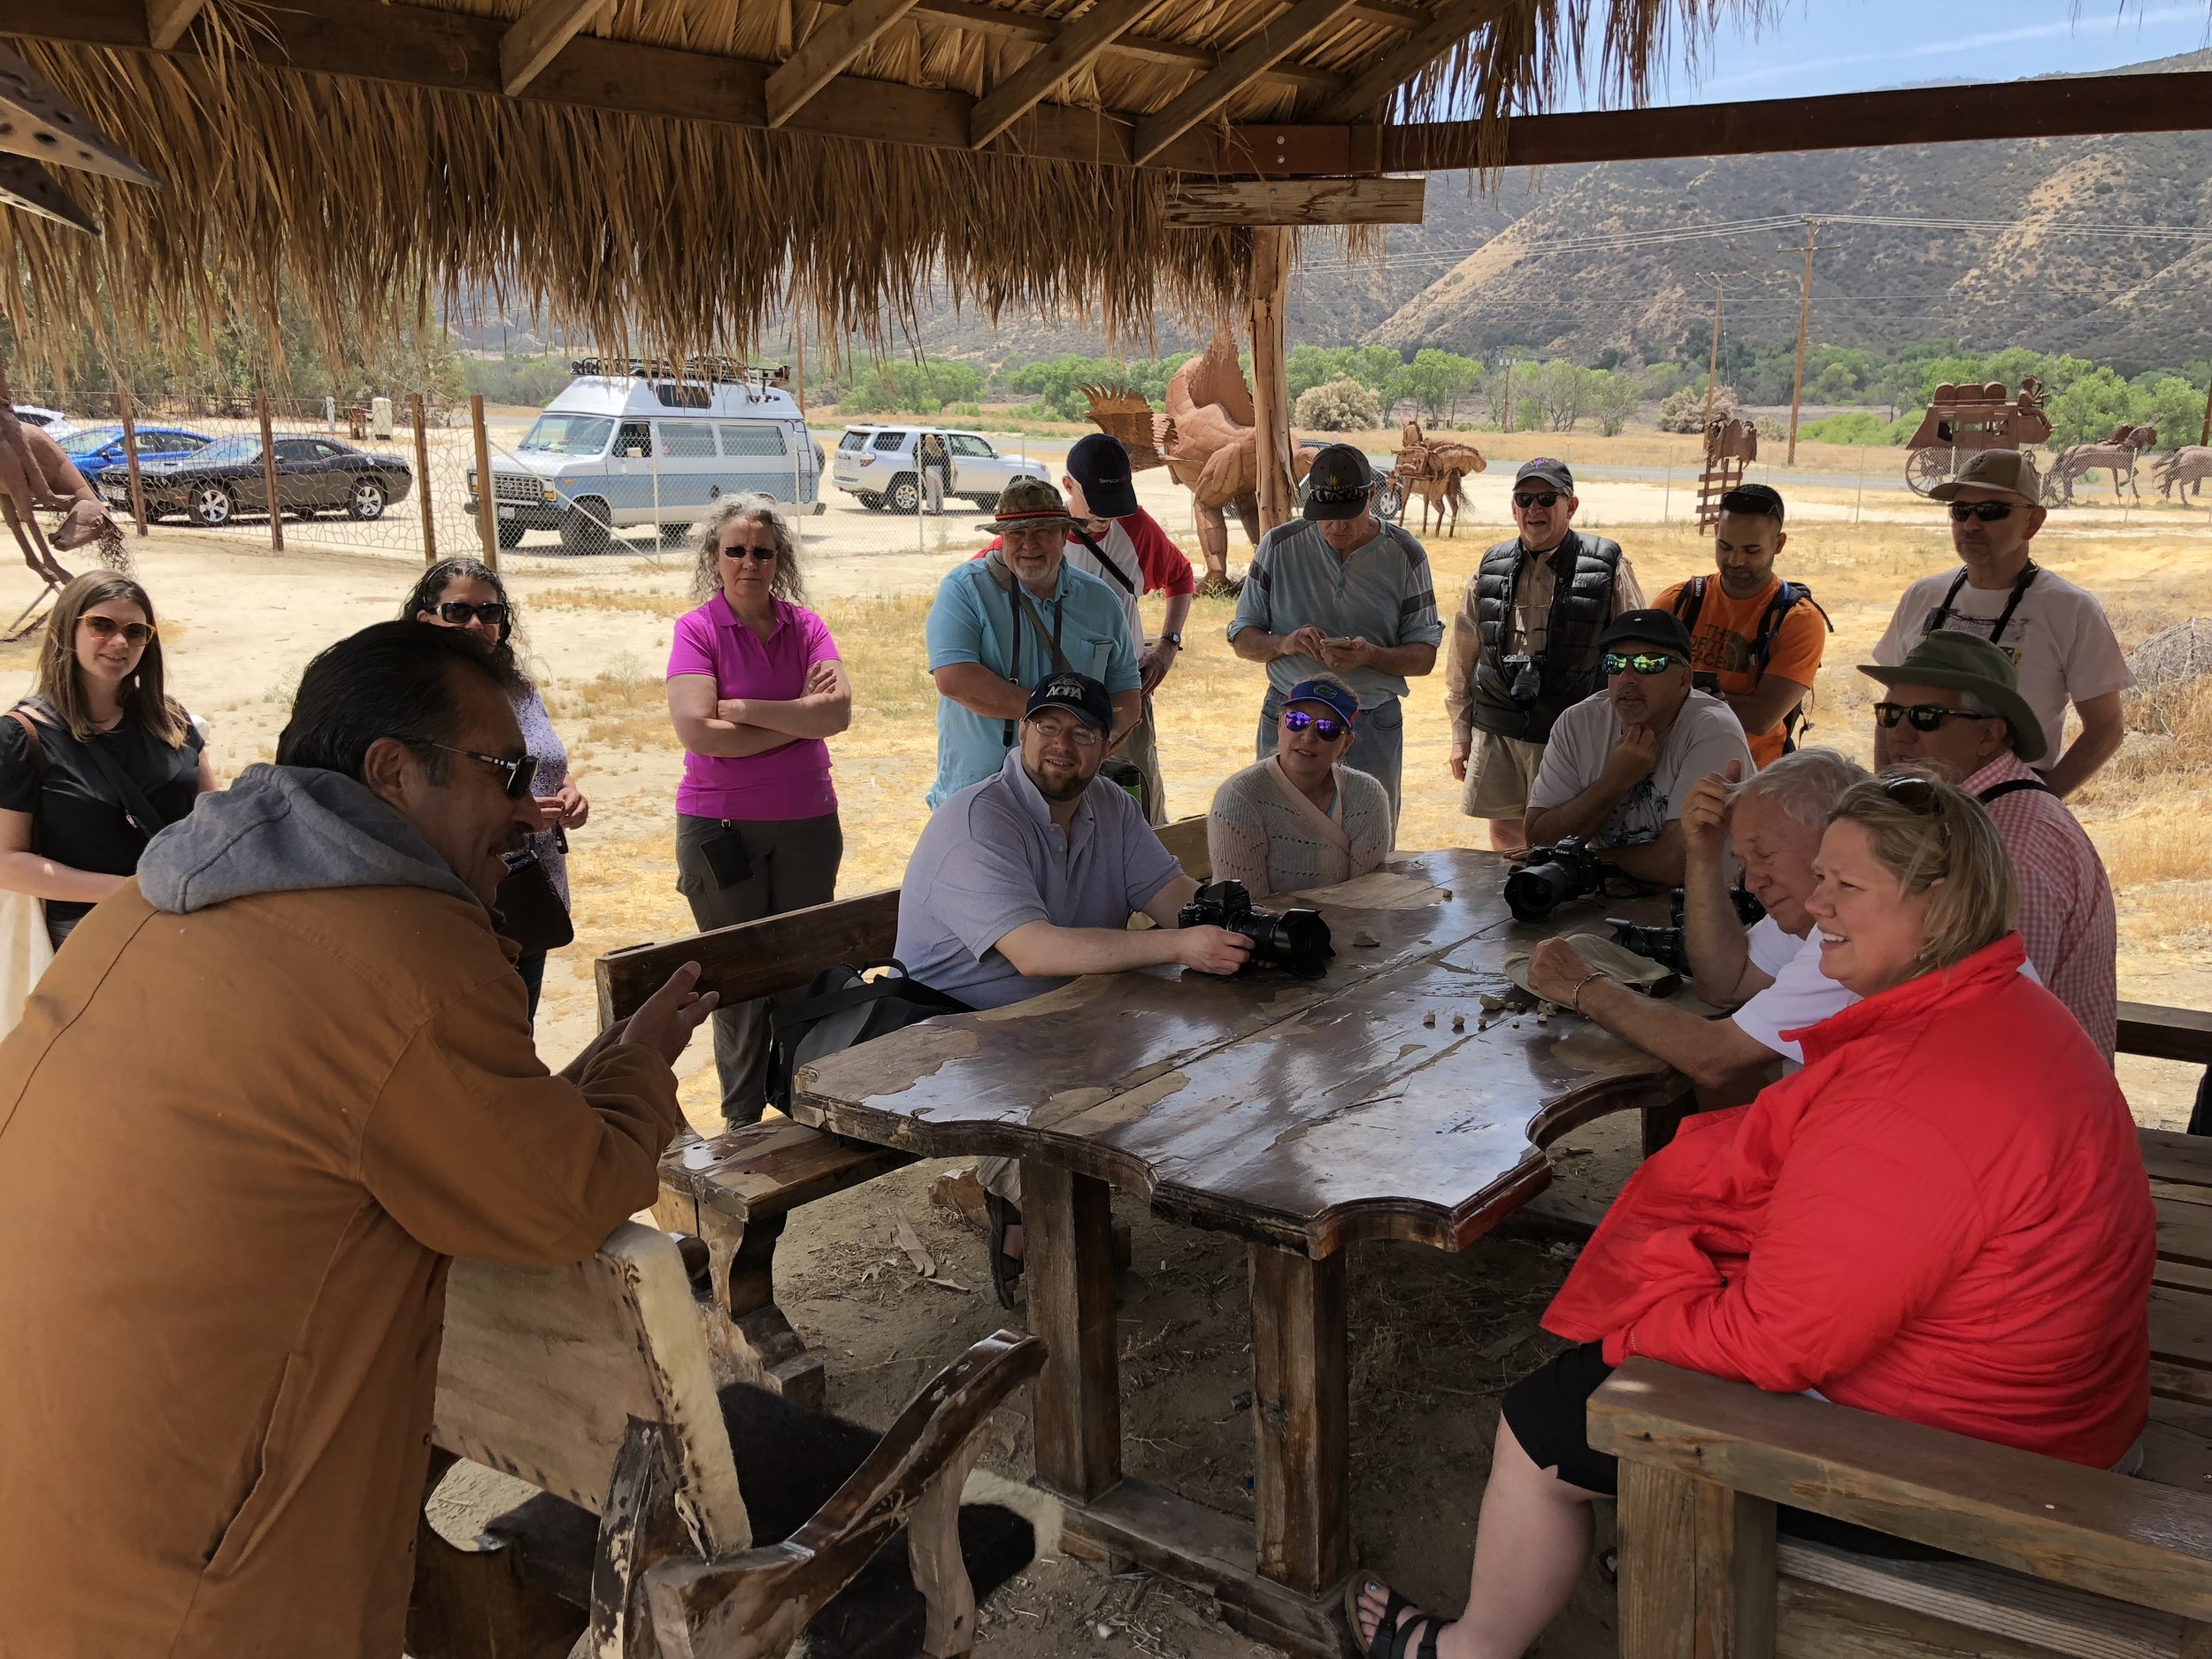
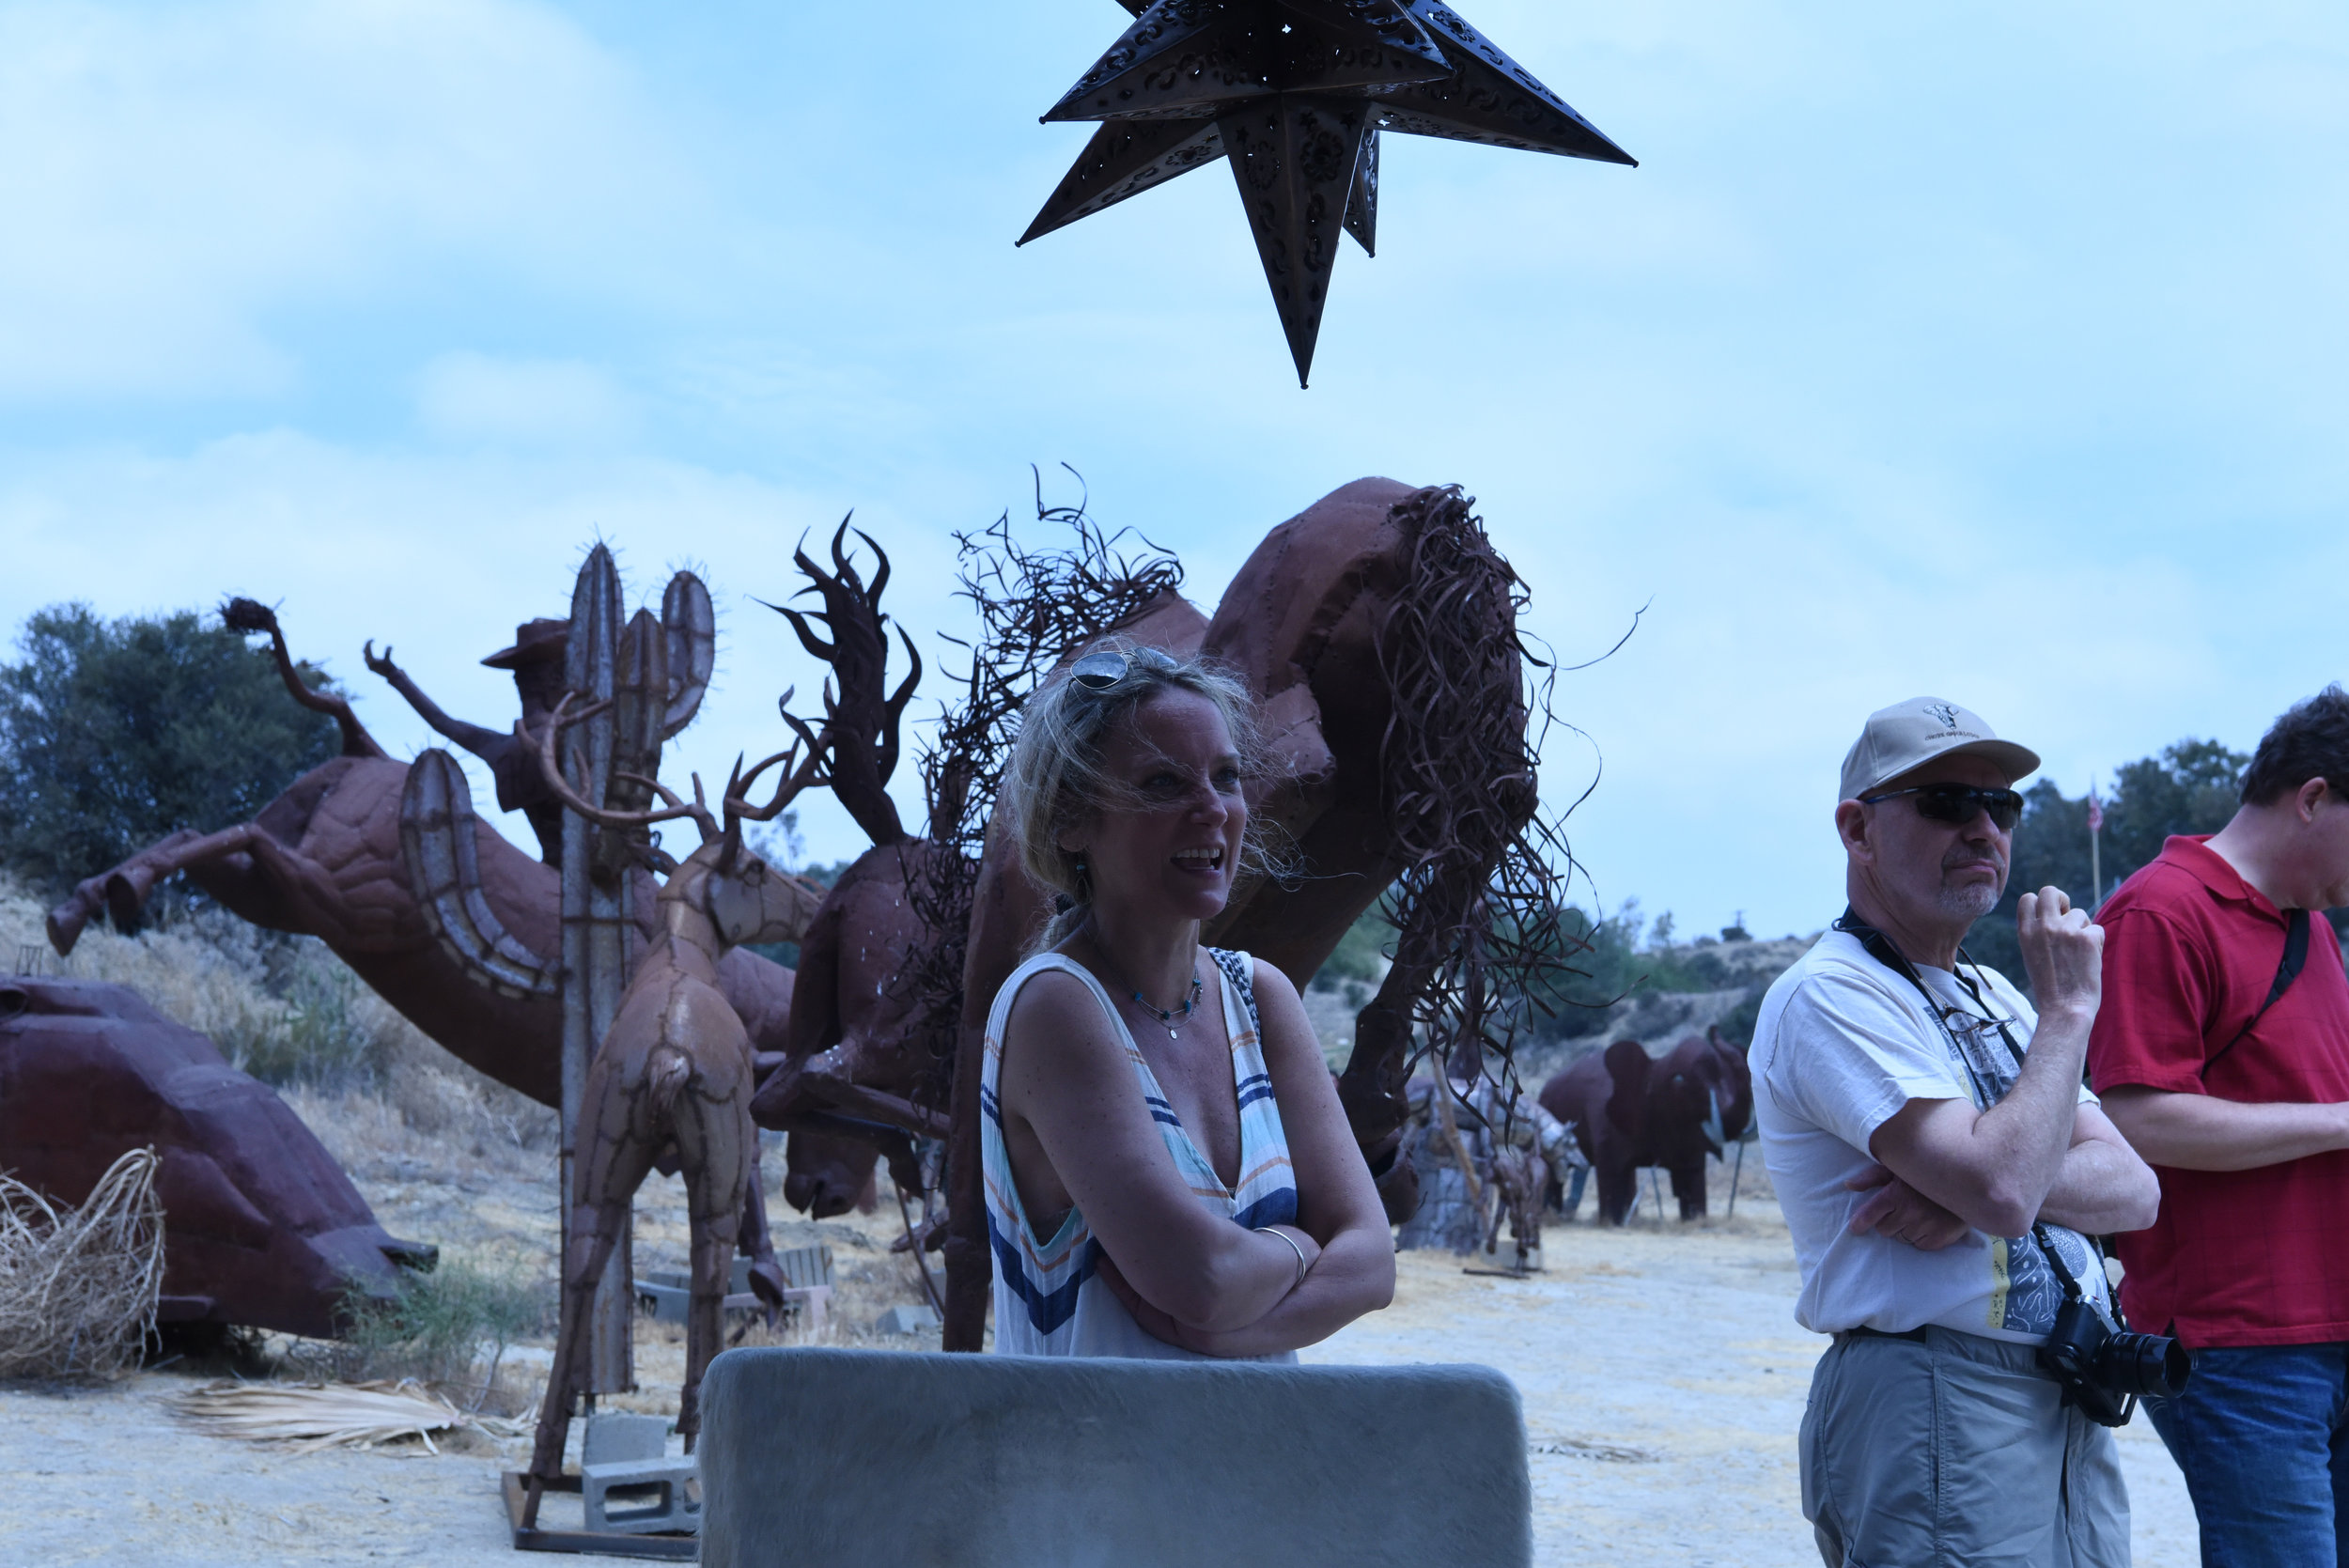
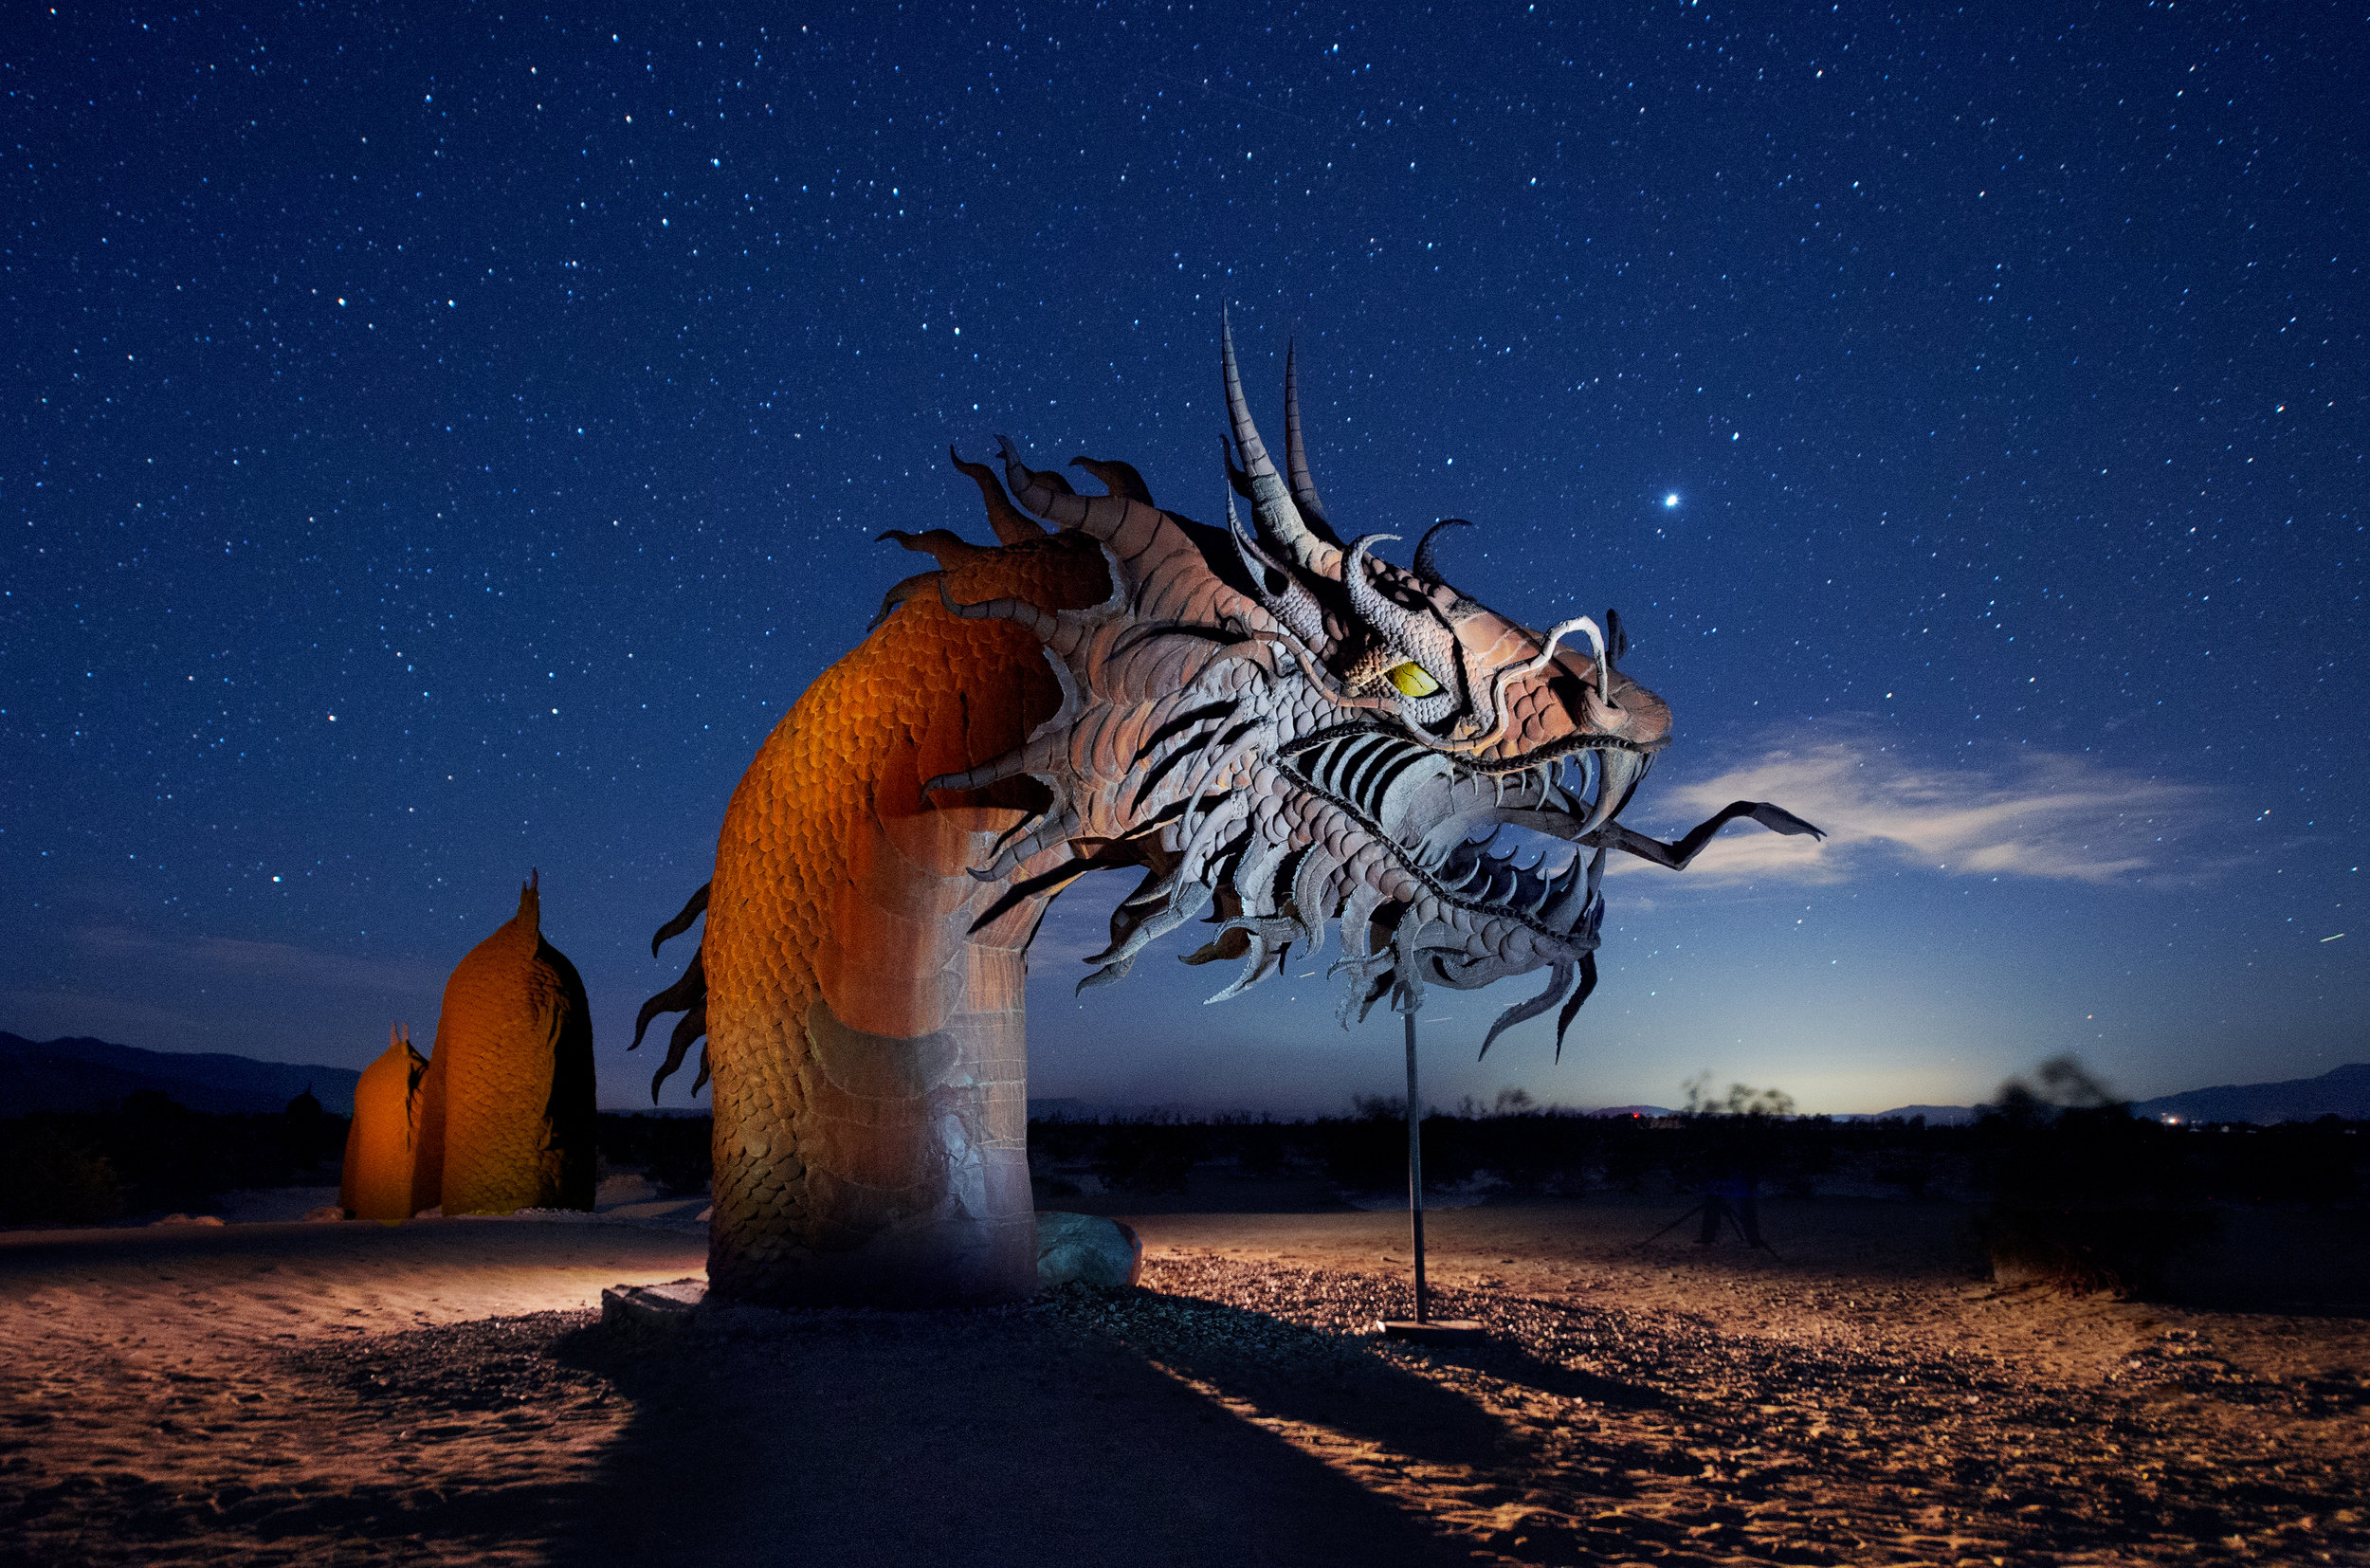
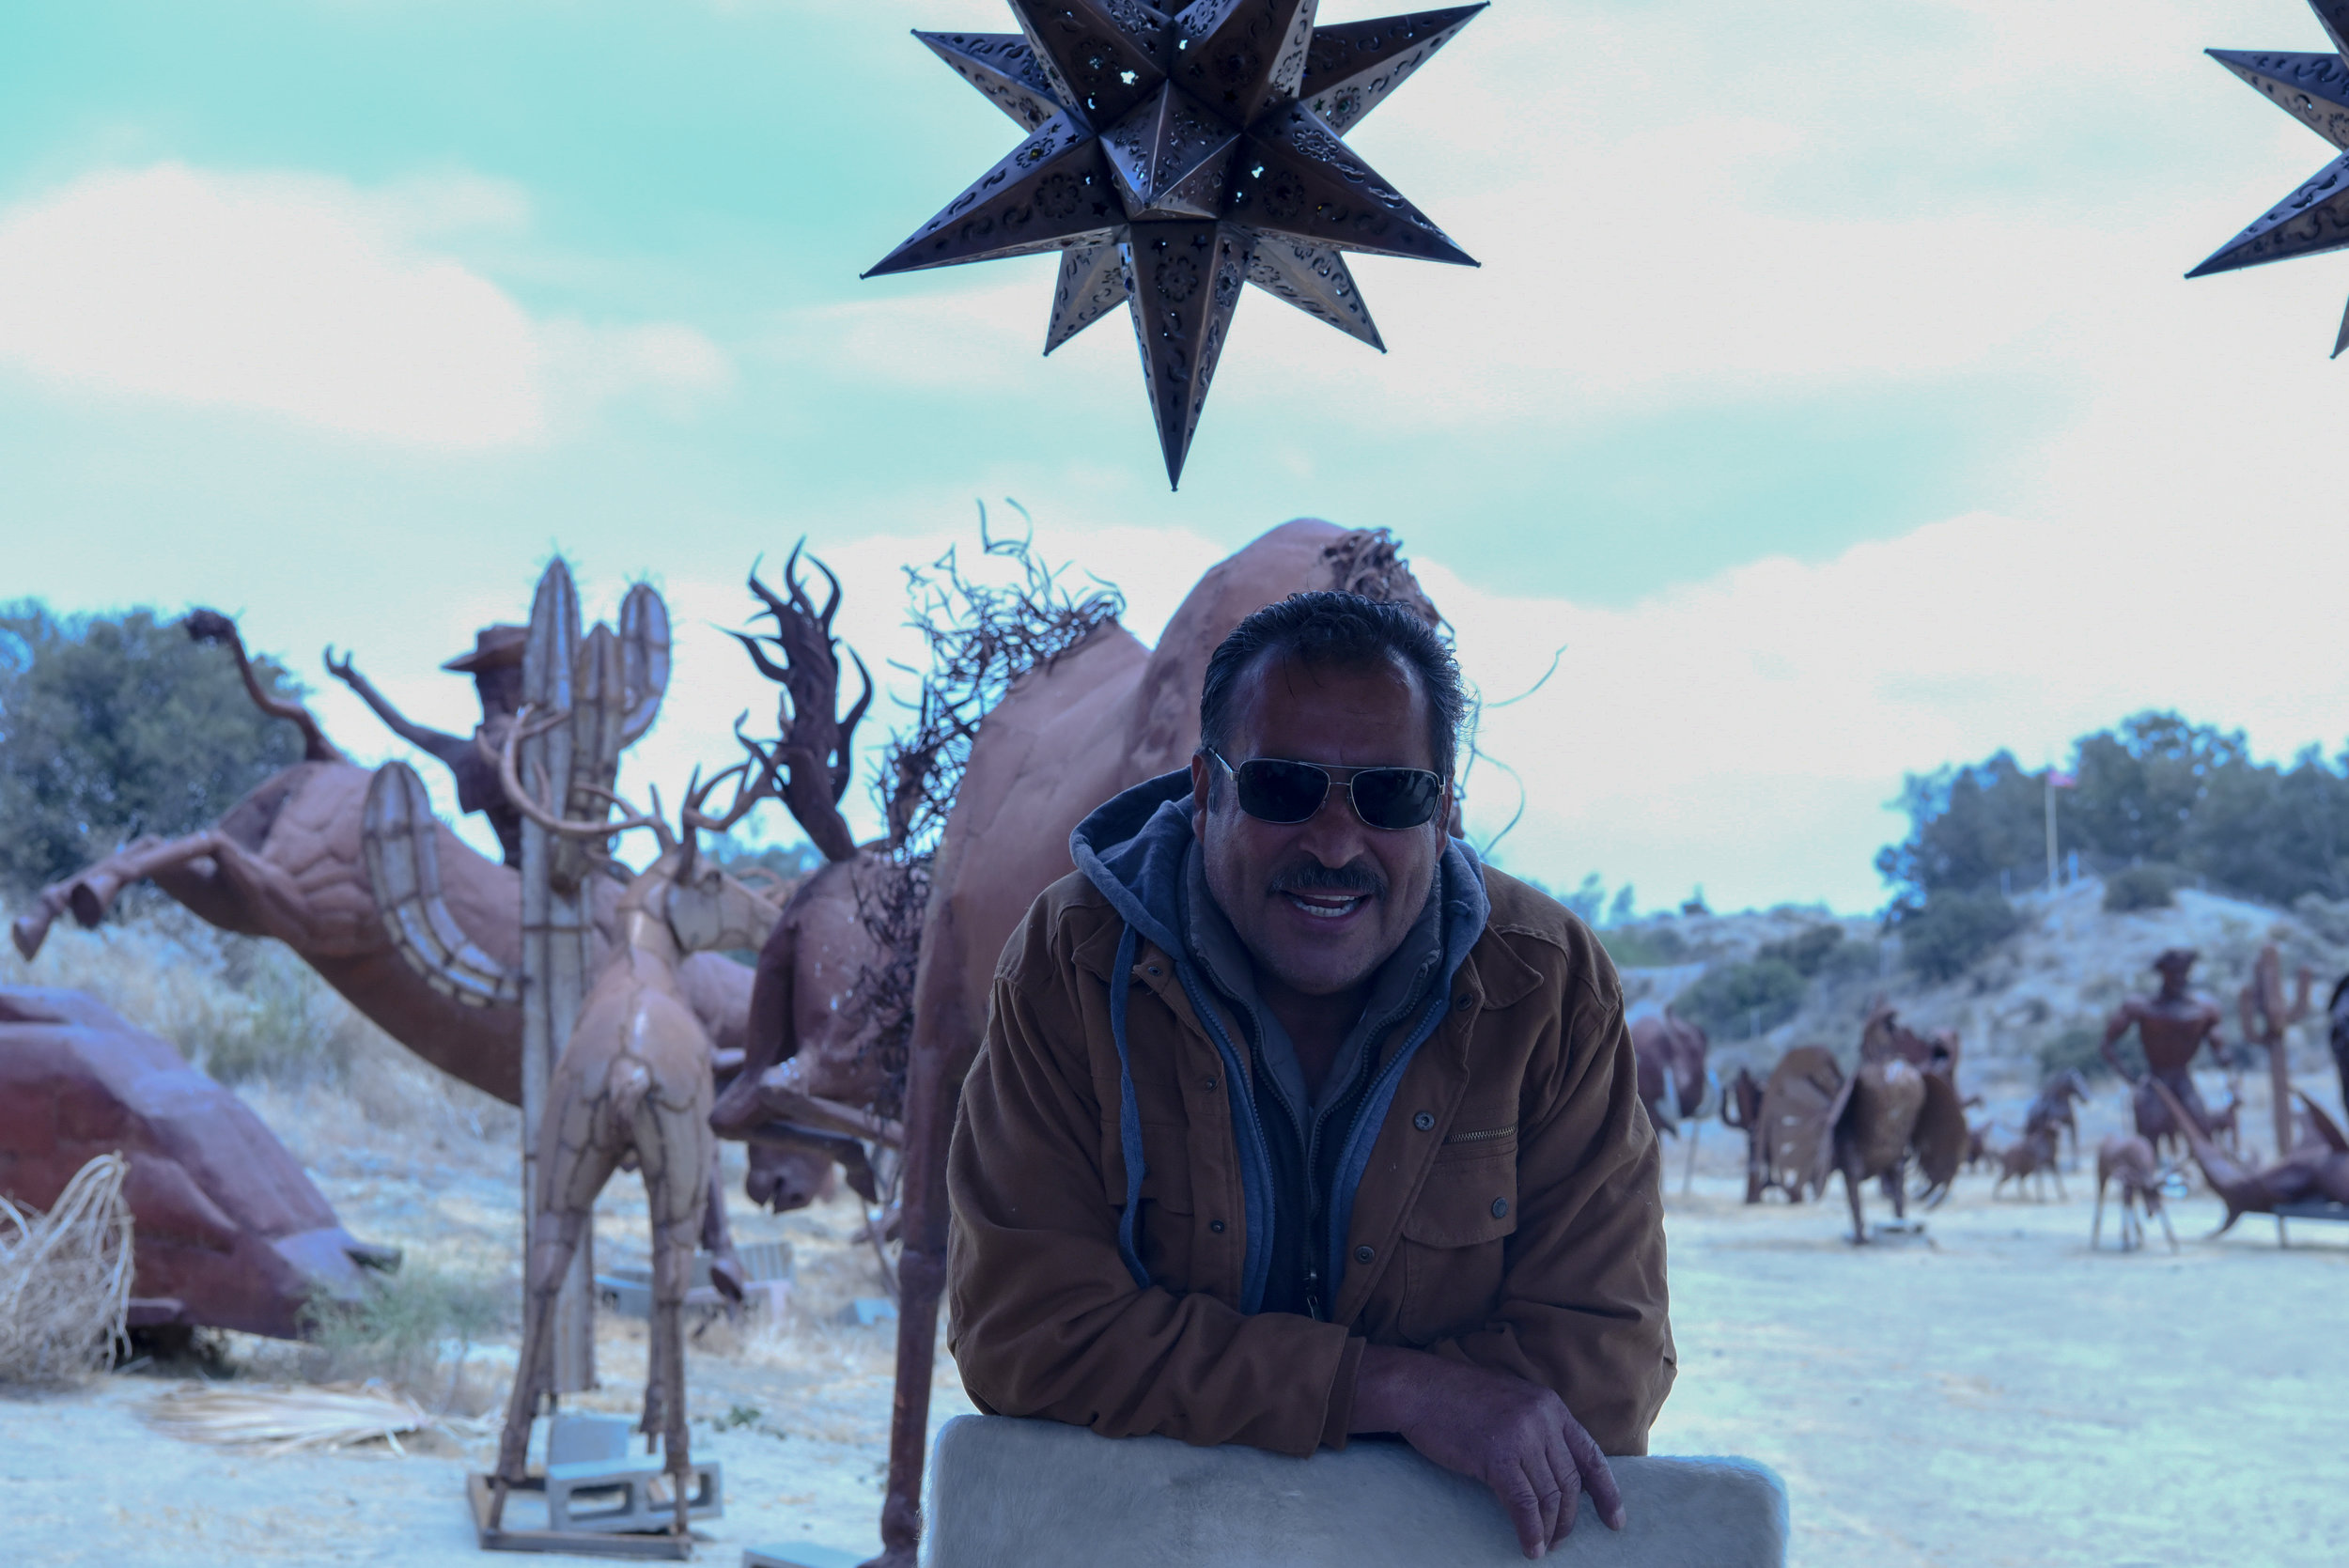
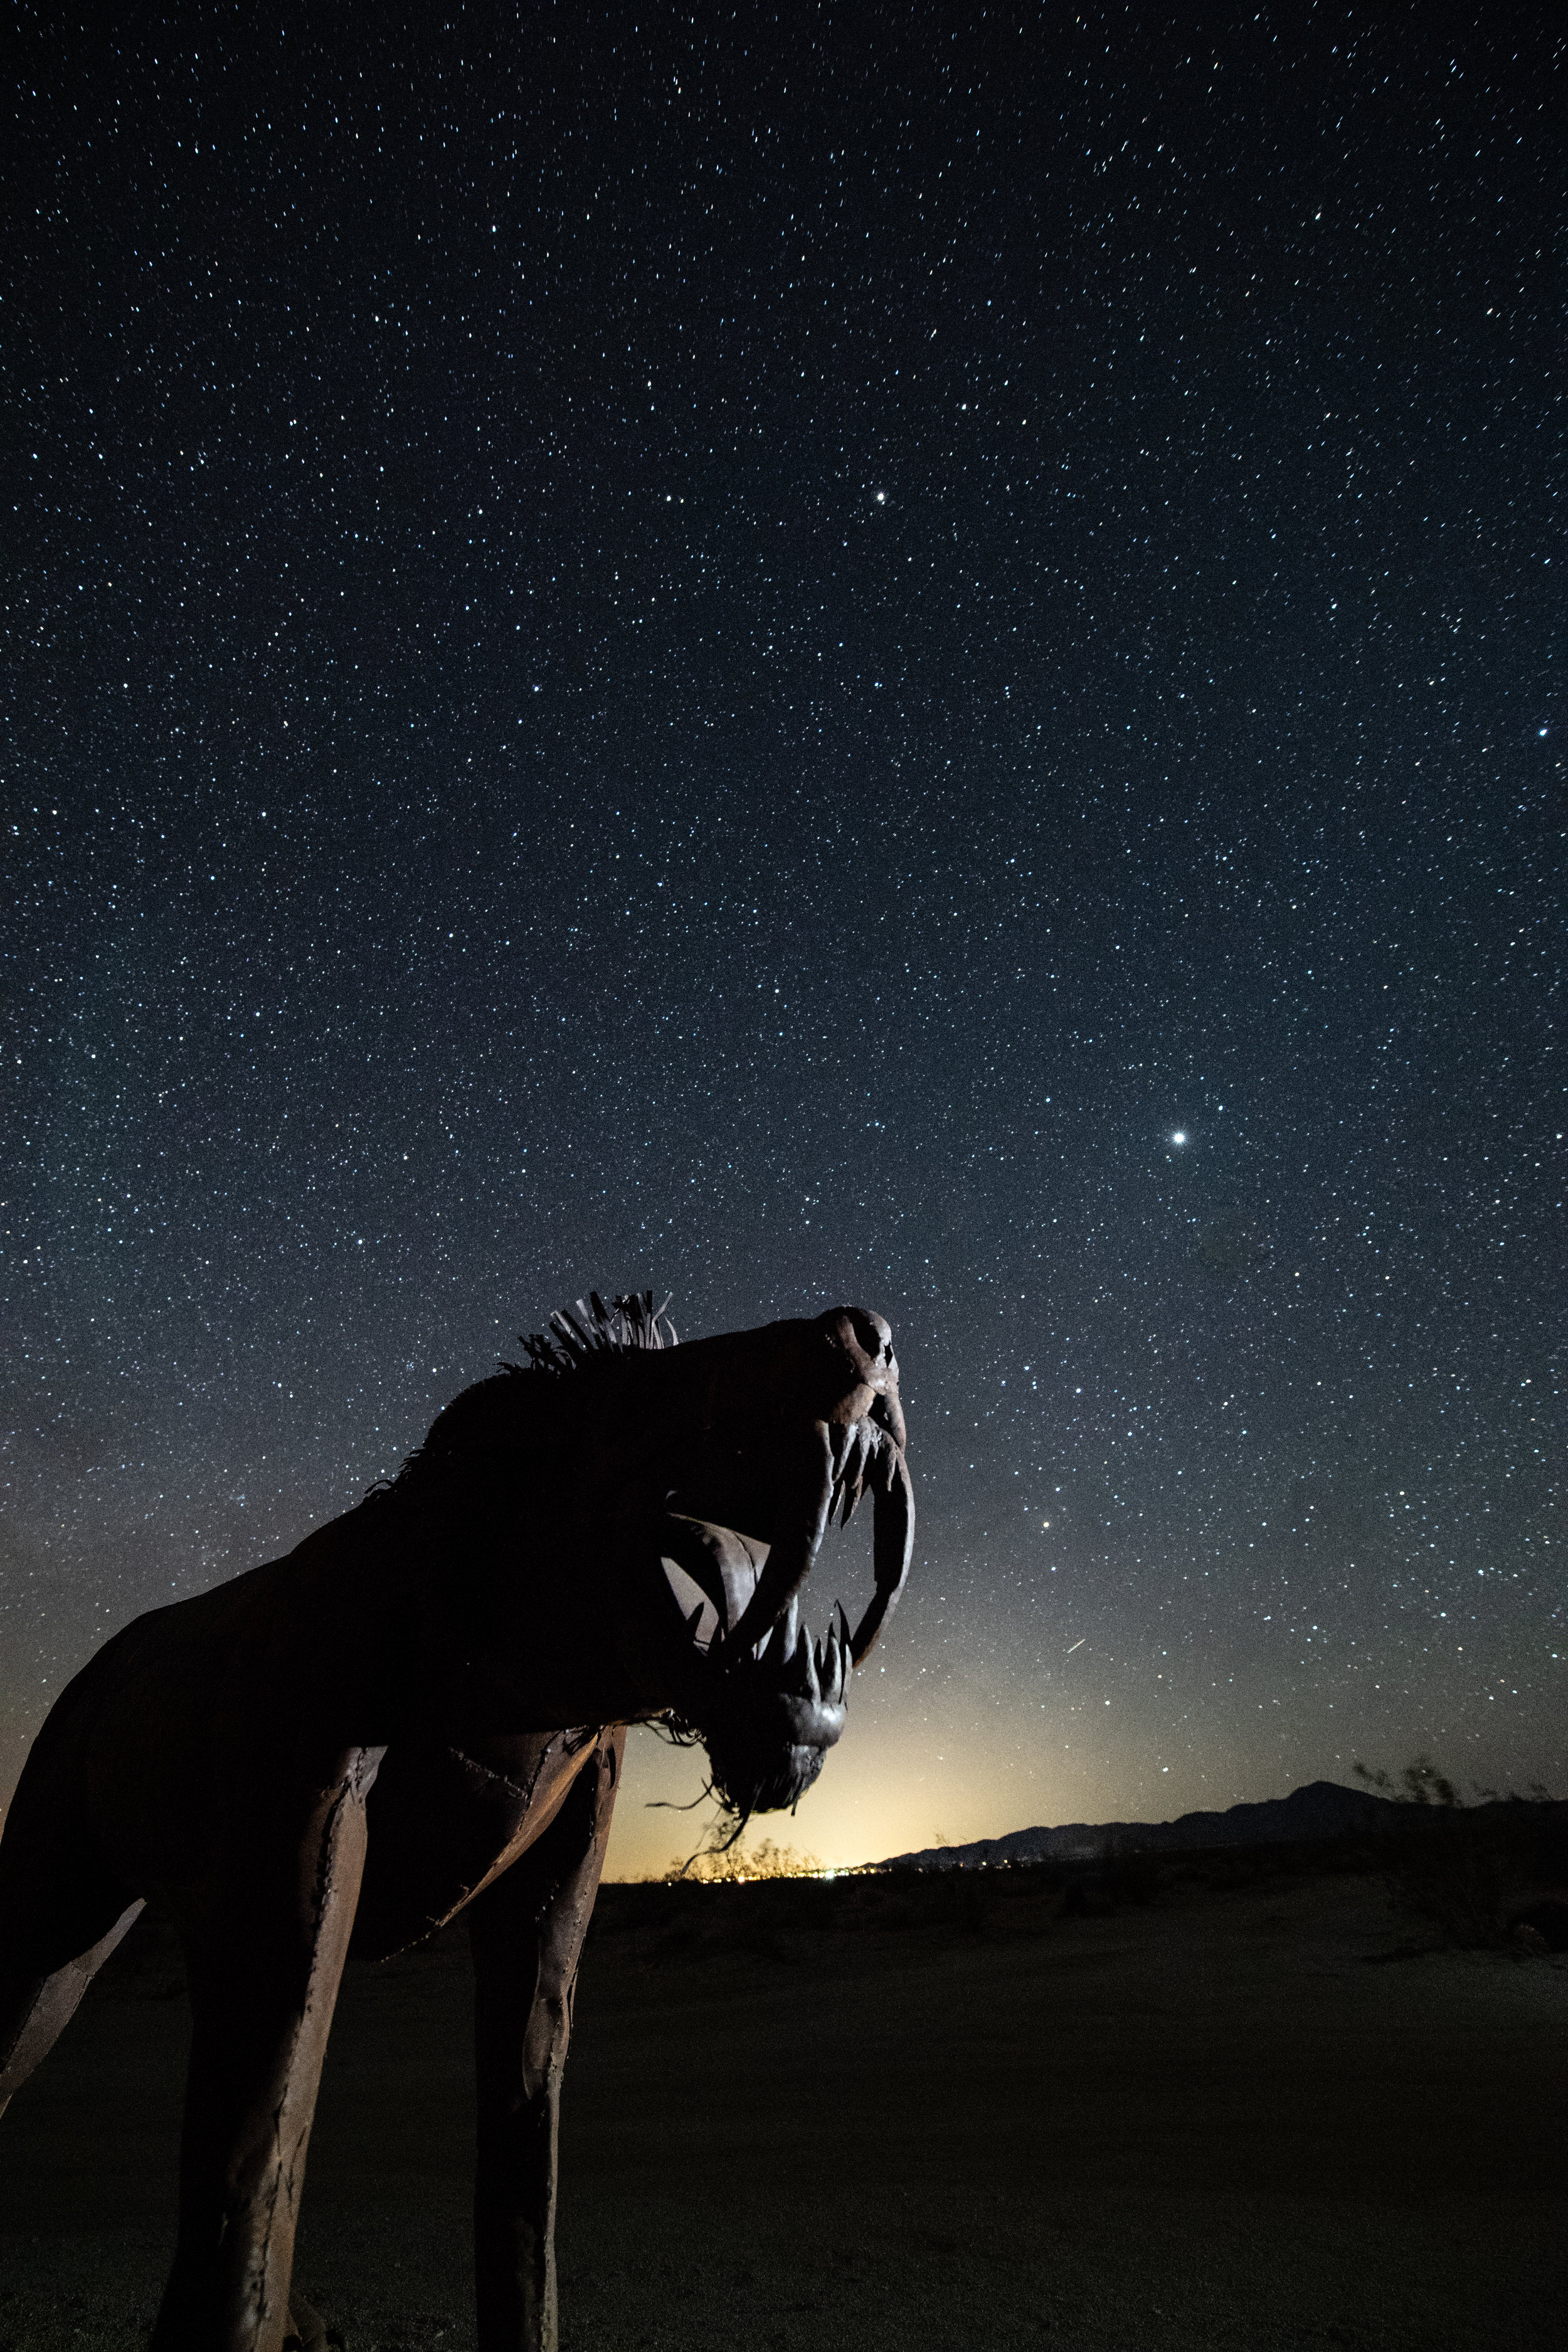
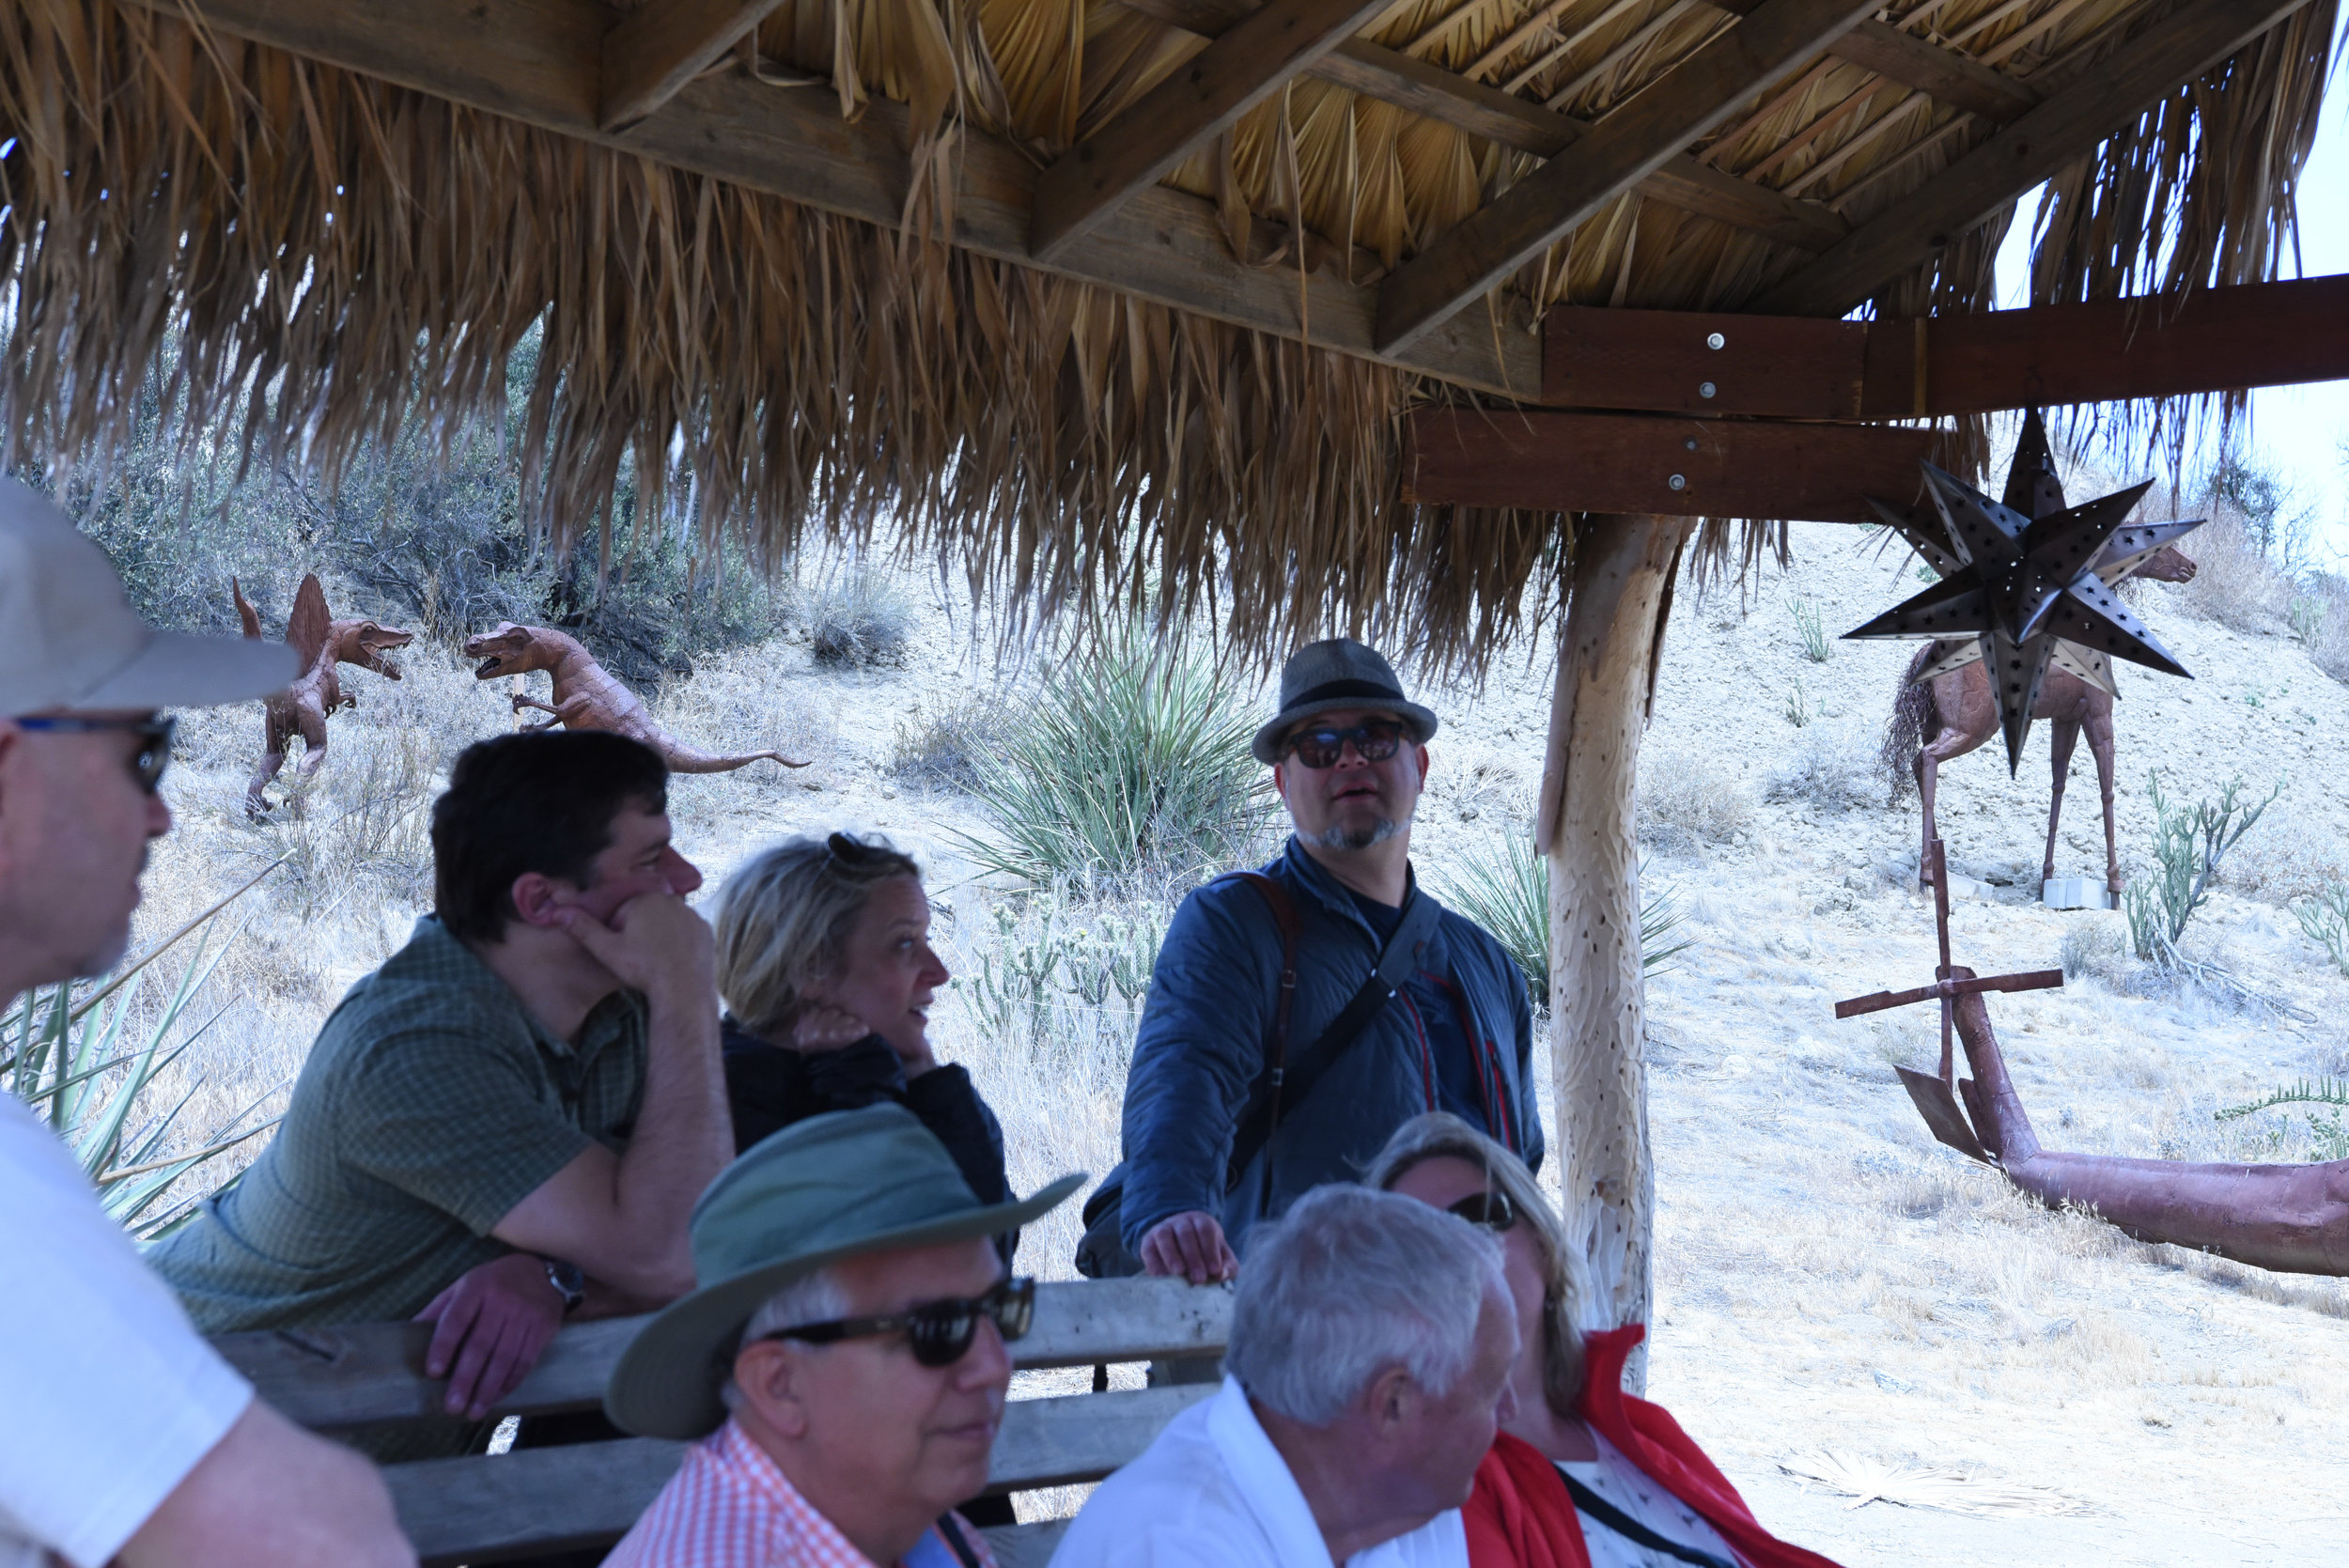
Dark Skies and Desert Beasts was the official title of our first Ambassador Series workshop with Atlas Obscura. It was held in the dark sky community of Borrego Springs, California, and our focus was the 130-plus surreal sculptures of Ricardo Breceda that created an amazing “Night Sky Museum” with the Milky Way as our backdrop.

For those who are unfamiliar with Atlas Obscura, they have been the go-to online guide to the strange and unusual all over the world for the last 10 years. It was an honor to work with their team, to introduce them to the beauty of the night and to create a unique experience.

Borrego Springs is part of the Sonoran Desert and has been an oasis in the valley for many years—though now more people seek its dark skies than ever before. We enhanced the California vibes even more by staying at an Old West and vintage trailer themed resort!

We spent our afternoons in class, reviewing students’ work and going over the many techniques of night photography. We explored a different section of the Galleta Meadows each night. The variety of sculptures—from the iconic “dragon” serpent that cuts through the main road to the spectacular standoff between the grasshopper and scorpion—were just amazing to aim our lenses toward. But there were so many other beasts to play with too, from dinosaurs and wild horses, to sabertooth tigers, camels, sloths and jeeps driving into the stars!

We scouted each area during the day, and we dropped Google pins and took test shots for sculptures that inspired us so that we could be more productive once the sun set.

Our group of students were amazing and worked so well together, each taking a crack at light painting to reinterpret these pieces of art into something they could call their own.

It was definitely a challenging workshop, operating under little to no moon and maintaining focus on some fairly close subject matter while keeping those background stars sharp!

However, both Tim and I were incredibly impressed with the work that was created and the camaraderie that was forged with all! We had so much fun that we are already planning on a return to Borrego and more collaborations with Atlas. Stay tuned!

Scotland: The Hebrides

May 13-23
By Lance Keimig

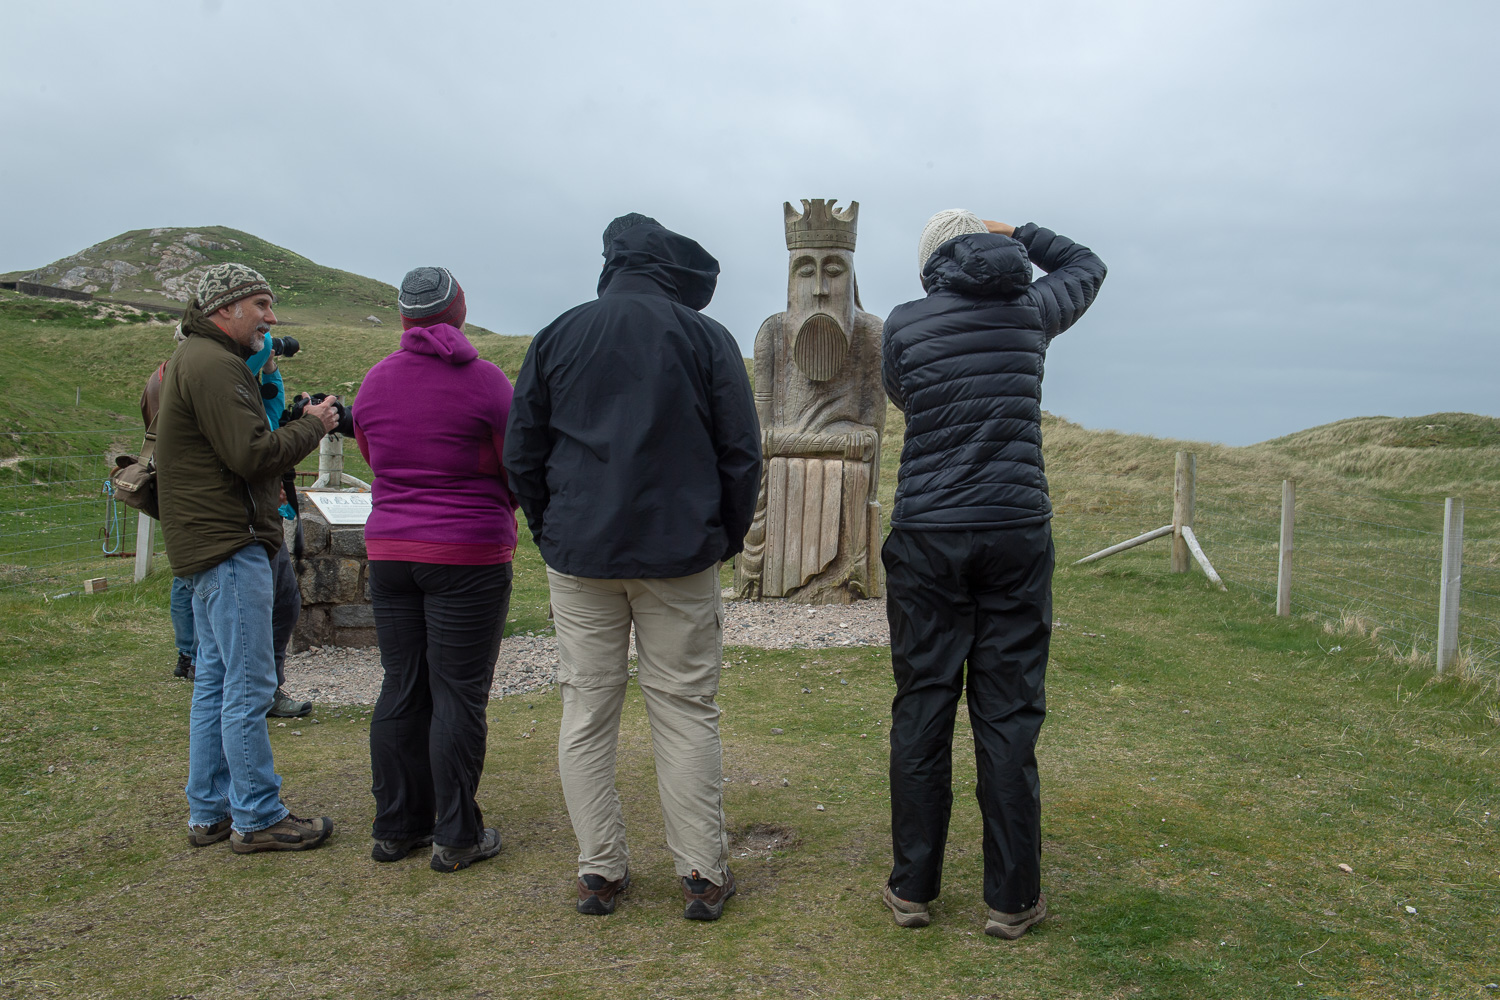
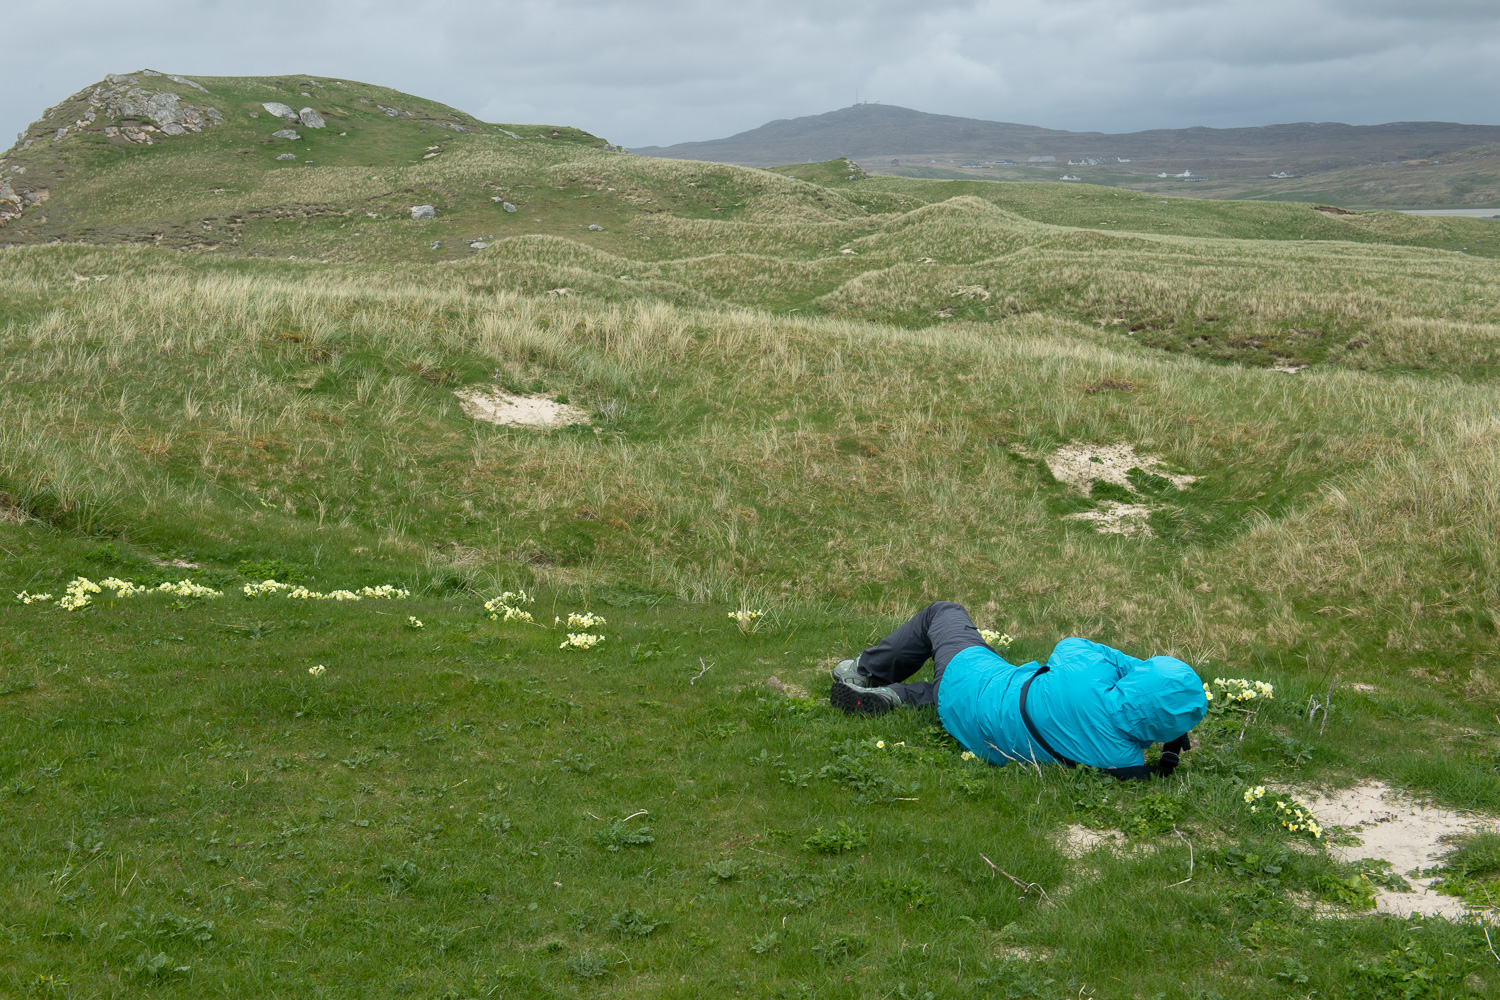
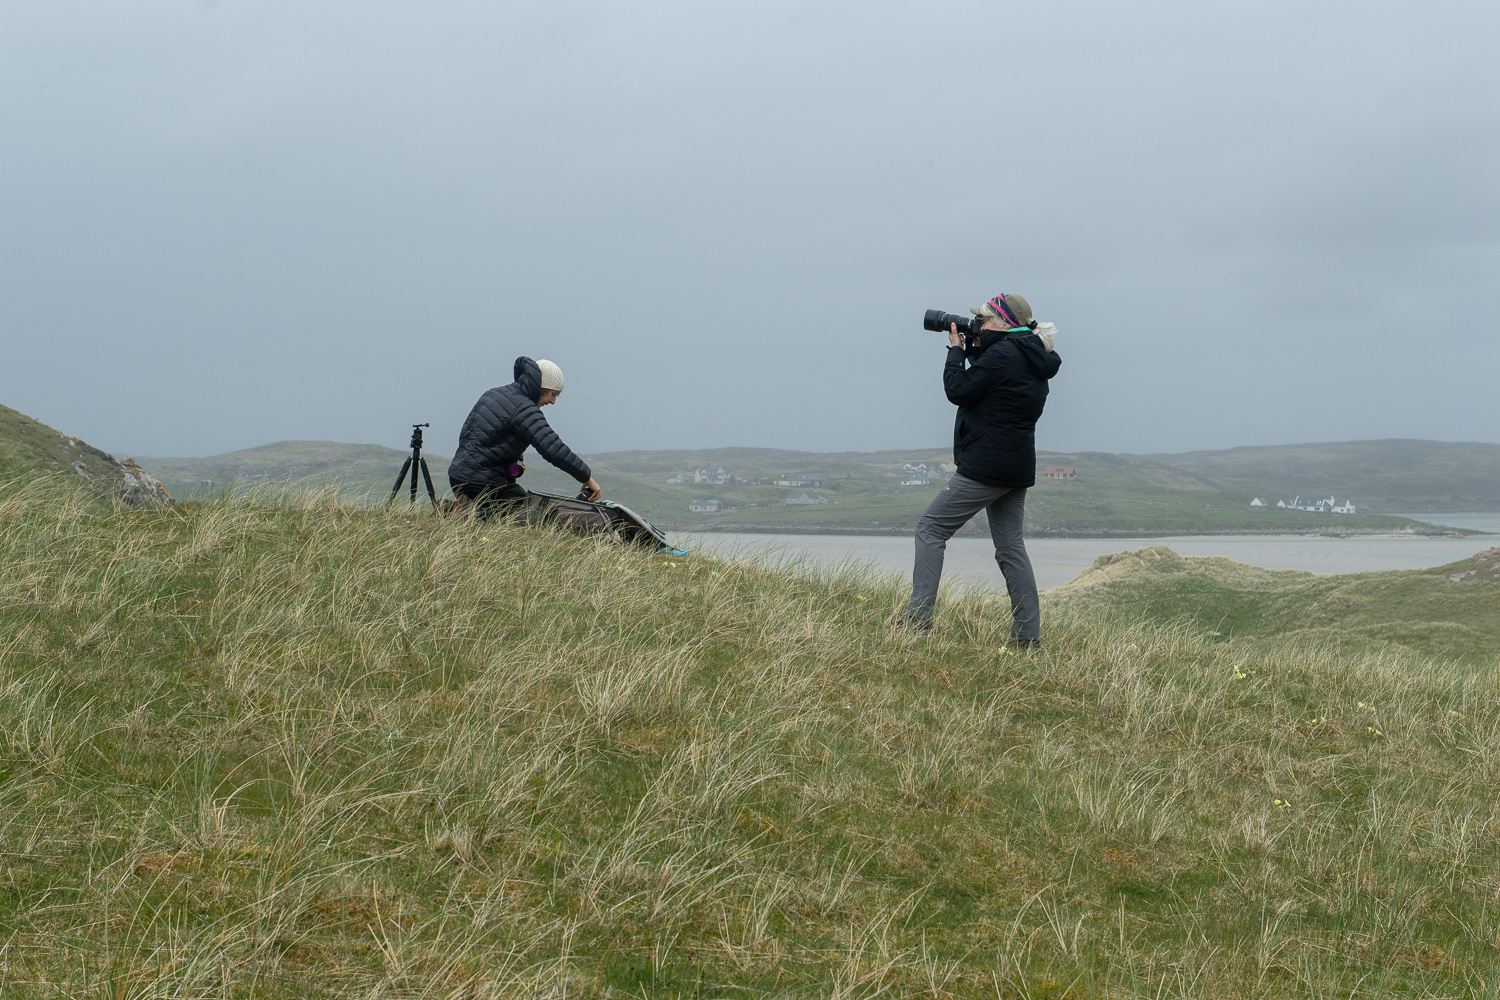
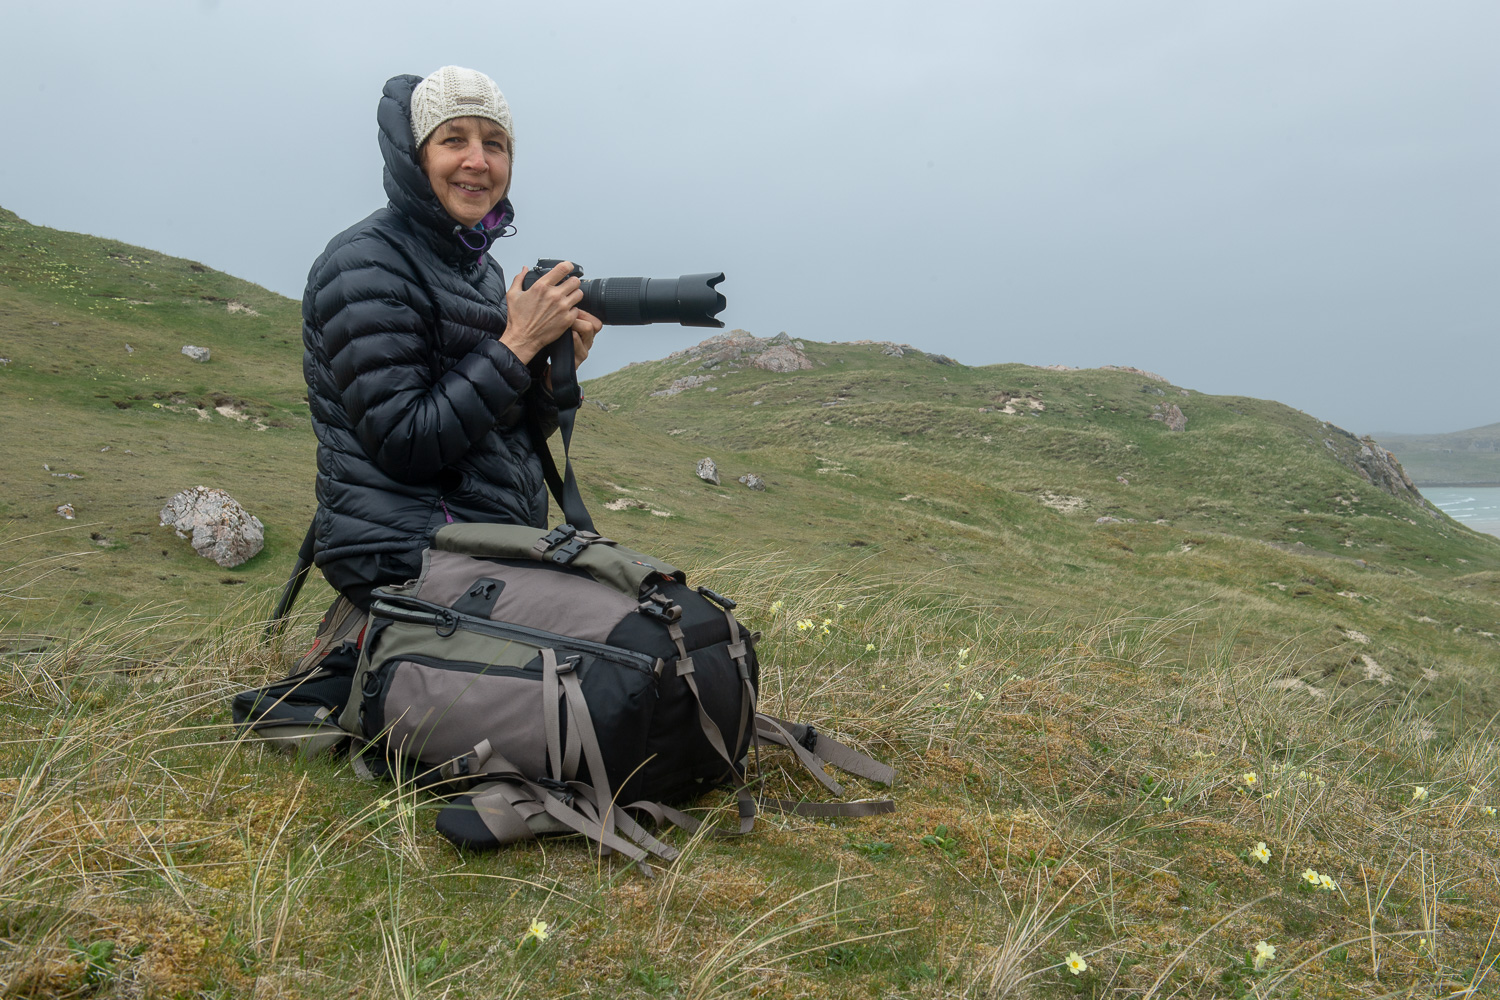
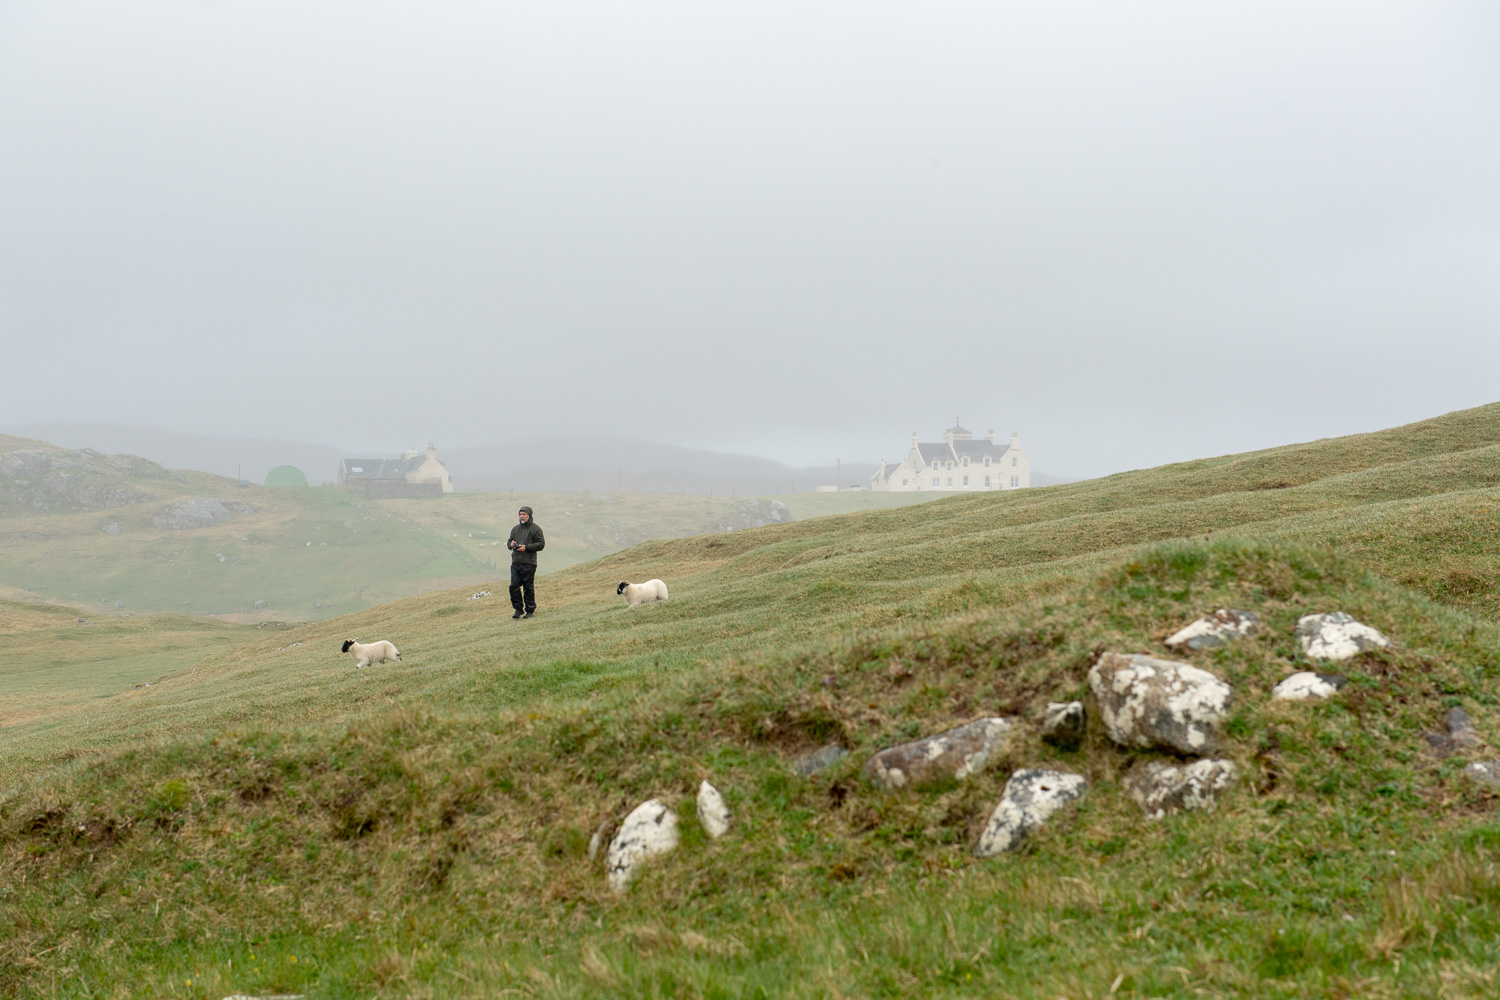
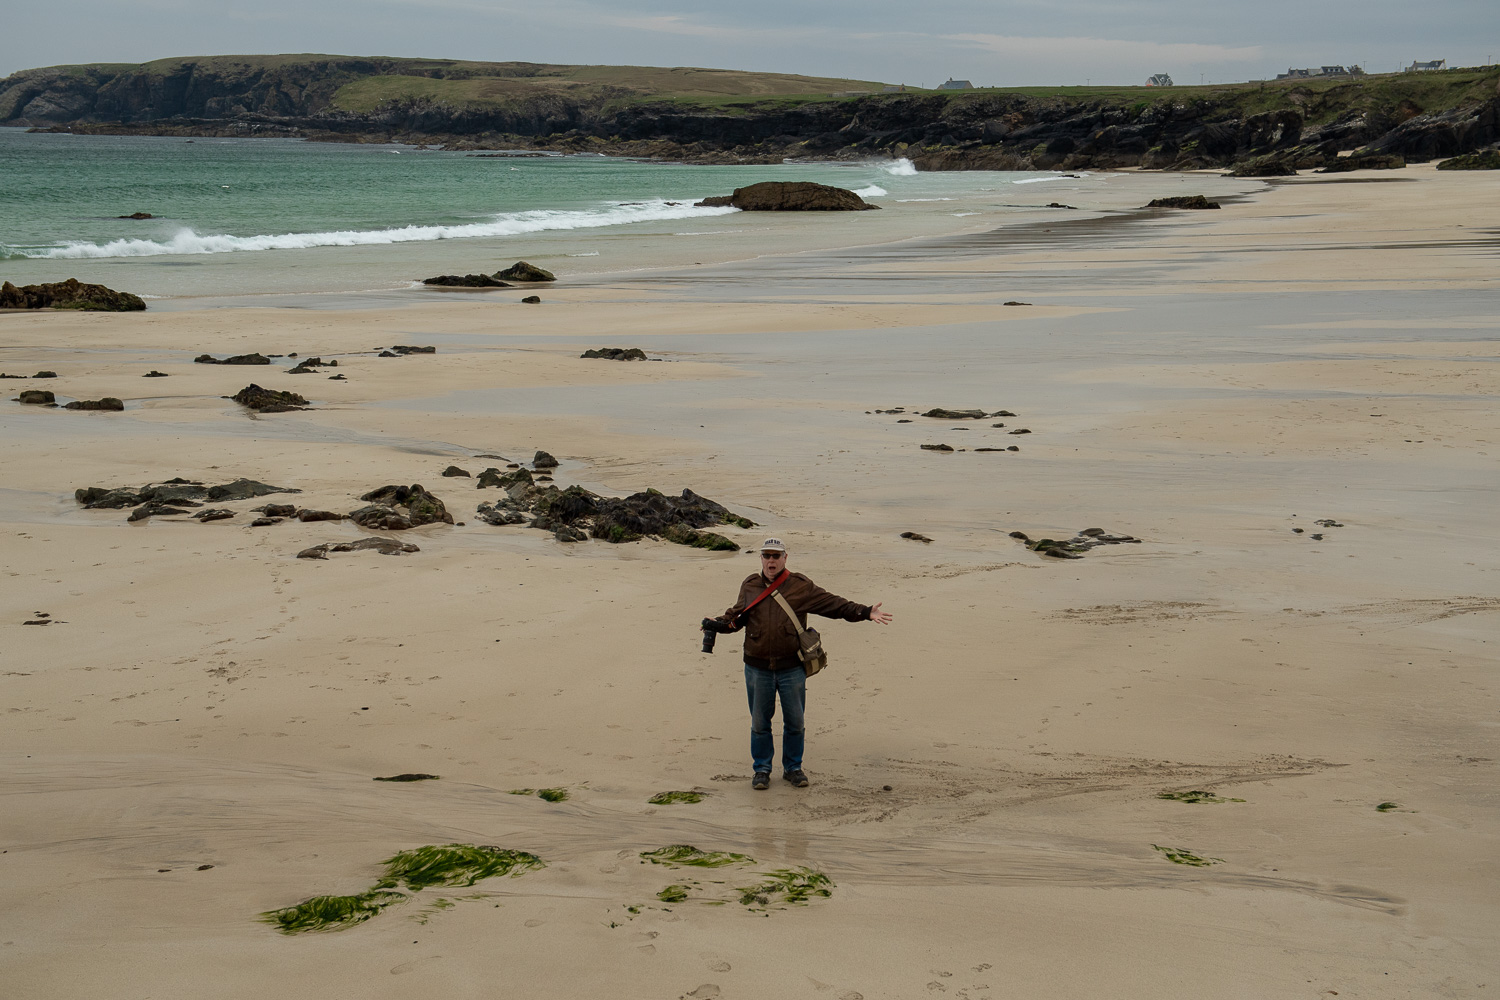
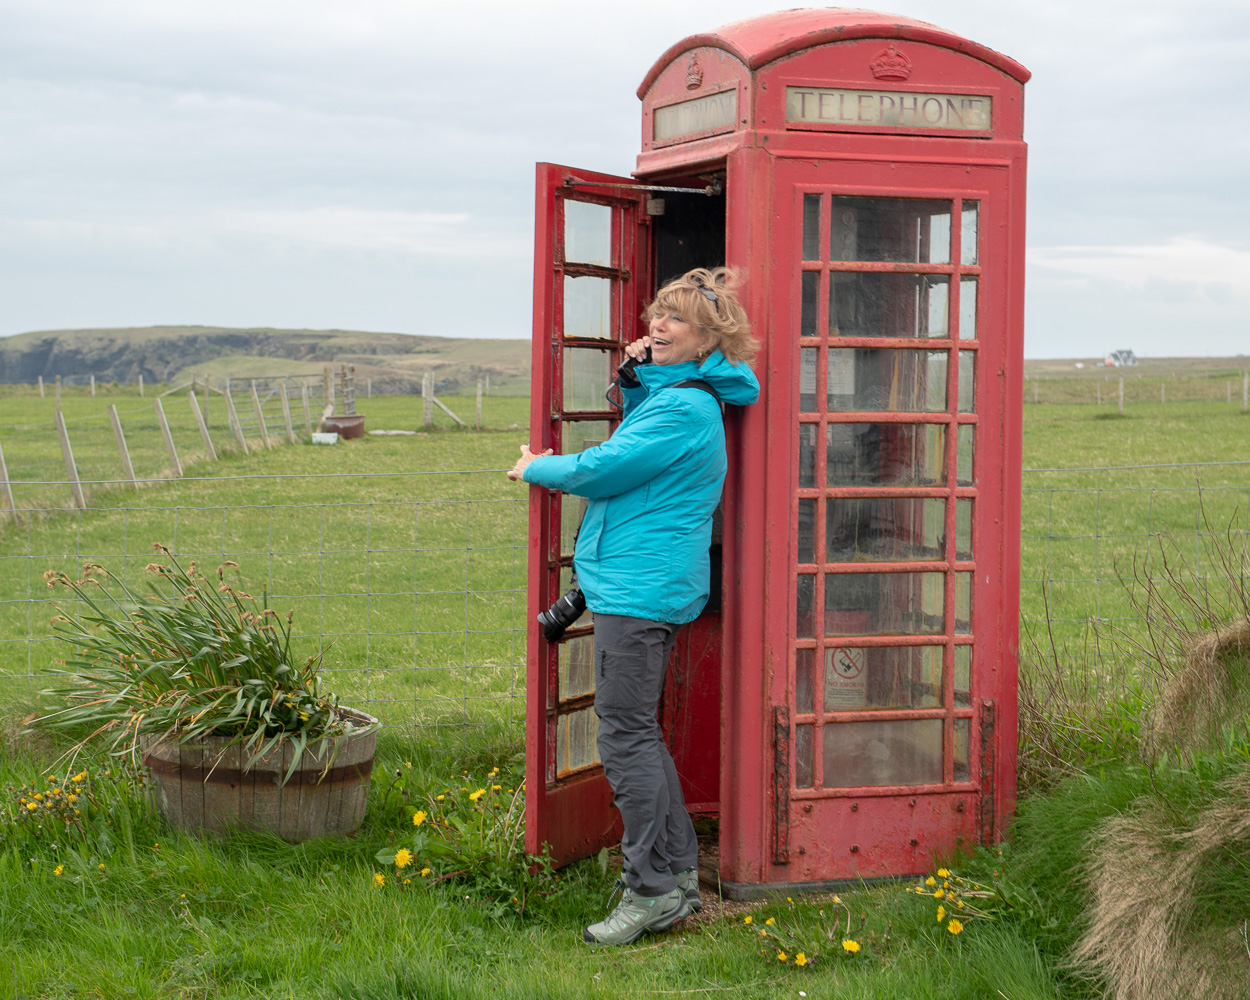
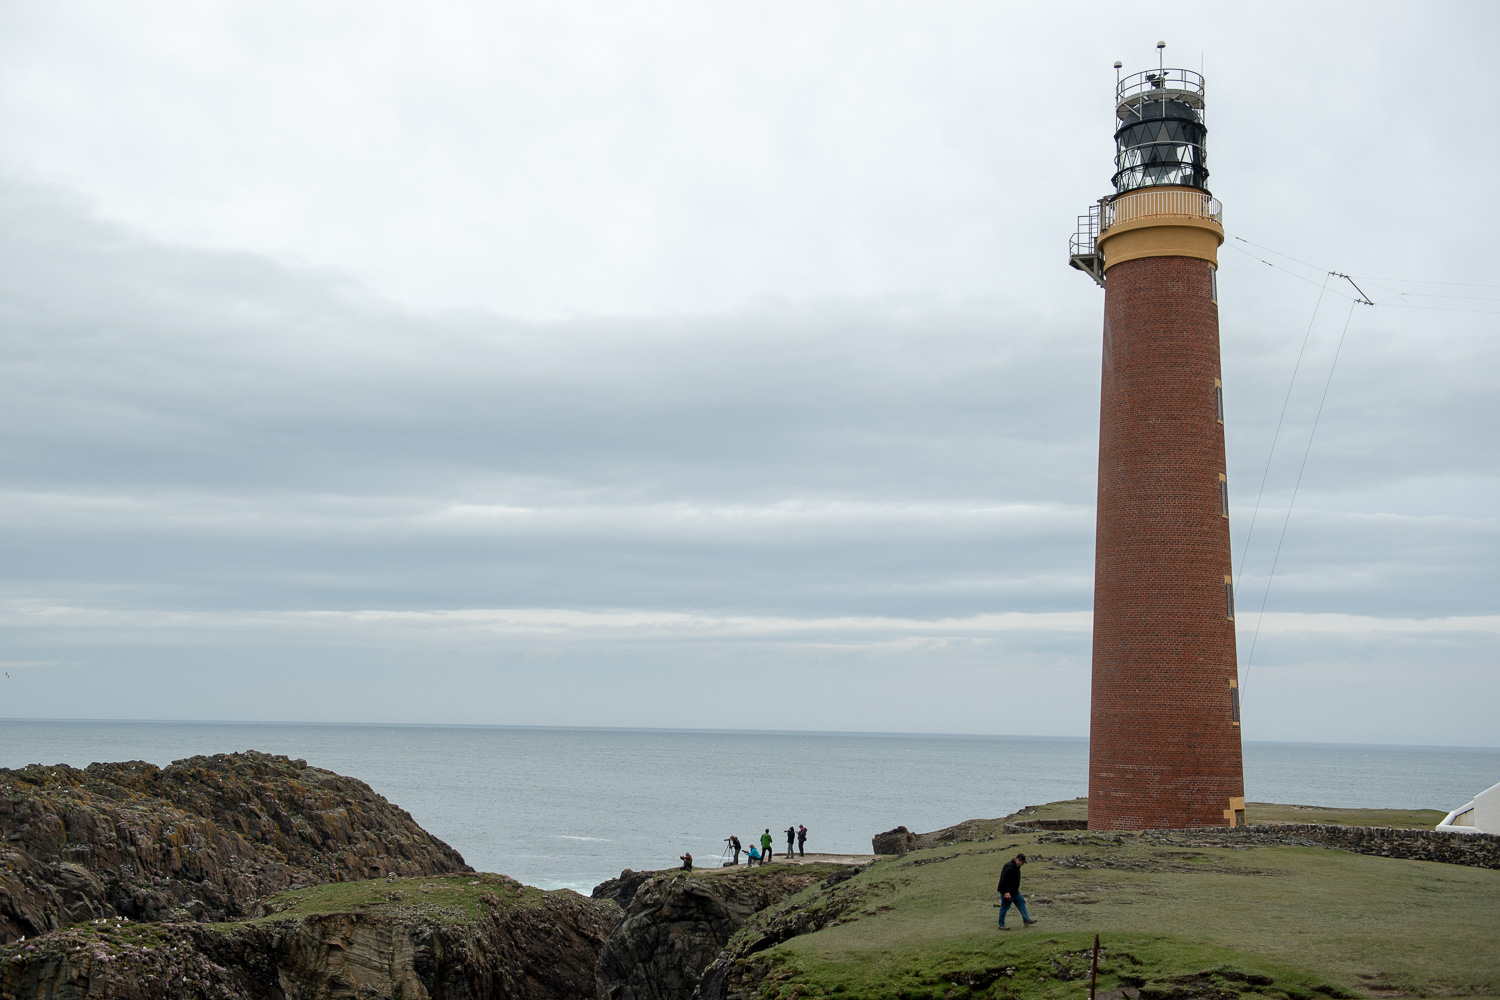
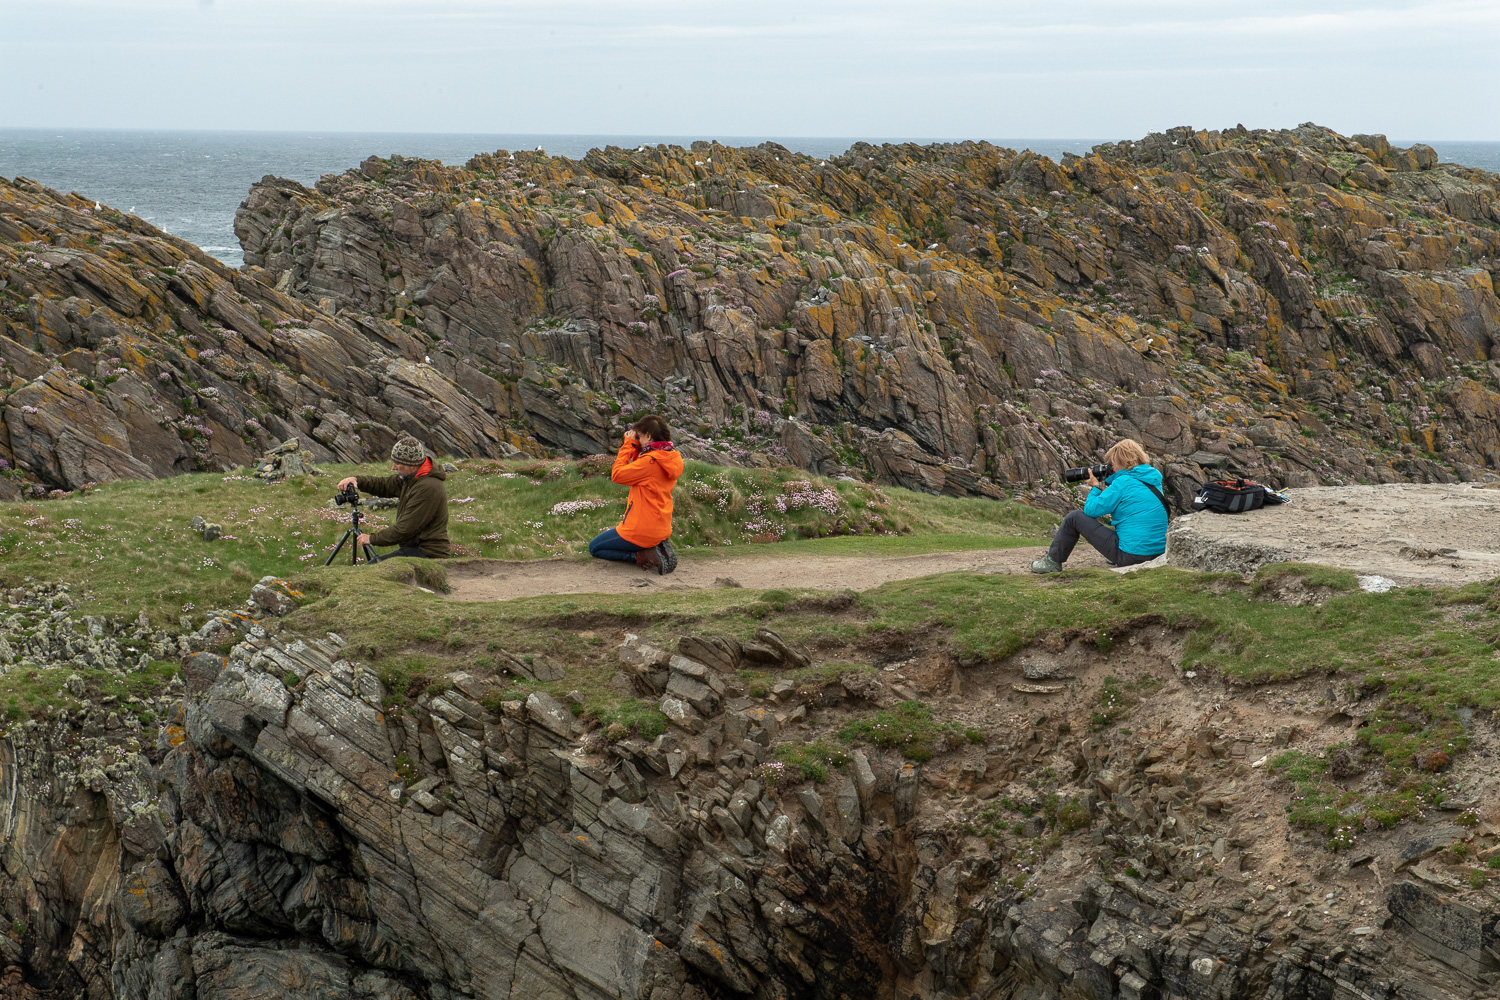
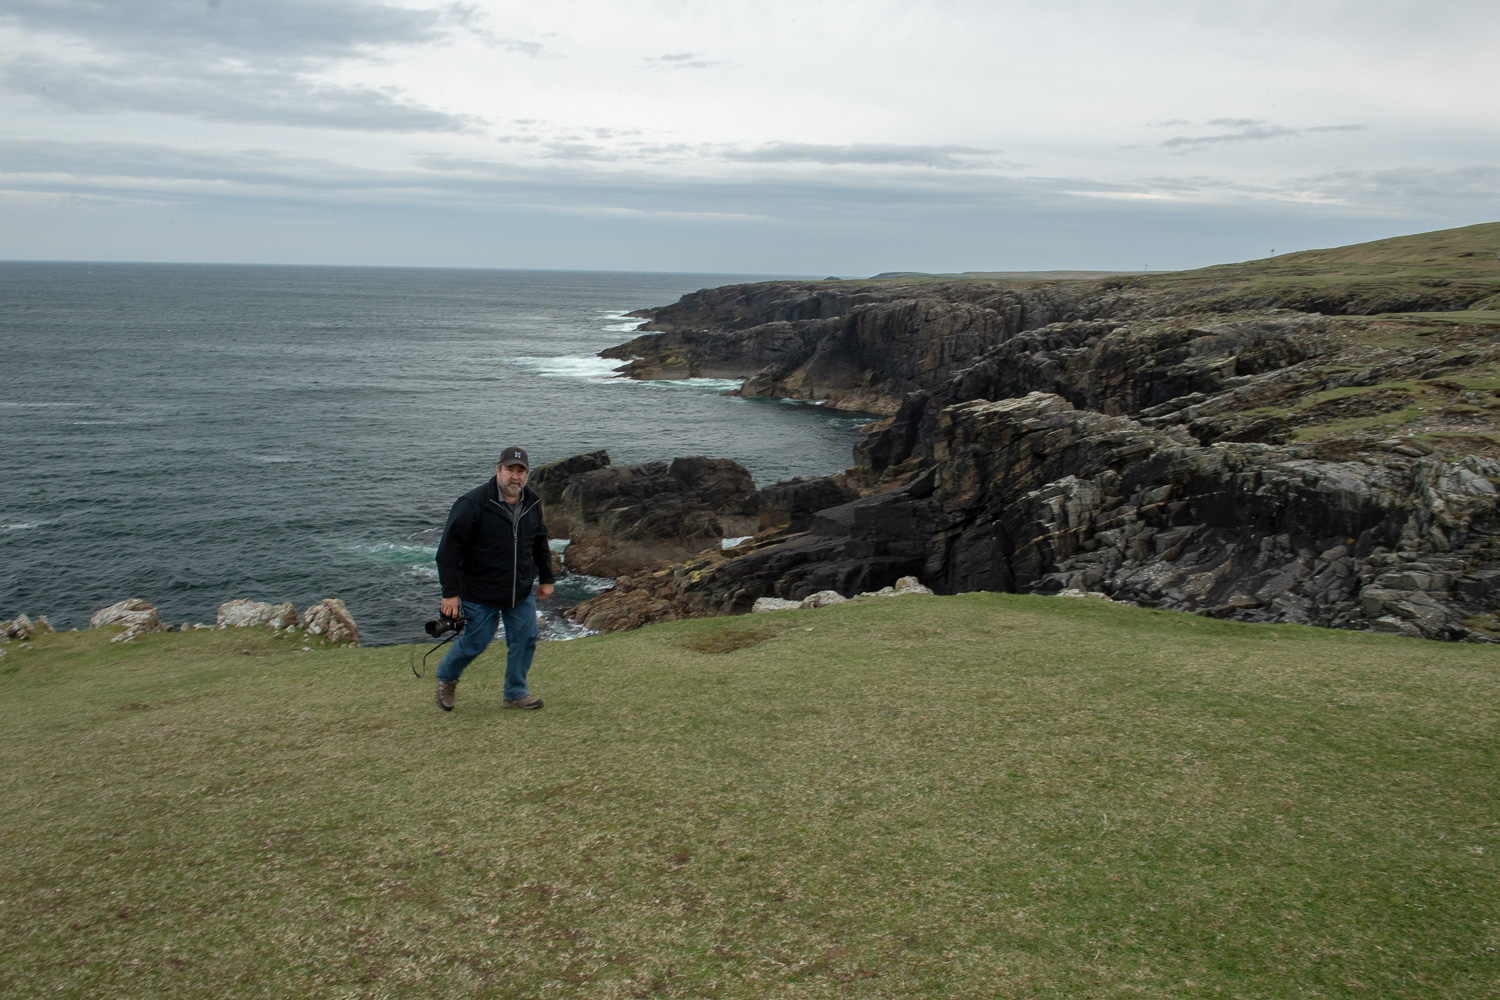
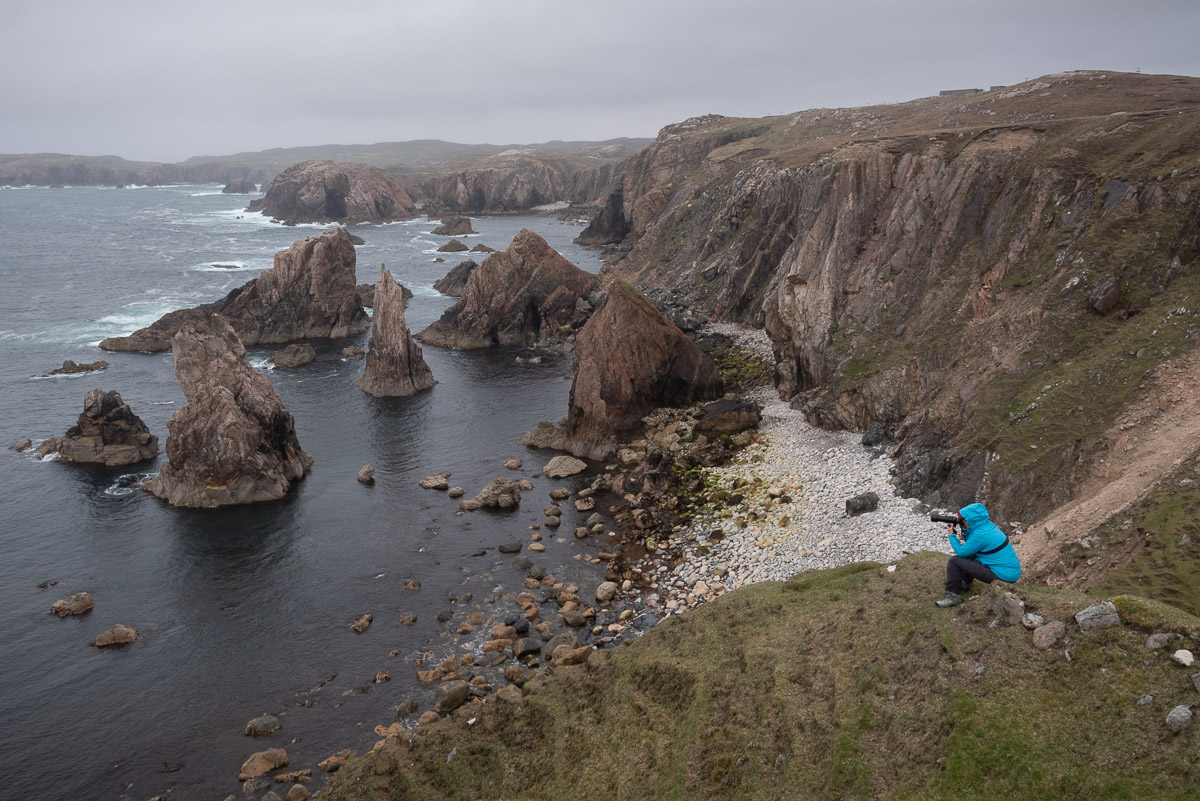
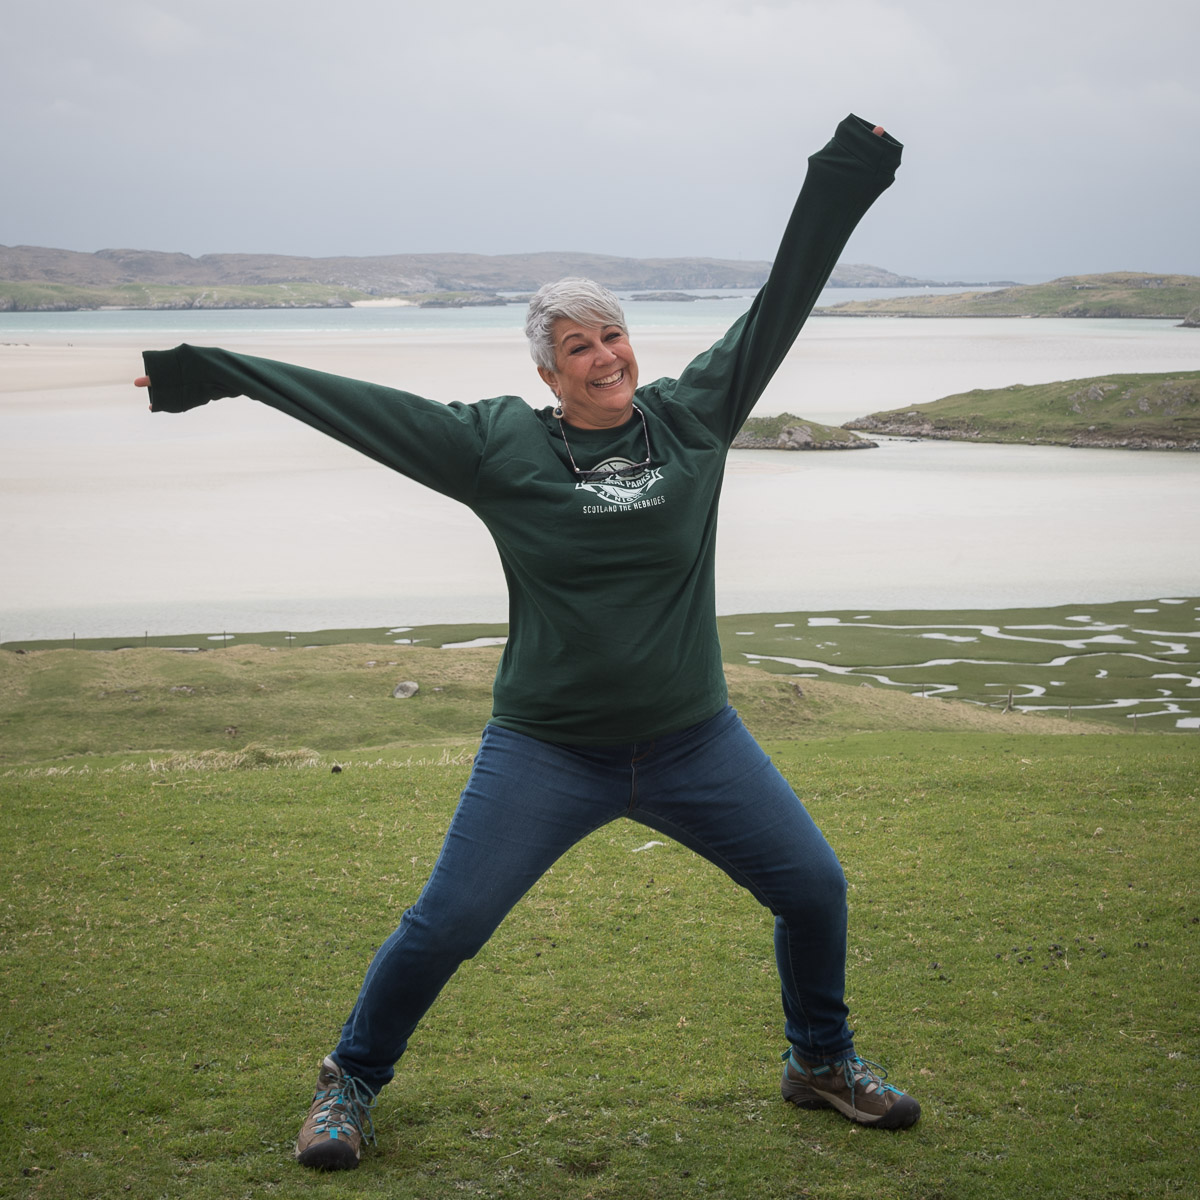
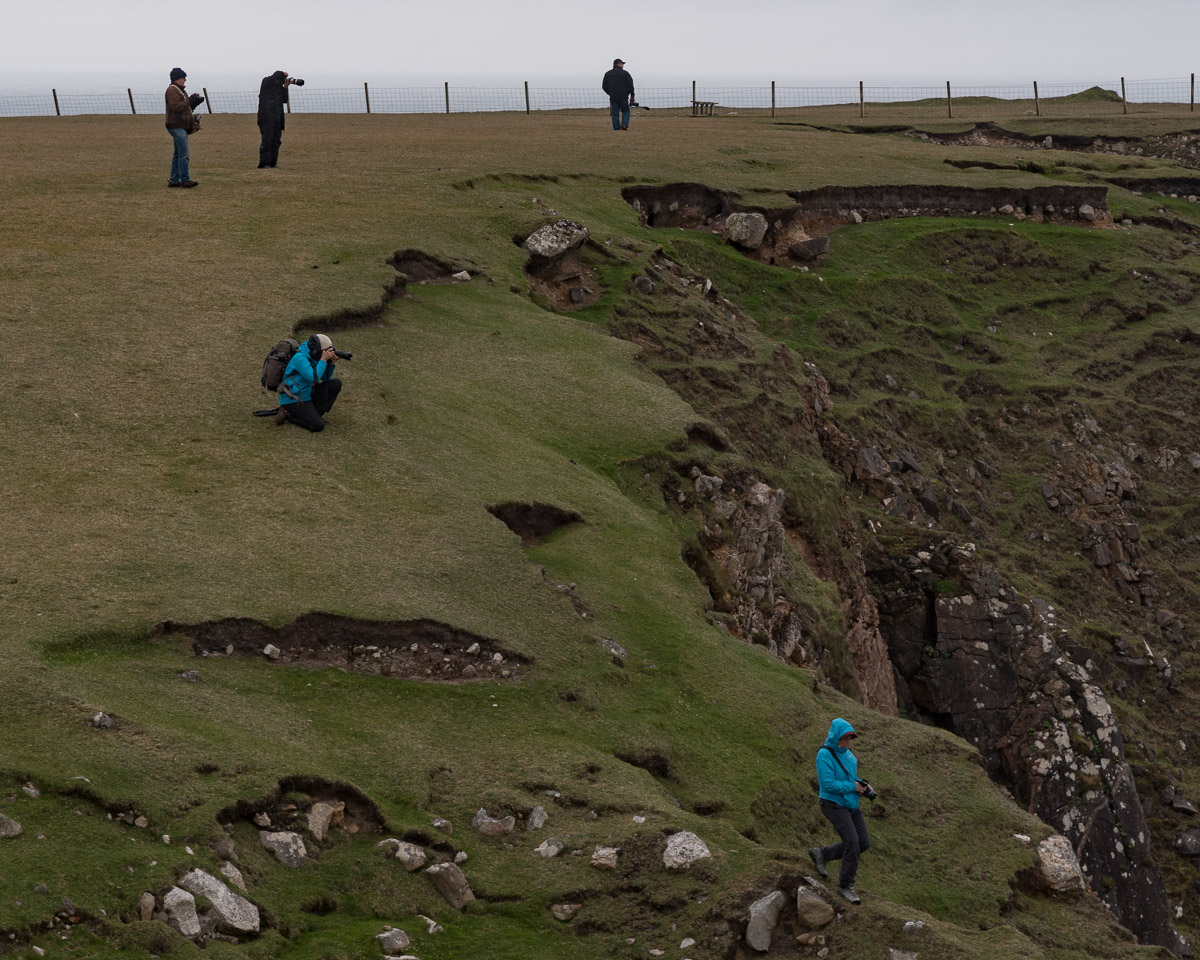
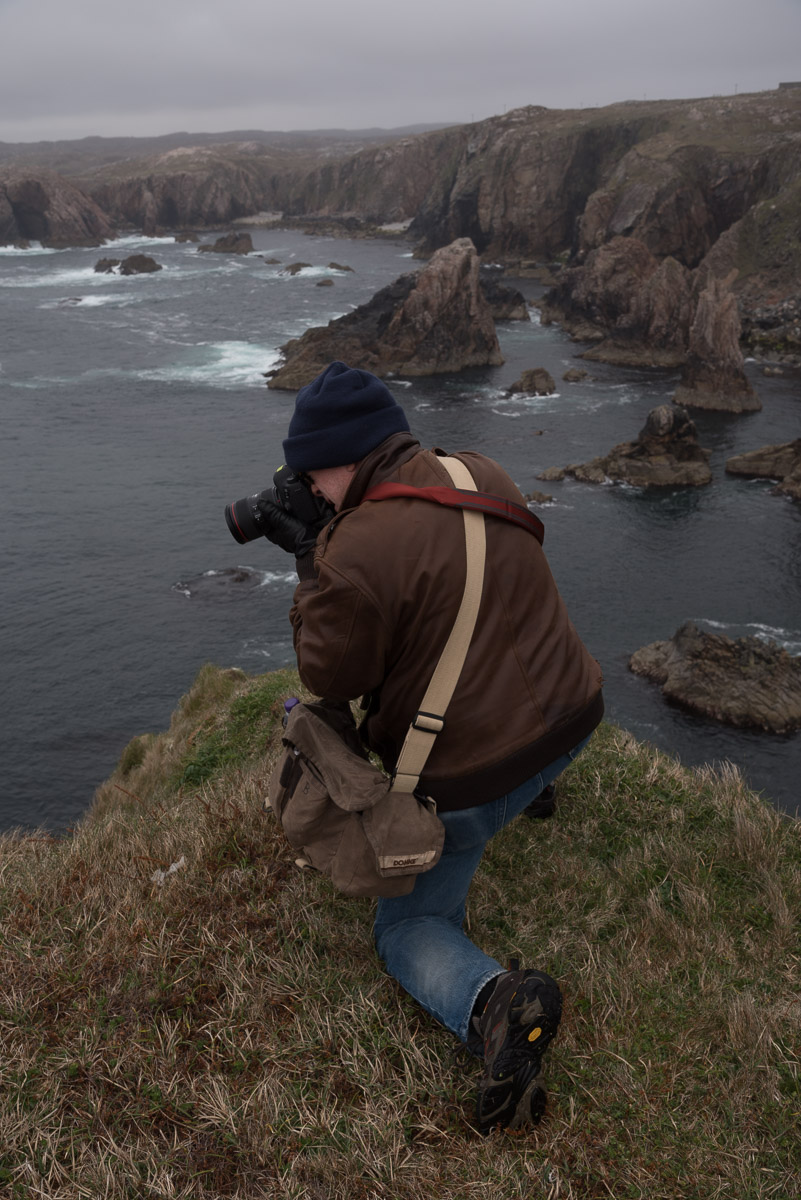
Our second international trip of 2018 was to the Isle of Skye, and the Hebridean Isles of Lewis and Harris.

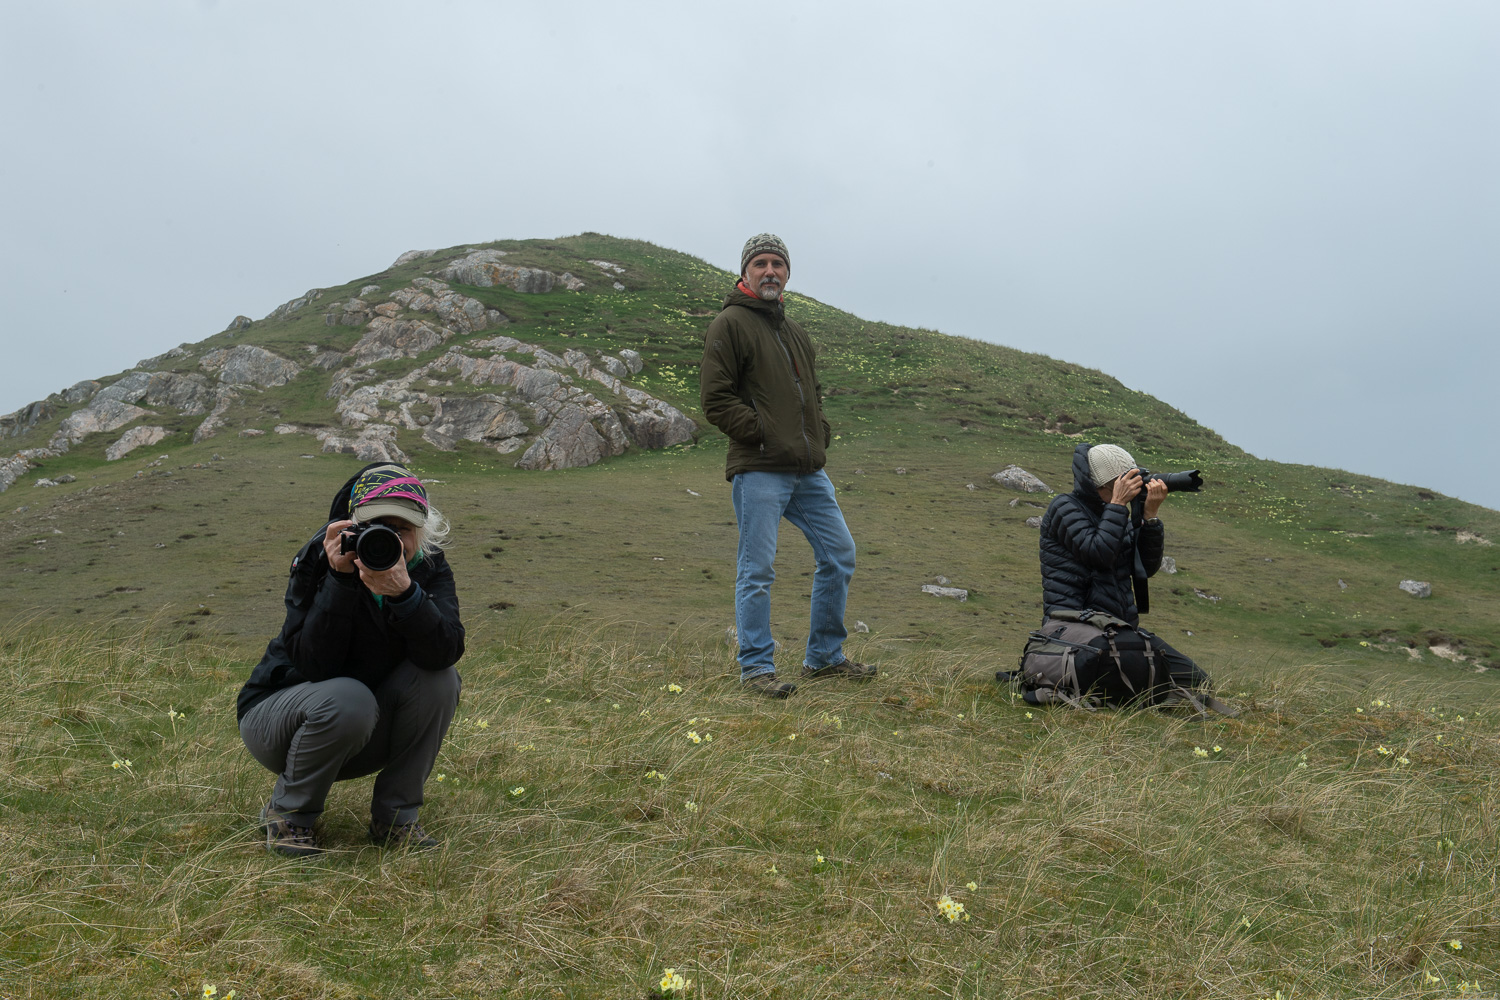
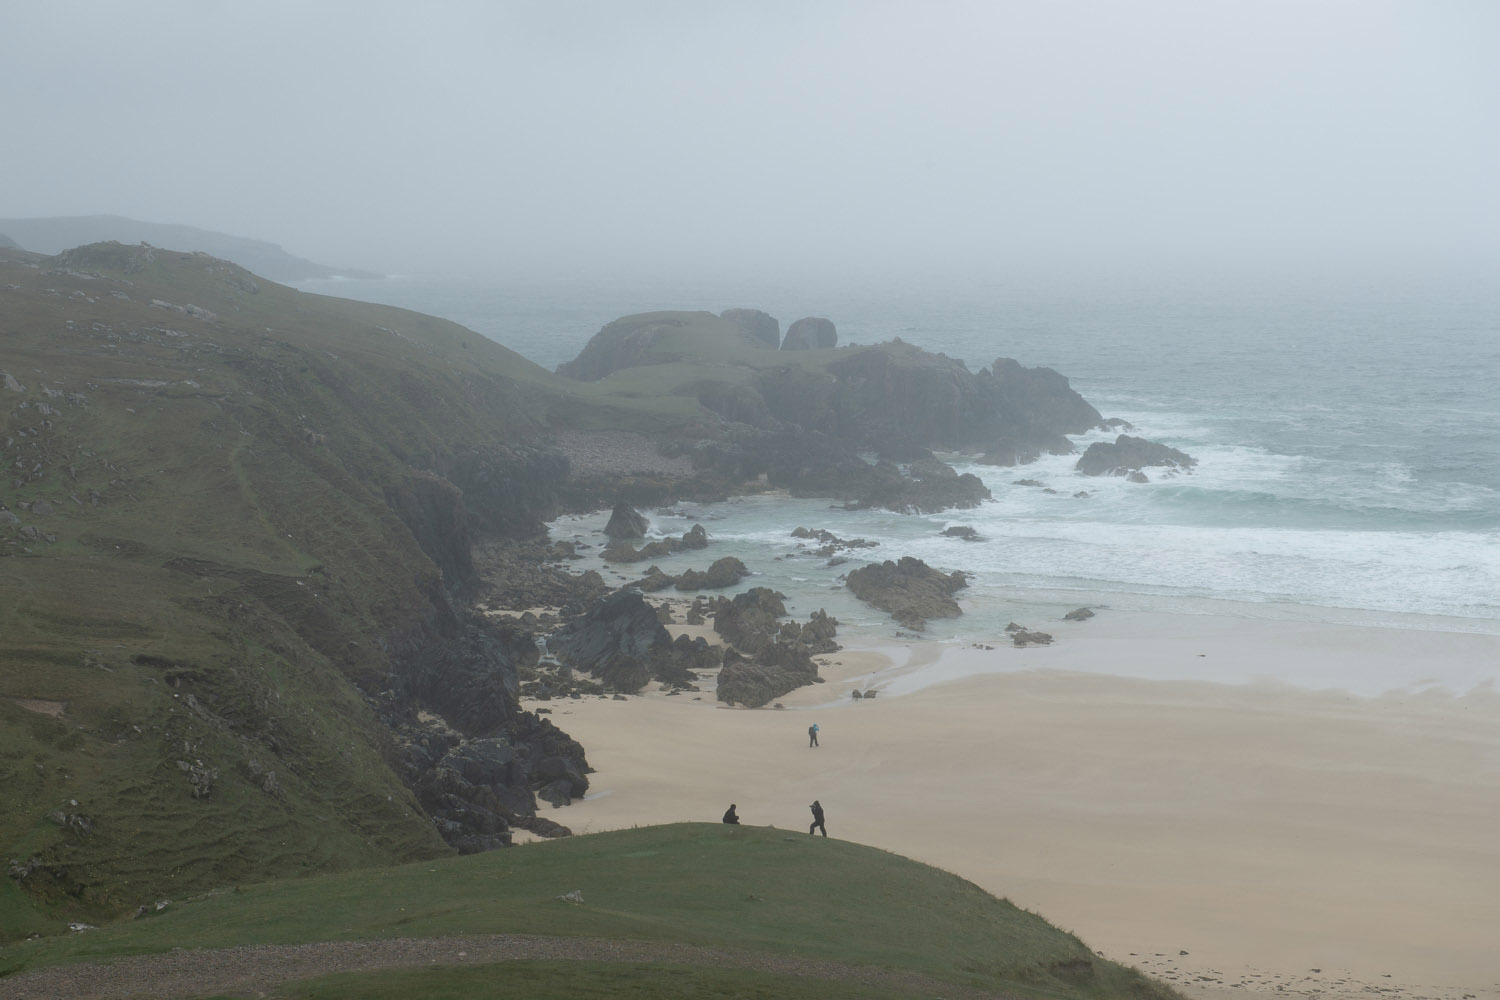
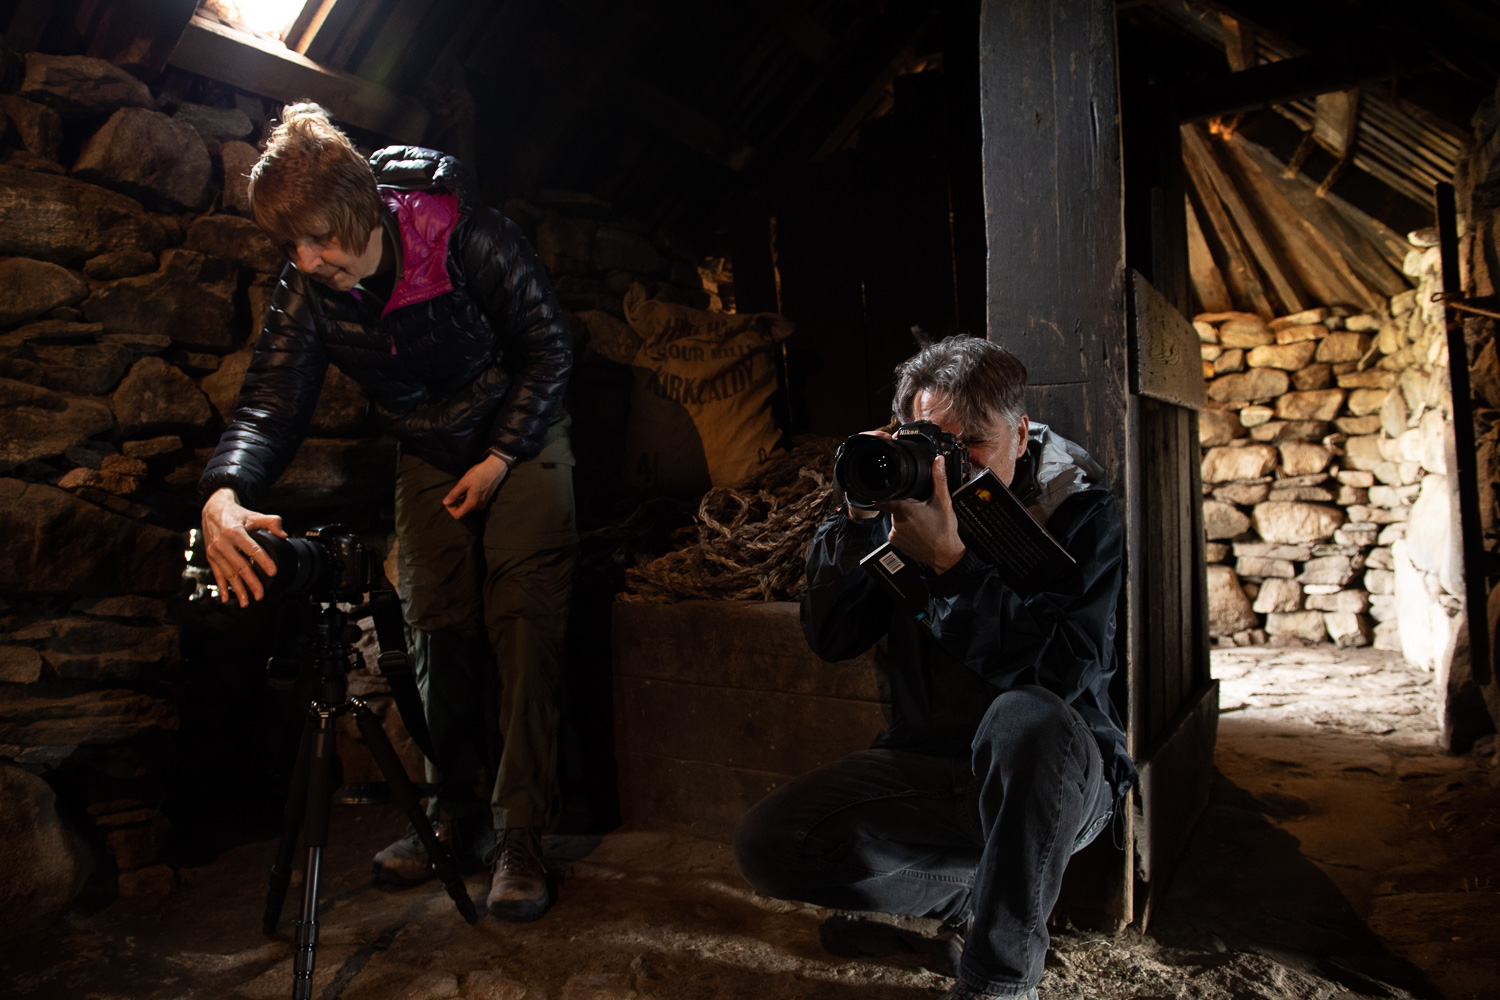
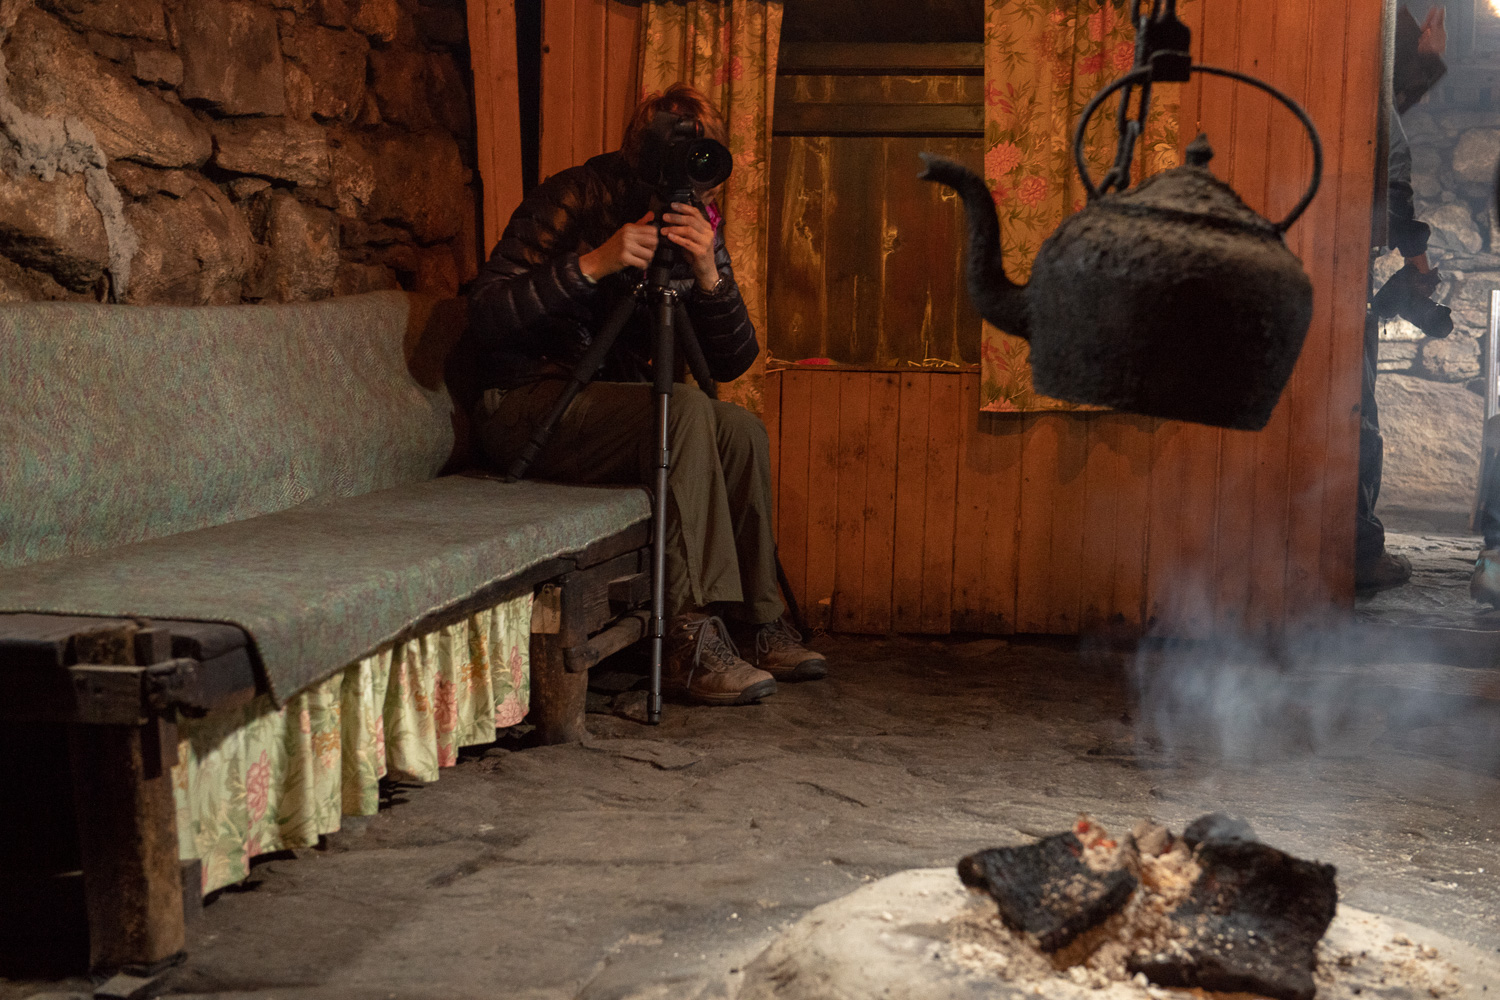
Skye has some of the best landscapes in Europe, and Lewis and Harris are rich in Neolithic archeology. I had been there the year before in March, and things were pretty quiet as you might expect at that time of year. It was immediately apparent that like Iceland, Scotland has seen a major increase in tourism in the last couple of years, and no place in Scotland more than Skye. It was interesting to note that unlike in Iceland, where it seems that much if not most of the tourism centers around photography, that wasn’t the case in Scotland. Some of the locations I’d been visiting for years, often having them to myself, were now absolutely swarming with tourists (and the busy season was only just beginning).

Fortunately, there are still plenty of places to appreciate the spectacular landscapes and appreciate the culture and history of Scotland if you’re willing to come back after dark! That’s what we did!

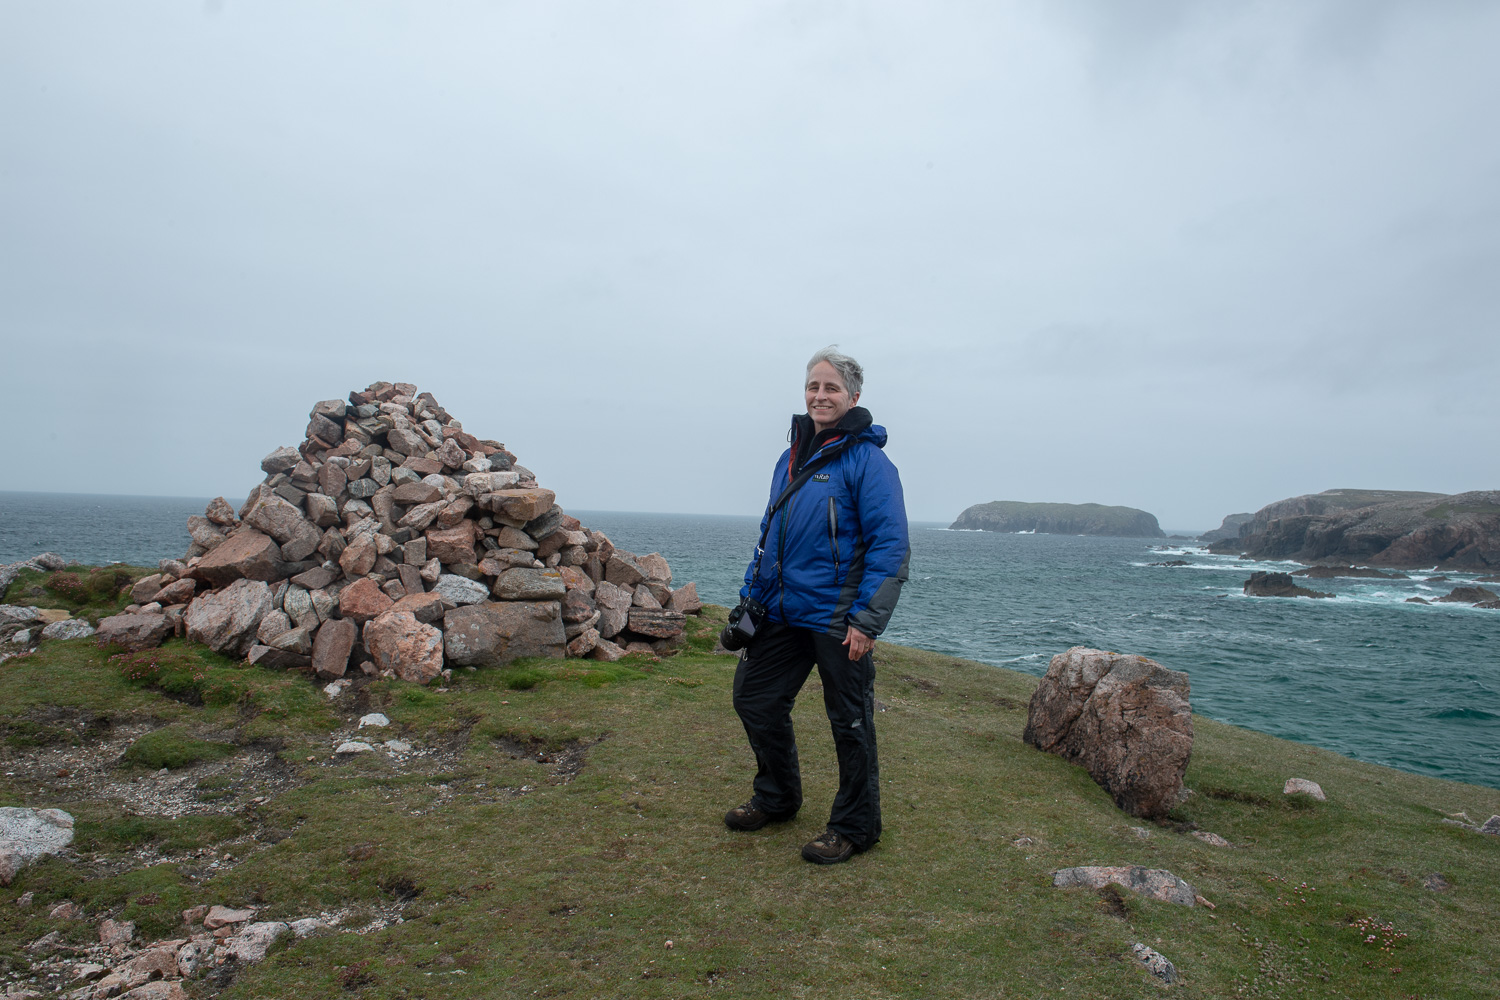
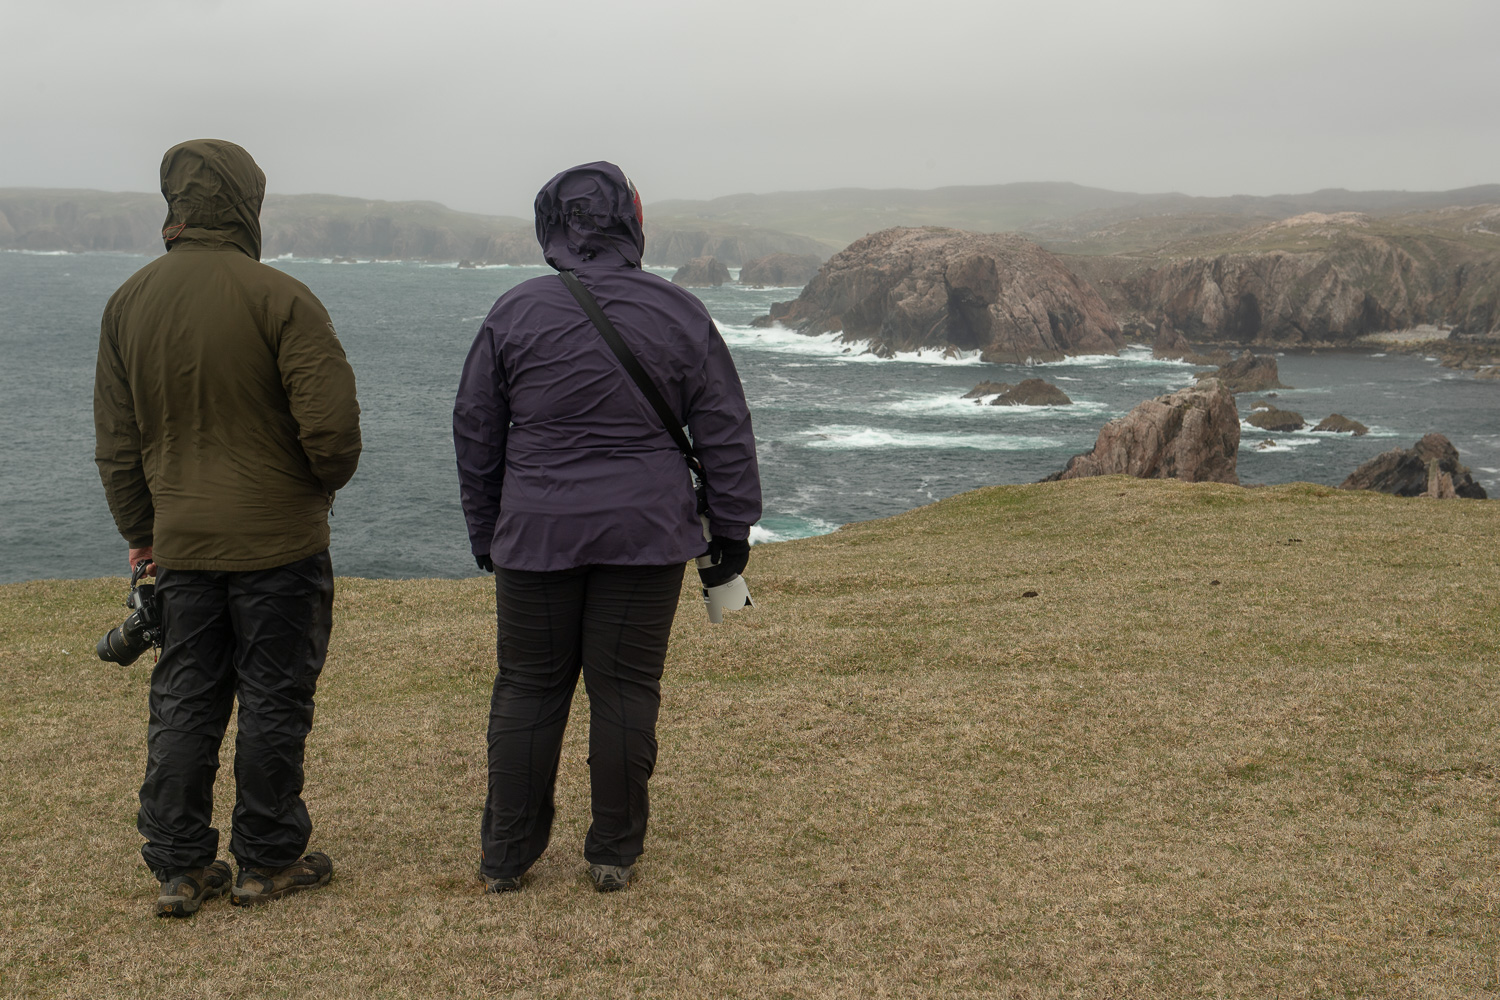
We had five full days and nights at the wonderful Uig Lodge on the Isle of Lewis. We had some good weather, some mediocre weather, a smashed iPhone (mine) and a real beater of a minibus (thanks, Sixt, but we’ll look elsewhere next time). Again NPAN travelers showed their mettle and faced every challenge head-on to come home with new friends, good memories and great images.

Chris and I took a couple of days before the tour to explore an area in the southwest of Scotland, and he even found the exact apartment in Campbeltown where he had lived for six months as a child while his dad was stationed at the U.S. naval station nearby. National Parks at Night will be leading more tours to some of the other Scottish islands in the future, so stay tuned!

Partner Participation

When we form brand partnerships, we look for the relationship to benefit our workshop attendees too. Nikon, Coast Portland, B&H Photo, Peak Design, Light Painting Brushes, X-Rite, BenQ, Bay Photo, Irix Lenses, Valleret, PhotoPills and Luxli all offered loaner gear, discounts, gifts and other perks at various locations. As always, our gratitude is unending.

Looking Forward

As you can see, it’s been a pretty exciting year so far, with more to come. As of June 22, all of our remaining 2018 workshops are full with the exception of our second week at Glacier National Park led by Tim and myself. You can still sign up for the waitlist for any workshop at no cost and with no risk. If a spot opens up, we’ll invite you to apply.

We’ll be announcing our 2019 workshops and tours in August, first to our esteemed alumni, then to our email subscribers, and then to the general public. We hope to see you out there under the Milky Way!

Lance Keimig is a partner and workshop leader with National Parks at Night. He has been photographing at night for 30 years, and is the author of Night Photography and Light Painting: Finding Your Way in the Dark (Focal Press, 2015). Learn more about his images and workshops at www.thenightskye.com.

UPCOMING WORKSHOPS FROM NATIONAL PARKS AT NIGHT

Light Painting in Moonlight—Using the Moon as Key Light, or Using it as Fill

Many moons, many opportunities

One of the great things about night photography is the variety of lighting situations we have throughout each month, from complete darkness (around the new moon) to extremely bright conditions (around the full moon).

Photographing around the new moon is great for capturing skies chock full of stars. The skies have little or no light, which allows us to shoot with wide-open apertures that allow even the dimmest stars to be seen. This is also a great moon phase for capturing the Milky Way or shooting long star trails.

New moon. Stitched panorama. Fuji X-T2 with 10-24mm f/4 lens at 16mm. 30 seconds, f/4, ISO 6400.

The rest of the month, however, is marked by some amount of moonlight. These moon phases provide the night photographer with endless opportunities for light painting.

Quarter moon (sometimes referred to as half moon). Fuji X-T2 with 16mm f/1.4 lens. 4 minutes, f/5.6, ISO 100.

Full moon. Nikon D4s with a 24mm f/2.8 lens. 3 minutes, f/8, ISO 100.

Can you light paint under new moons? Sure. But you do have to provide all of the lighting. Illuminating the entire foreground of a scene can be quite challenging. Sticking to smaller, more manageable subjects will ensure a better chance of success.

When the moon is up (and is more than just a sliver), it bathes the earth in a faint, soft light. On the other hand, when the moon moves toward full, it’s so bright that our images can look like they were made during the day! Using the moonlight to help illuminate our foreground is a great strategy to create stunning astro-landscape photographs. And if you want to level up those images, you can add in some light painting—either as a fill light or as a key light.

Getting Started

Here are the four basic steps to creating a light-painted night scene:

  1. Compose.
  2. Focus.
  3. Determine ambient light exposure.
  4. Add light painting.

1. Compose

It all begins with finding your composition. Regrettably, in this techie genre of photography, we often spend more time thinking about our settings than we do our composition. Spend some time here. Try out different options before you commit.

2. Focus

Once you’ve found your composition, it’s time to get your focus. For more on this, see Chris Nicholson’s recent blog post “Staying Sharp: 8 Ways to Focus in the Dark.”

3. Determine Ambient Light Exposure

With your scene composed and properly focused, it’s time to set an exposure for the ambient light. What is ambient light, you ask? Ambient light is the available light in the scene. This is the sun during daytime exposures, the city lights in a nightime urban environment, your living room lamps if you are shooting indoors at night, or (in our case) the moonlight.

Getting your exposure correct for the ambient moonlight is critical. Each situation and phase of the moon will provide different light conditions, so test out different exposures rather than depending on formulas.

The easiest way to gain an accurate ambient exposure is to run a series of test shots at high ISOs. These test shots will take only seconds and will save you a ton of time. They can also alert you to composition issues in your scene long before you start into your minutes-long exposures. Once you determine your ambient exposure at a high ISO, it’s time to calculate the longer lower ISO exposure. For example, the original test shot of the image below was made at 4 seconds, f/5.6, ISO 6400, while the final low-ISO setting as seen below was 4 minutes, f/5.6, ISO 100.

Compose, focus, ambient light exposure. Fuji X-T2 with 16mm f/4 lens. 4 minutes, f/5.6, ISO 100.

Add in light painting. 4 minutes, f/5.6, ISO 100.

Final image. 21 stacked exposures, each shot at 4 minutes, f/5.6, ISO 100.

4. Add Light Painting

Now comes the fun part: crafting the light. Whether you are using a flashlight, an LED panel such as the Luxli Viola, or something as subtle as a tea lights, you can choose how best to balance your added light to the existing (ambient) light.
How do we do this? One of the simplest ways is to employ the age-old practice of lighting used by countless painters, photographers and videographers: using a key light and fill light.
  • Key Light: Also called the “main light.” This is the primary source of illumination. It is the brightest light in the scene. Wherever this light doesn’t reach becomes darker shadows.
  • Fill Light: This is the secondary source of illumination used to “fill” in the darker areas of the scene not illuminated by the key light. It’s usually one to two stops darker than the key light.

In this portrait above, the key light is to camera-left. This makes the image brighter on the left side. Notice the highlight under the model’s right eye and cheek. The fill light is at camera-right and pulled back a bit further to make the light a little less bright. Below is the diagram of this lighting setup.

While this image was made in the studio, you can accomplish the same type of lighting outdoors at night. The moonlight can be your key light and you can fill in the shadows with your light painting tool of choice. Or you can you use your light painting tool as the key light and the moon can you be your fill.

It’s all about the balance. If the light painting you are doing is subtle and the moonlight dominates the scene, then the moon is the key and the flashlight is the fill. If you the moonlight exposure is not as bright as the light you add in, then your painting becomes the key light.

Two Examples

I began with a 3-second exposure at f/8 and ISO 6400 to compose the scene and gain focus. Next I converted the high ISO test exposure to 3 minutes, f/8, ISO 100. The evening features a full moon, so the scene could have been brighter, but this exposure made the moonlit scene behind the truck a little darker than usual.

If I hadn’t been planning to light paint the scene, I would have made the exposure brighter, and the moon would have been the key light (not to mention the only light). But, by keeping it a little darker, I allowed the moon to become the fill light. The 3-minute exposure gave me plenty of time to walk around and paint the truck. The truck is the brightest element of the composition, so this makes my light painting the key light.

Moon as fill light, flashlight as key. Nikon D4 with 35mm f/2 lens. 3 minutes, F/8, ISO 100.

In this next example, I used the full moon as the key light and my flashlight as the fill. I first set up my composition. Then I focused. Then I started my high ISO test exposures, and converted my result to a low-ISO, long-exposure setting. I settled on 3 minutes, f/5.6, ISO 6400.

This created a natural-looking scene. The sky seemed bright, but not quite as bright as the middle of the day, and the distant mountain had a nice bright glow to it. The tree and the rock formation in the foreground, however, were in complete darkness, so they recorded as pure black. Time for the flashlight!

Standing to the right and little forward of the tree, I shined my Coast HP5R back at the formation. Adding too much light made the formation and the tree brighter than the background, which was not the affect I was looking for. After several attempts at light painting, I settled on an amount of illumination that kept the foreground just a bit darker than the background.

Moon as key light, flashlight as fill. Nikon D4s with 24mm f/2.8 lens. 3 minutes, F/5.6, ISO 200.

Bringing it into the Field

When you are out under a moonlit sky, try a brighter ambient exposure with less flashlight to keep the moon as the key light. Then try less ambient exposure and more flashlight so that the latter becomes the key light.

There is no right or wrong—only the way you want to interpret the scene!

Tim Cooper is a partner and workshop leader with National Parks at Night. Learn more techniques from his book The Magic of Light Painting, available from Peachpit.

UPCOMING WORKSHOPS FROM NATIONAL PARKS AT NIGHT

Staying Sharp: 8 Ways to Focus in the Dark

One of the most common issues we hear about from people learning to photograph at night is the challenge of getting the subject in focus when you can’t … well, when you can’t see anything.

Is focusing in the dark a trick? A skill? An art? A science?

In fact, it’s all of the above. You have options. Focusing a lens in the dark is not only possible, but it’s possible to do in many ways, some of which are better in some circumstances than others.

Below are eight techniques for ensuring your night images are always sharp.

1. Use a Manual-Focus Prime Lens

This is the simplest way to focus in the dark. If you’re focusing on infinity (which is the case for many, many night scenes in natural spaces), then it’s remarkably quick and simple to mount a manual-focus prime lens to your camera and turn the focus ring to infinity. Boom. Done.

For this photo in Big Bend National Park, the rock ridge was far enough away so that I knew I could focus on infinity and get everything sharp. So I did the easiest thing possible: I used a manual-focus prime lens (in this case, the Irix 15mm f/2.4) and moved the focus ring to the infinity mark (which, with this lens, clicks into that setting). Nikon D850. 20 seconds, f/2.8, ISO 6400.

2. Auto-Focus in Daylight

Focusing might be more difficult in the dark, but it’s a cinch in daylight, particularly with modern autofocus technology literally at our fingertips. When you’re wrapping up your daytime shoot, autofocus your lens(es) to infinity (or on your scouted subject), then turn off your autofocus and immobilize your focus ring with some gaffer tape. Once dark settles over the landscape, you’ll be ready to shoot without having to worry about focusing again.

While shooting with Gabe and Matt in Capitol Reef National Park, we all autofocused on infinity at sunset and taped down our focus rings before photographing Chimney Rock under the stars. Nikon D3s with a Nikon 28-70mm f/2.8 lens. 15 seconds, f/2.8, ISO 4000.

3. Auto-Focus on a Distant Light

Yes, you can actually autofocus at night, as long as you have some light to focus on. The more contrast, the better, and you can’t get a much harder edge than a bright light source surrounded by black. Unless you’re in the hinterlands, in the wildest areas of wilderness, you can often find such a light.

If you want to focus to infinity, you don’t need that light source to actually be at infinity. A street light 50 feet away will probably suffice—as far as a lens is concerned, that’s far enough to resolve infinity pretty sharply. Alternatively, autofocus on a city skyline, or on a car down the highway, or on anything that gives you a faraway bright spot to lock onto.

To find infinity in Iceland, I autofocused on a radio tower light about 75 feet down the road from my tripod (which can be seen in a photo by Lance, who was working nearby). Nikon D5 with a Nikon 24-70mm f/2.8 lens. 6 seconds, f/2.8, ISO 8000

4. Auto-Focus on the Moon

If you’re shooting on a moonlit night, know that our biggest and brightest satellite is plenty bright enough for an AF system to lock onto. Point your lens up at the moon, autofocus, remount the camera to your tripod, and you’re ready to shoot.

The moon was shining over The Grandstand in Death Valley National Park. I needed to focus on infinity, so quickly autofocused on the moon. Nikon D3s with a Nikon 14-24mm f/2.8 lens. 25 seconds, f/8, ISO 2000.

5. Shine a Flashlight on the Subject

The above methods work great for focusing on infinity, but sometimes you need to focus on a closer element of the composition. Perhaps it’s a windmill, or a Joshua tree, or a ferocious dinosaur eating the Milky Way. In those cases, try shining a bright flashlight on the subject, and see if that’s enough for the autofocus to lock on. (Except, come to think of it, maybe don’t do this with the ferocious dinosaur. Use another method for that.)

In Joshua Tree National Park, I used my Coast HP7R to illuminate the rock, which was plenty of light for autofocus to work. Nikon D5 with a Nikon 14-24mm f/2.8 lens. 20 seconds, f/5.6, ISO 4000.

6. Put a Flashlight in the Scene

If illuminating your subject doesn’t create enough light and contrast for your AF system, then walk into the scene and place your flashlight on or near your subject. (Again, probably not the best strategy for the dinosaur. Also not a great technique when your subject is 10 feet past the edge of a cliff.)

At Arctic Henge in Iceland, the fog made it tricky to illuminate our subject from a distance, so I put a Coast HP5R flashlight on the rock and autofocused on the lit bulb. Nikon D5 with a Nikon 14-24mm f/2.8 lens. 30 seconds, f/4.5, ISO 3200.

7. Use Live View & a Loupe

If neither flashlight method above enables you to autofocus, try a similar strategy with manual focus instead. Illuminate your subject or place a flashlight in the scene, then use your camera’s live view to focus on the subject. Using a loupe on the LCD makes this even easier and more accurate.

In the very dark skies of Death Valley National Park, I found a bright star in live view and used a Hoodman HoodLoupe to fine-tune the focus manually. Nikon D5 with a Nikon 17-28mm f/2.8 lens. 20 minutes, f/2.8, ISO 100.

8. Use the Hyperfocal Method

Chances are that the first seven methods will get you into focus. But even though it’s No. 8 here, the No. 1 surefire way to get sharp photos in the dark is to use hyperfocal distance. Hyperfocal is not easy to learn, but it’s an excellent educational investment, because it will allow you to focus on everything from your subject to the horizon without the need for AF, flashlights, or so on. (And it’s by far the safest method for focusing on a dinosaur.)

For a great primer on this method, see Lance Keimig’s blog post “Use Hyperfocal Distance to Maximize Depth of Field at Night.” (Alternatively, see Lance literally walk through the process in our Creative Live course.)

At the Goldwell Open Air Museum just outside of Death Valley National Park, I used hyperfocal distance to know that if I focused 3 feet, 10 inches away, then everything from about 2 feet to infinity would be sharp. Nikon D850 with a Nikon 14-24mm f/2.8 lens. 23 stacked exposures shot at 2 minutes, f/5.6, ISO 250.

Bringing it into the Field

When you want to make every frame count at night, try our eight suggestions for staying sharp. Nothing is more painful than well-composed, well-exposed images that end up being soft.

To make this a little easier to remember while you’re out shooting, we’ve created a handy infographic. Download it here, and feel free to keep it on your phone or print a copy to keep in your bag for when you're in the field and wondering what to do.

Staying-Sharp-8-Ways-to-Focus-in-the-Dark.png

Pocket Guide

   "Staying Sharp: 8 Ways to Focus in the Dark"

Chris Nicholson is a partner and workshop leader with National Parks at Night, and author of Photographing National Parks (Sidelight Books, 2015). Learn more about national parks as photography destinations, subscribe to Chris' free e-newsletter, and more at www.PhotographingNationalParks.com.

UPCOMING WORKSHOPS FROM NATIONAL PARKS AT NIGHT