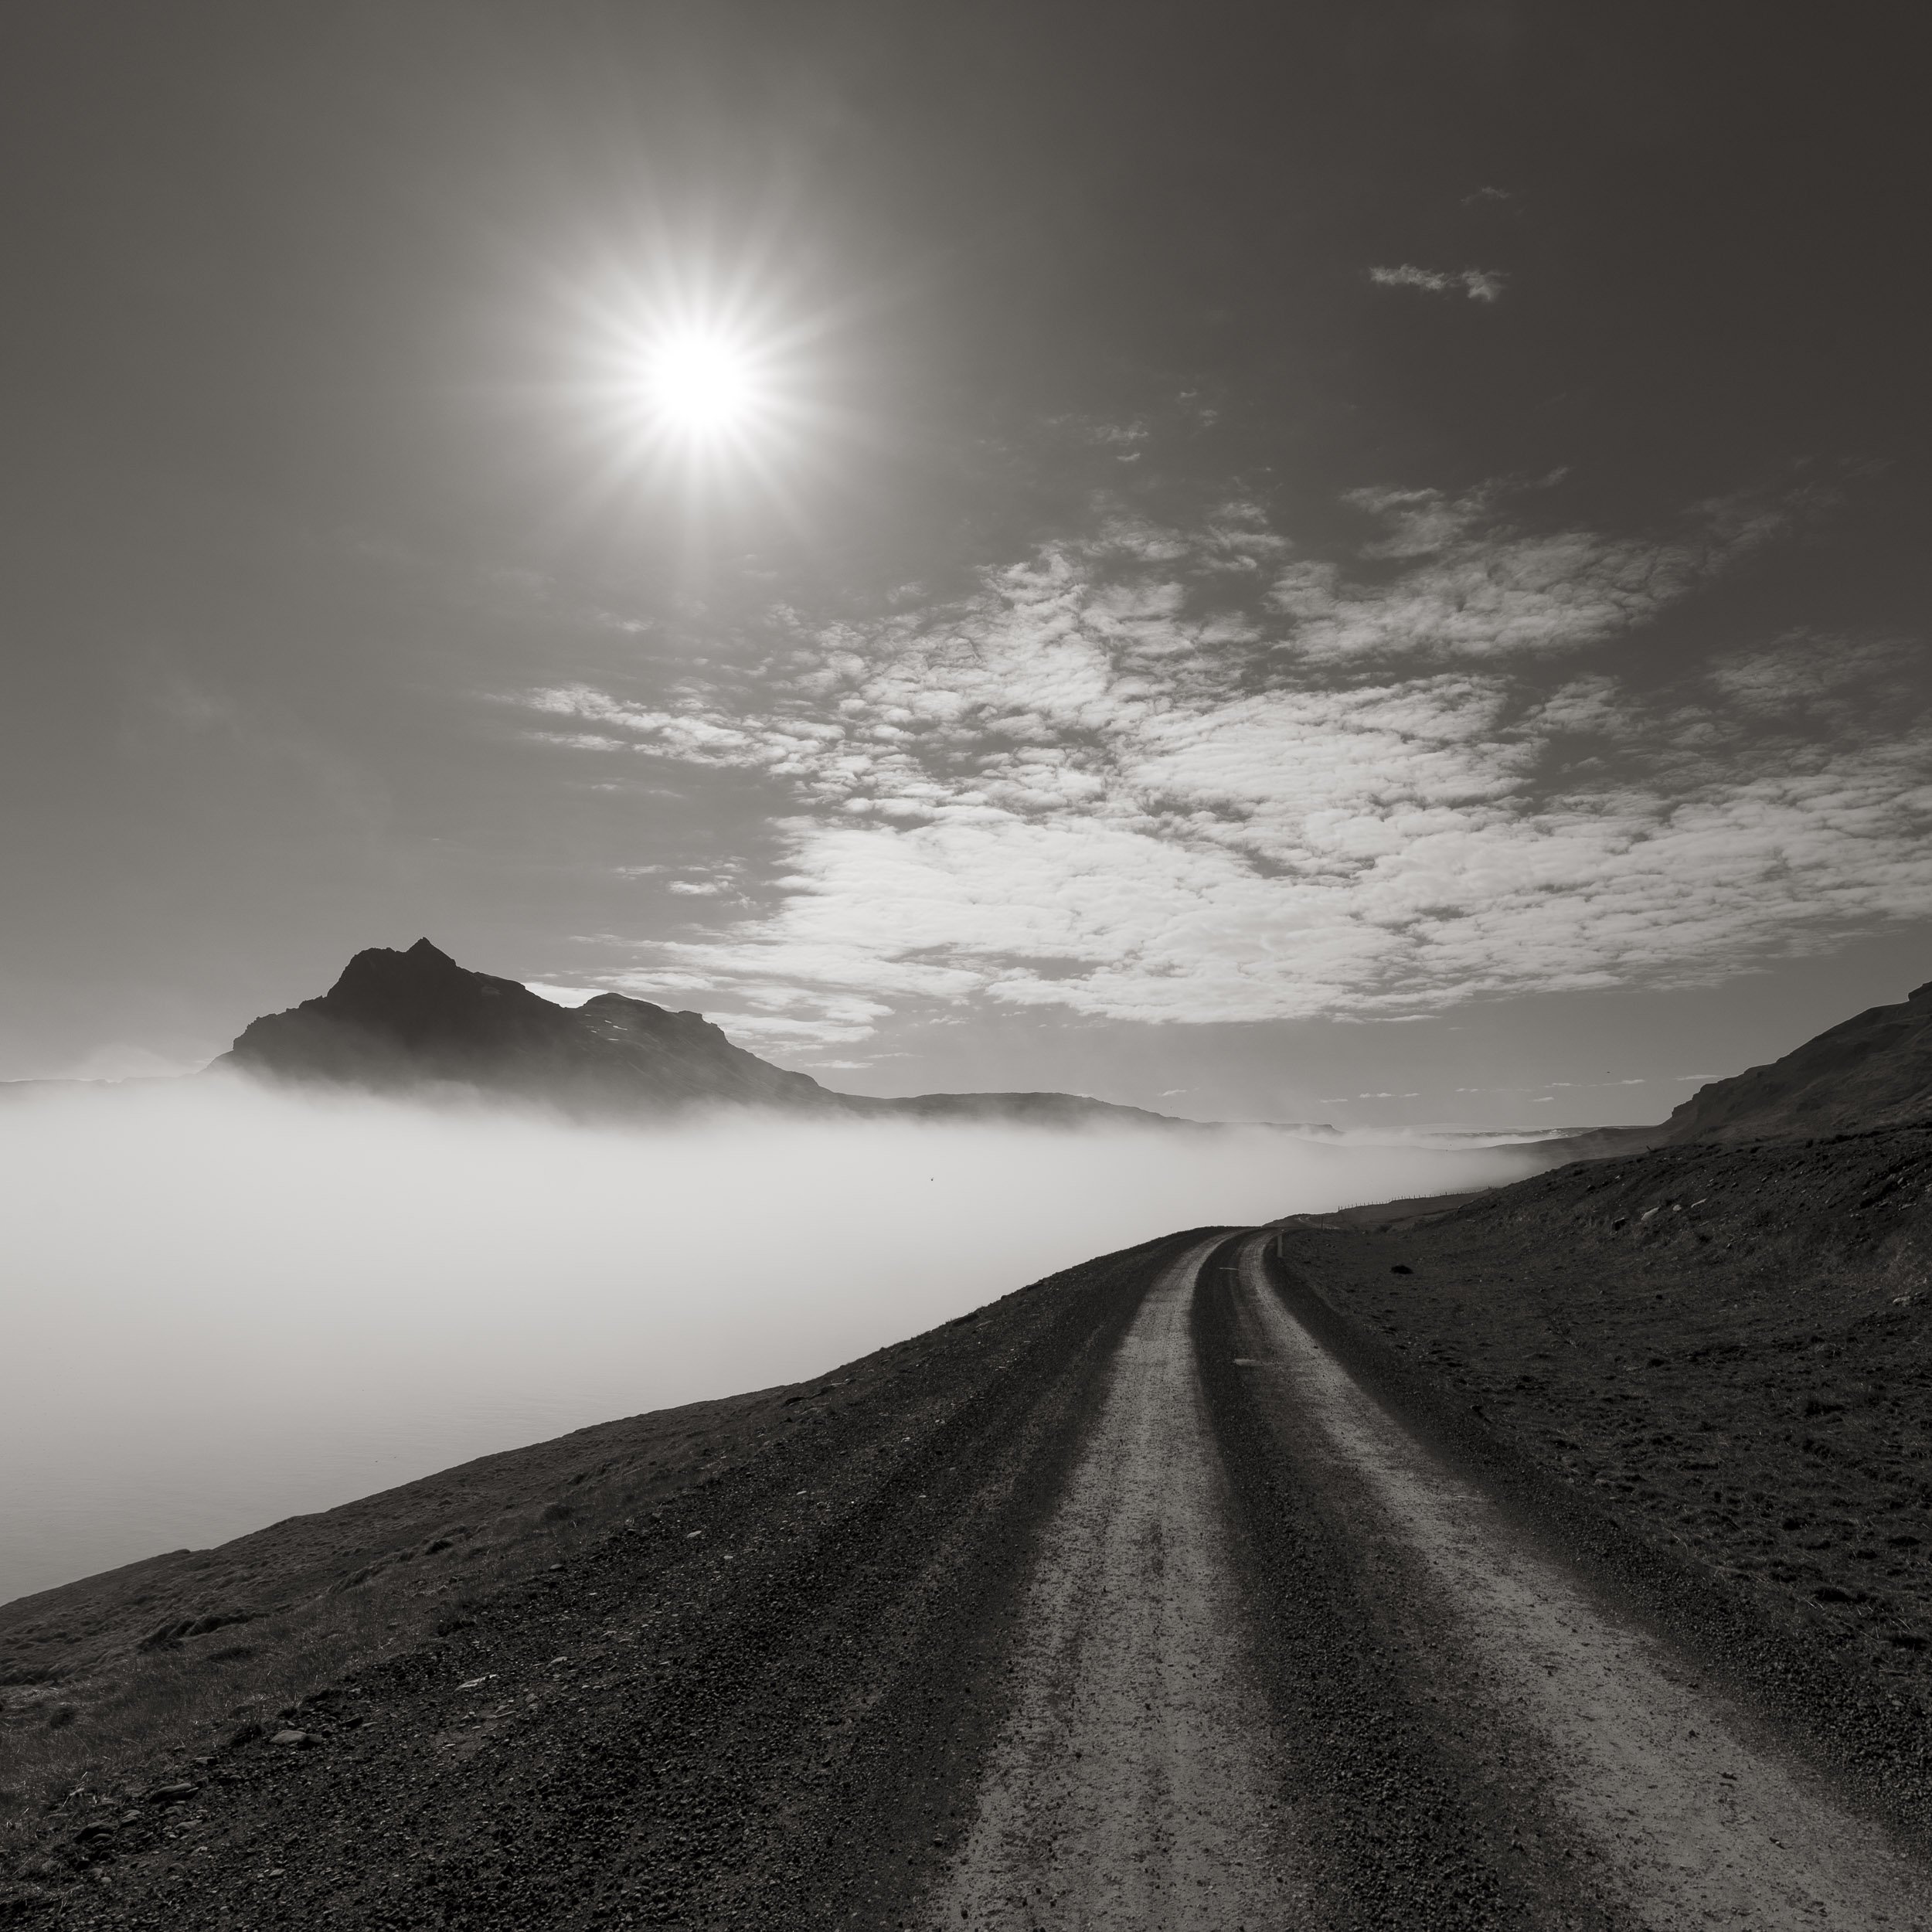
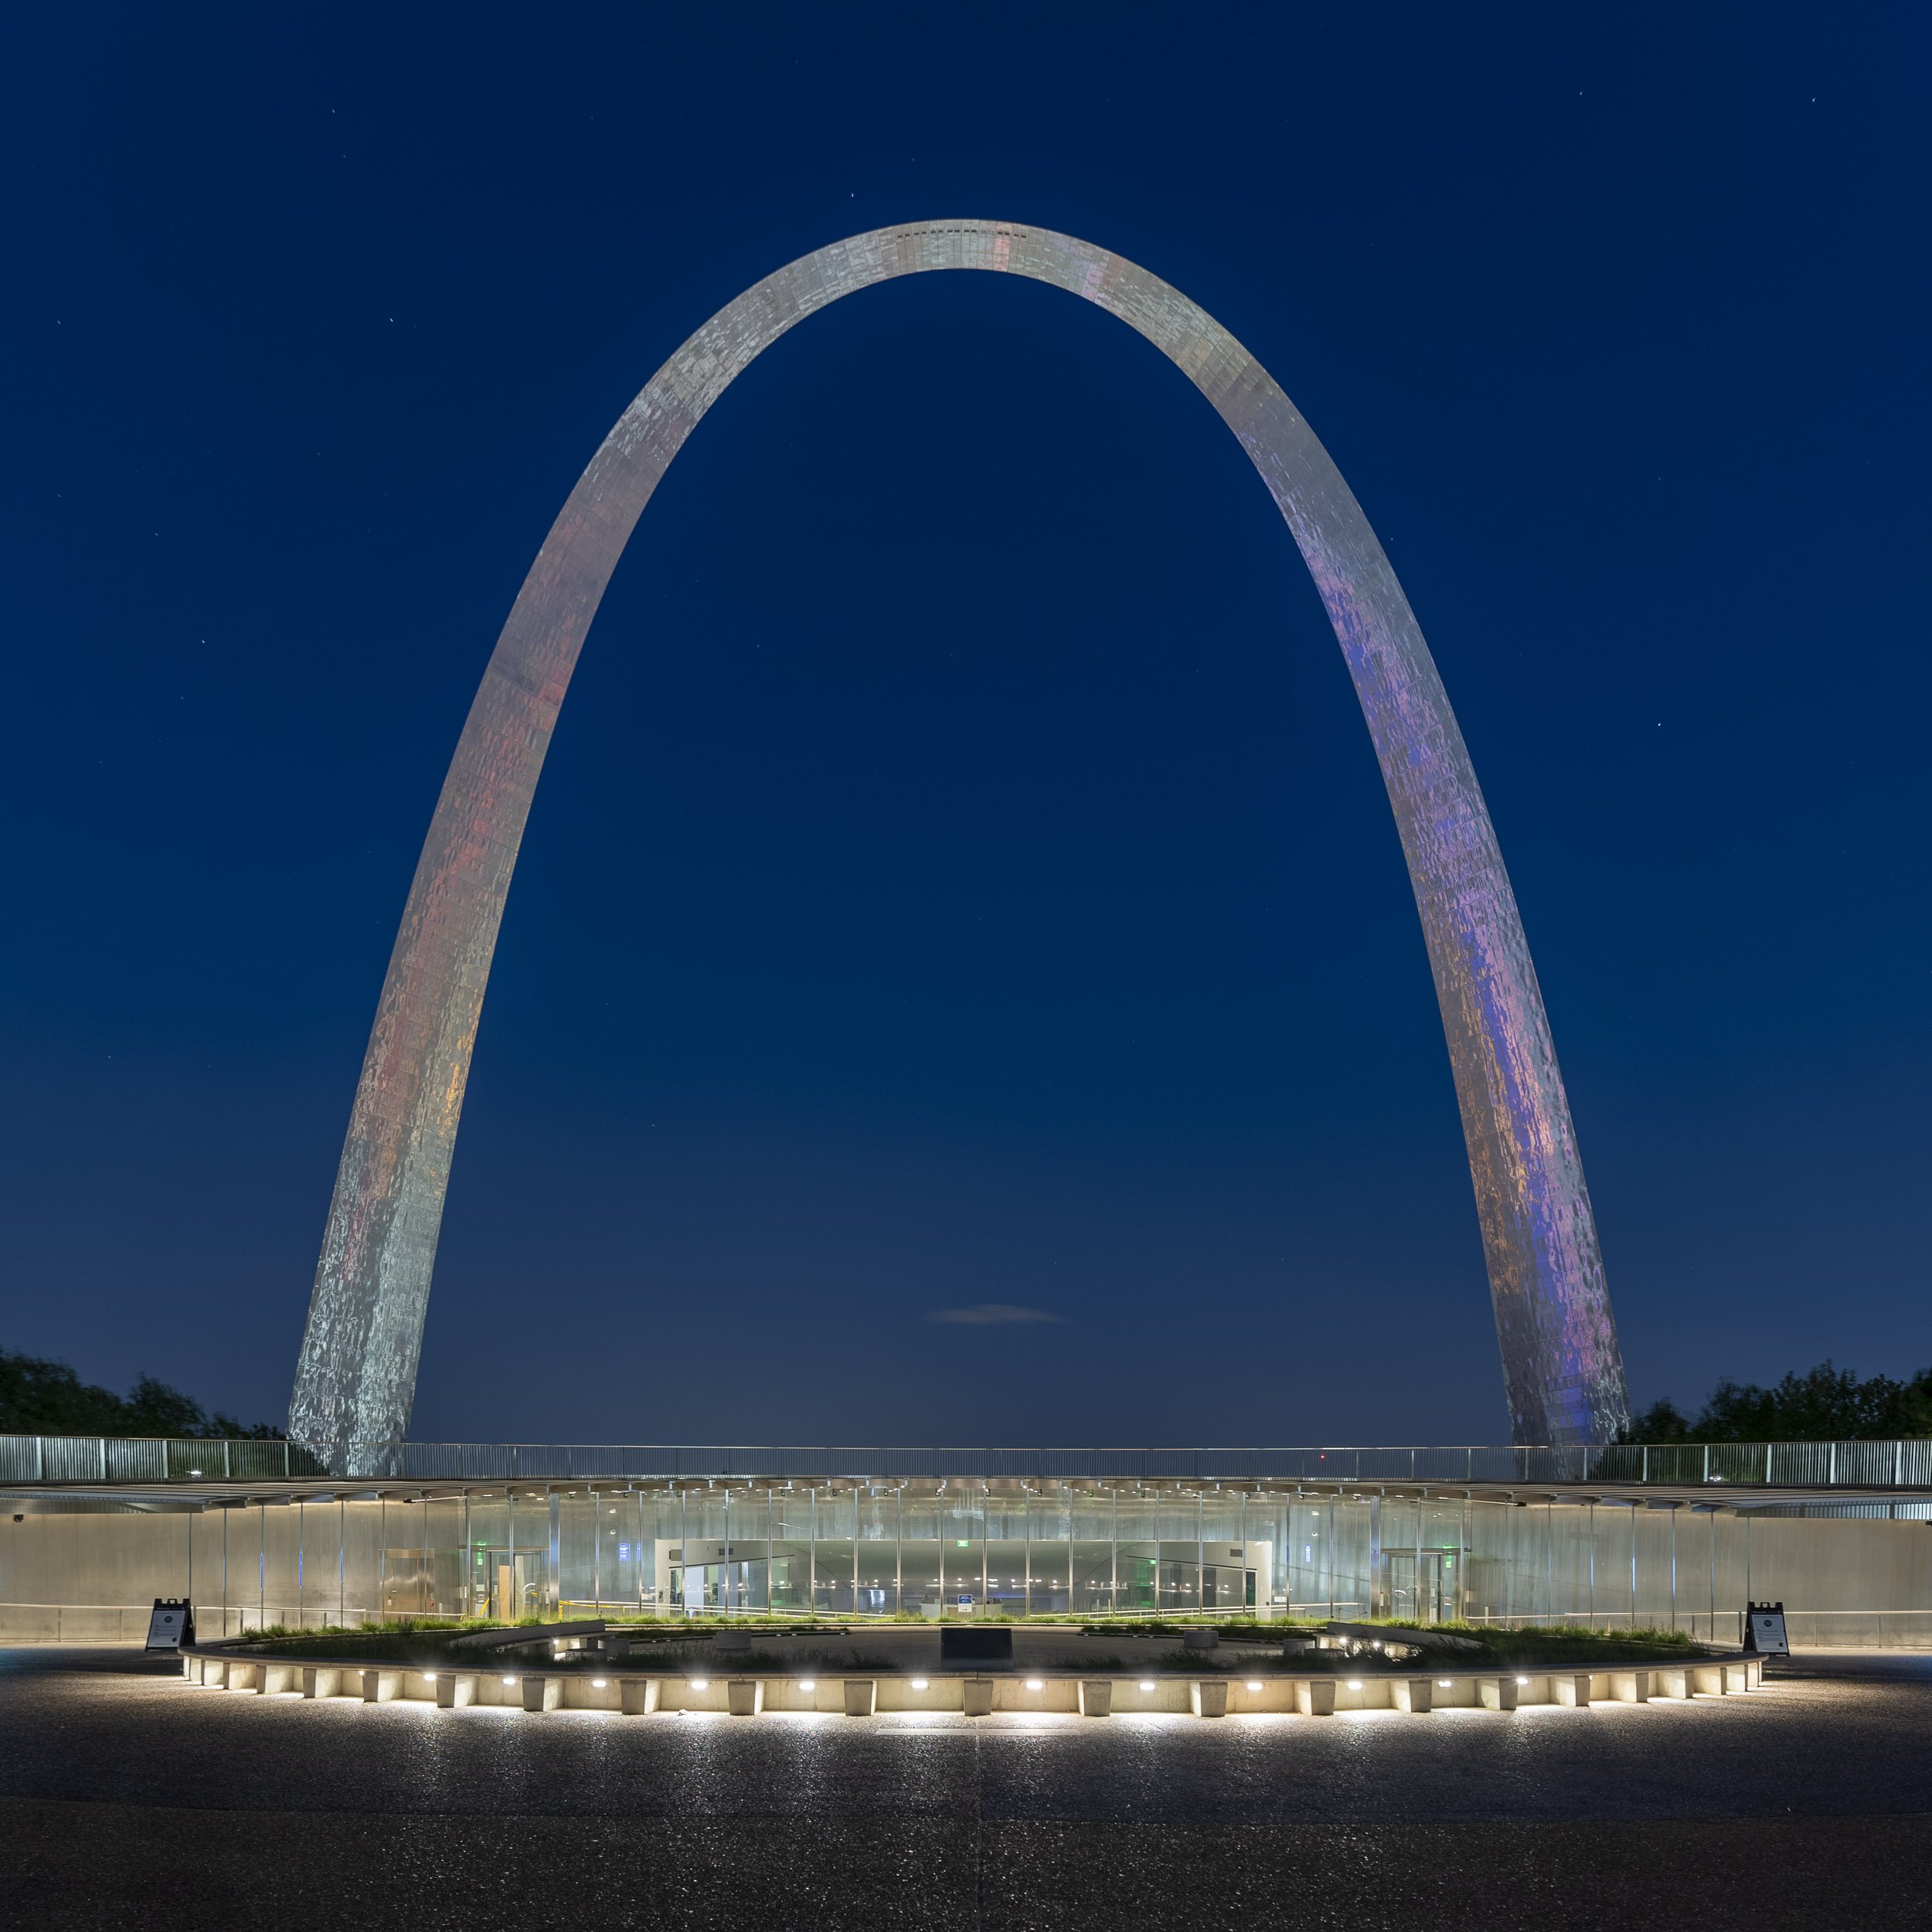
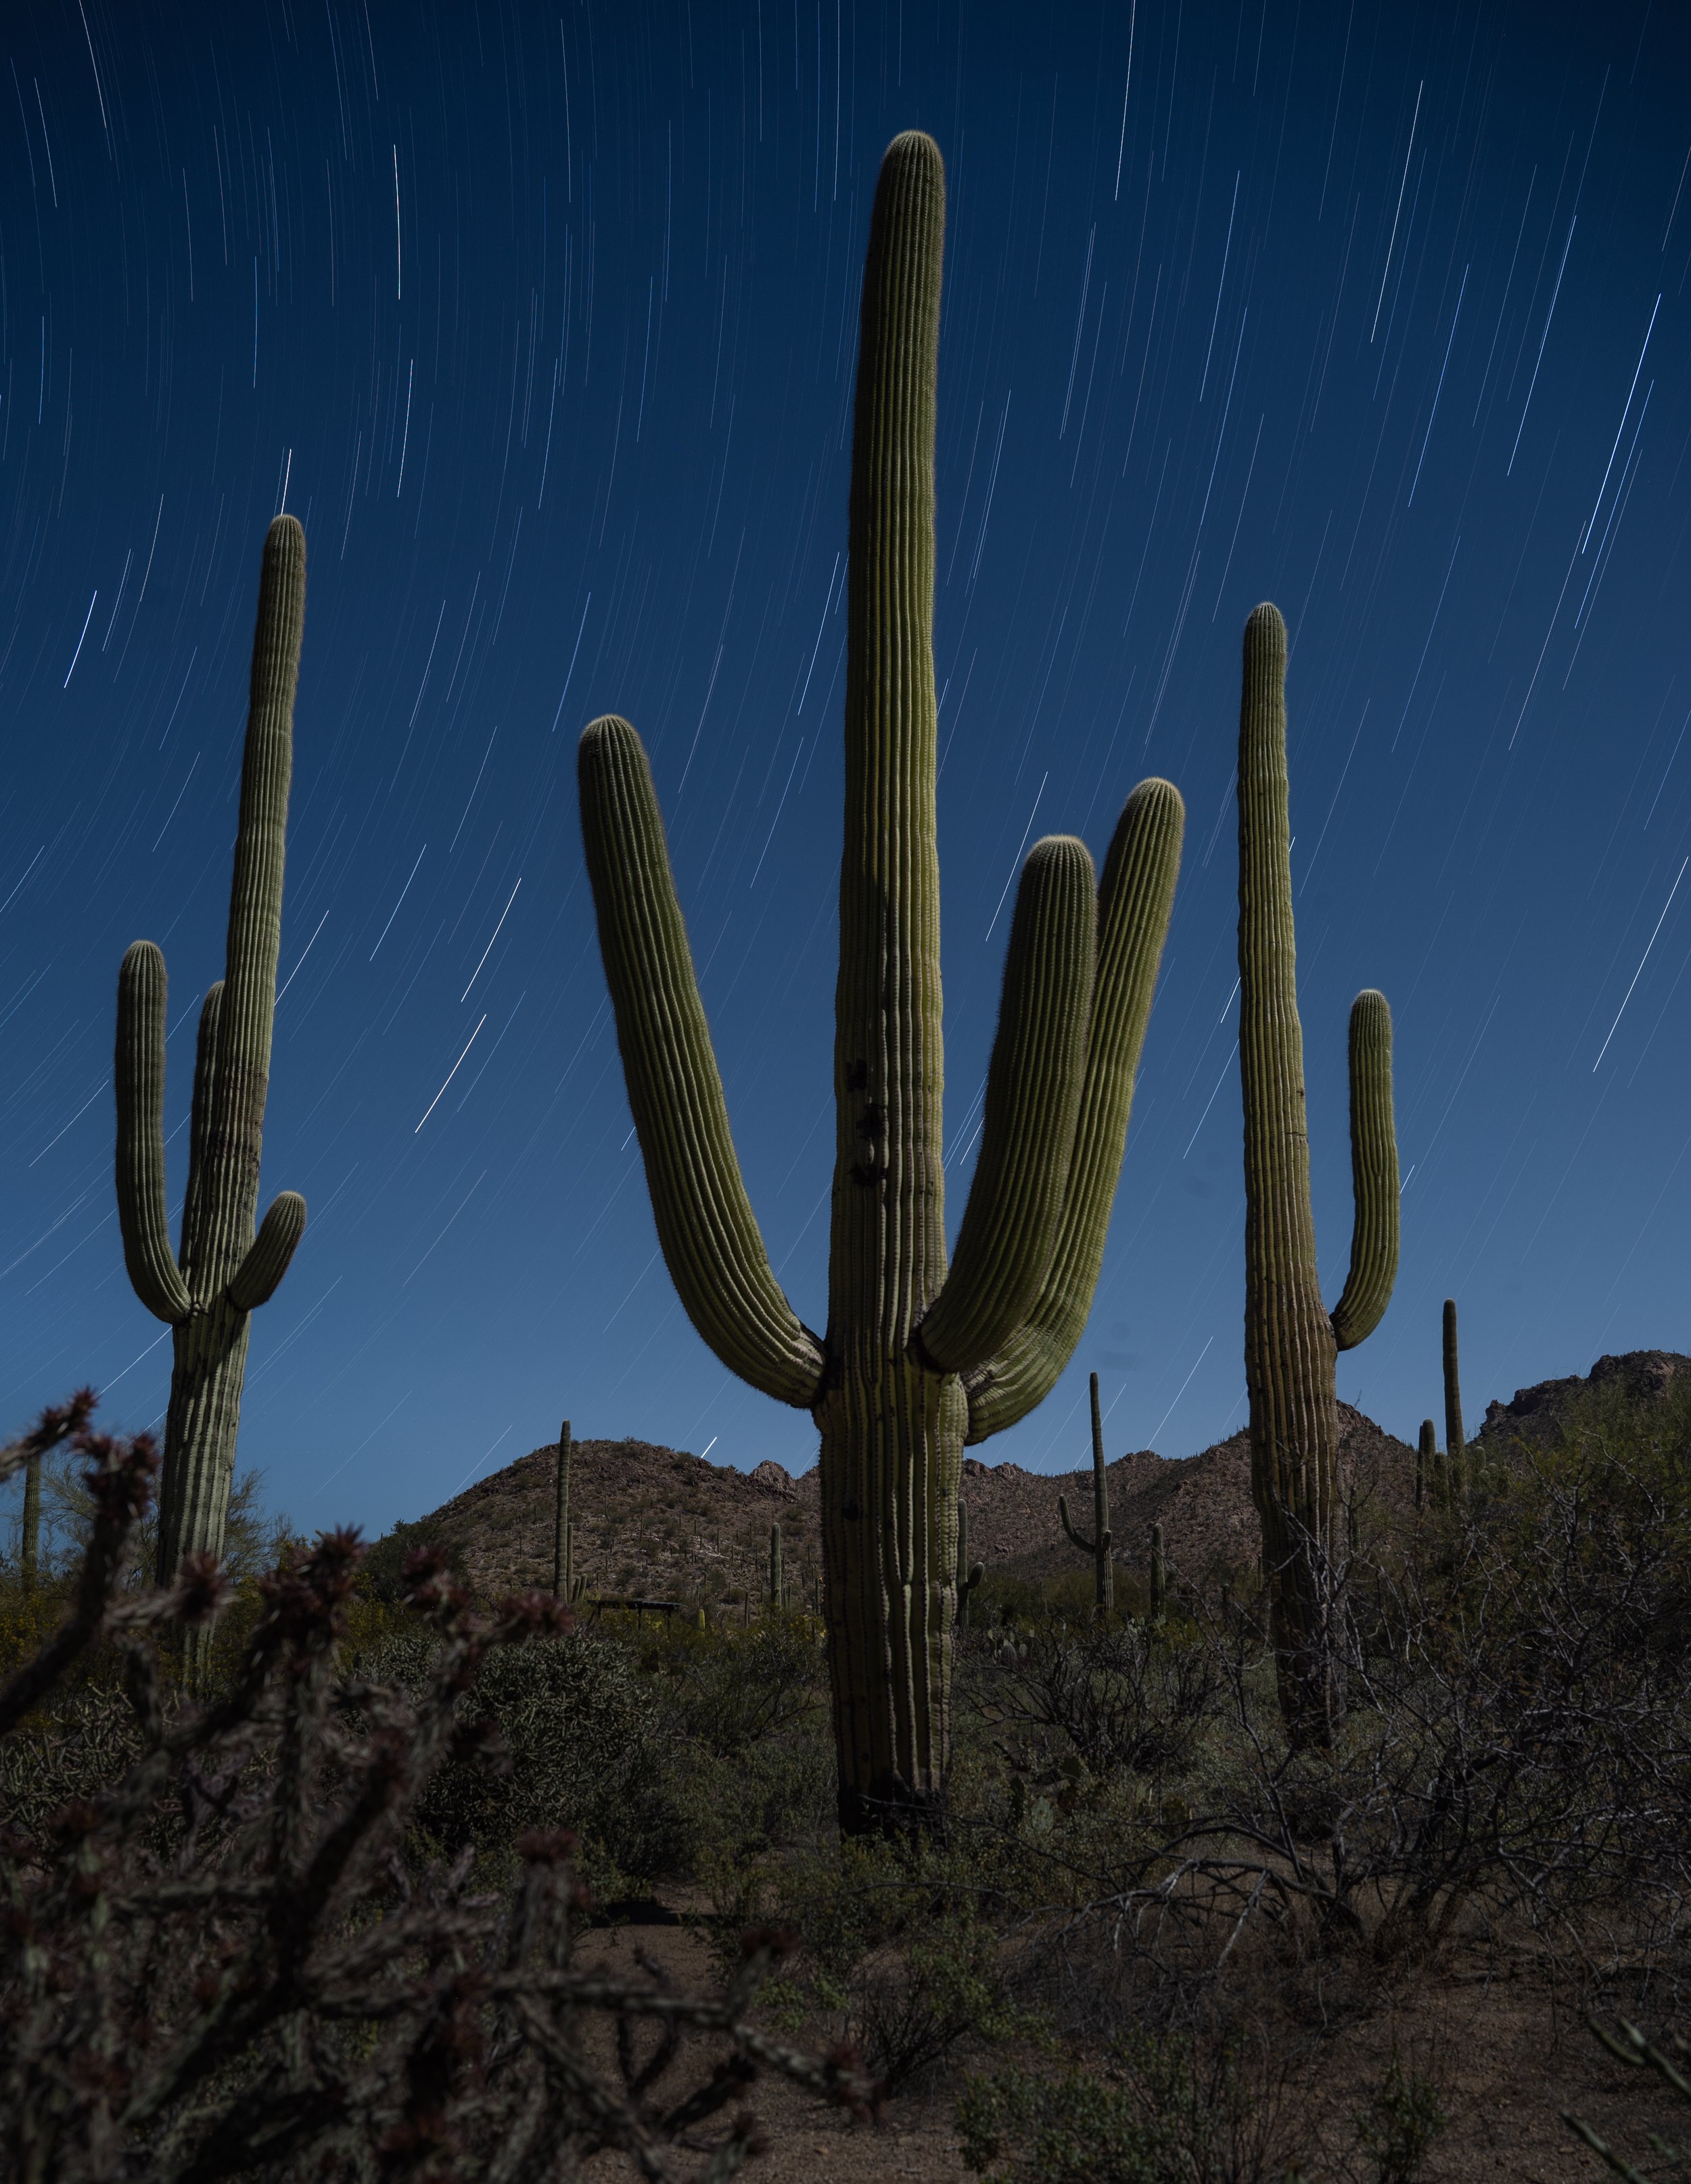
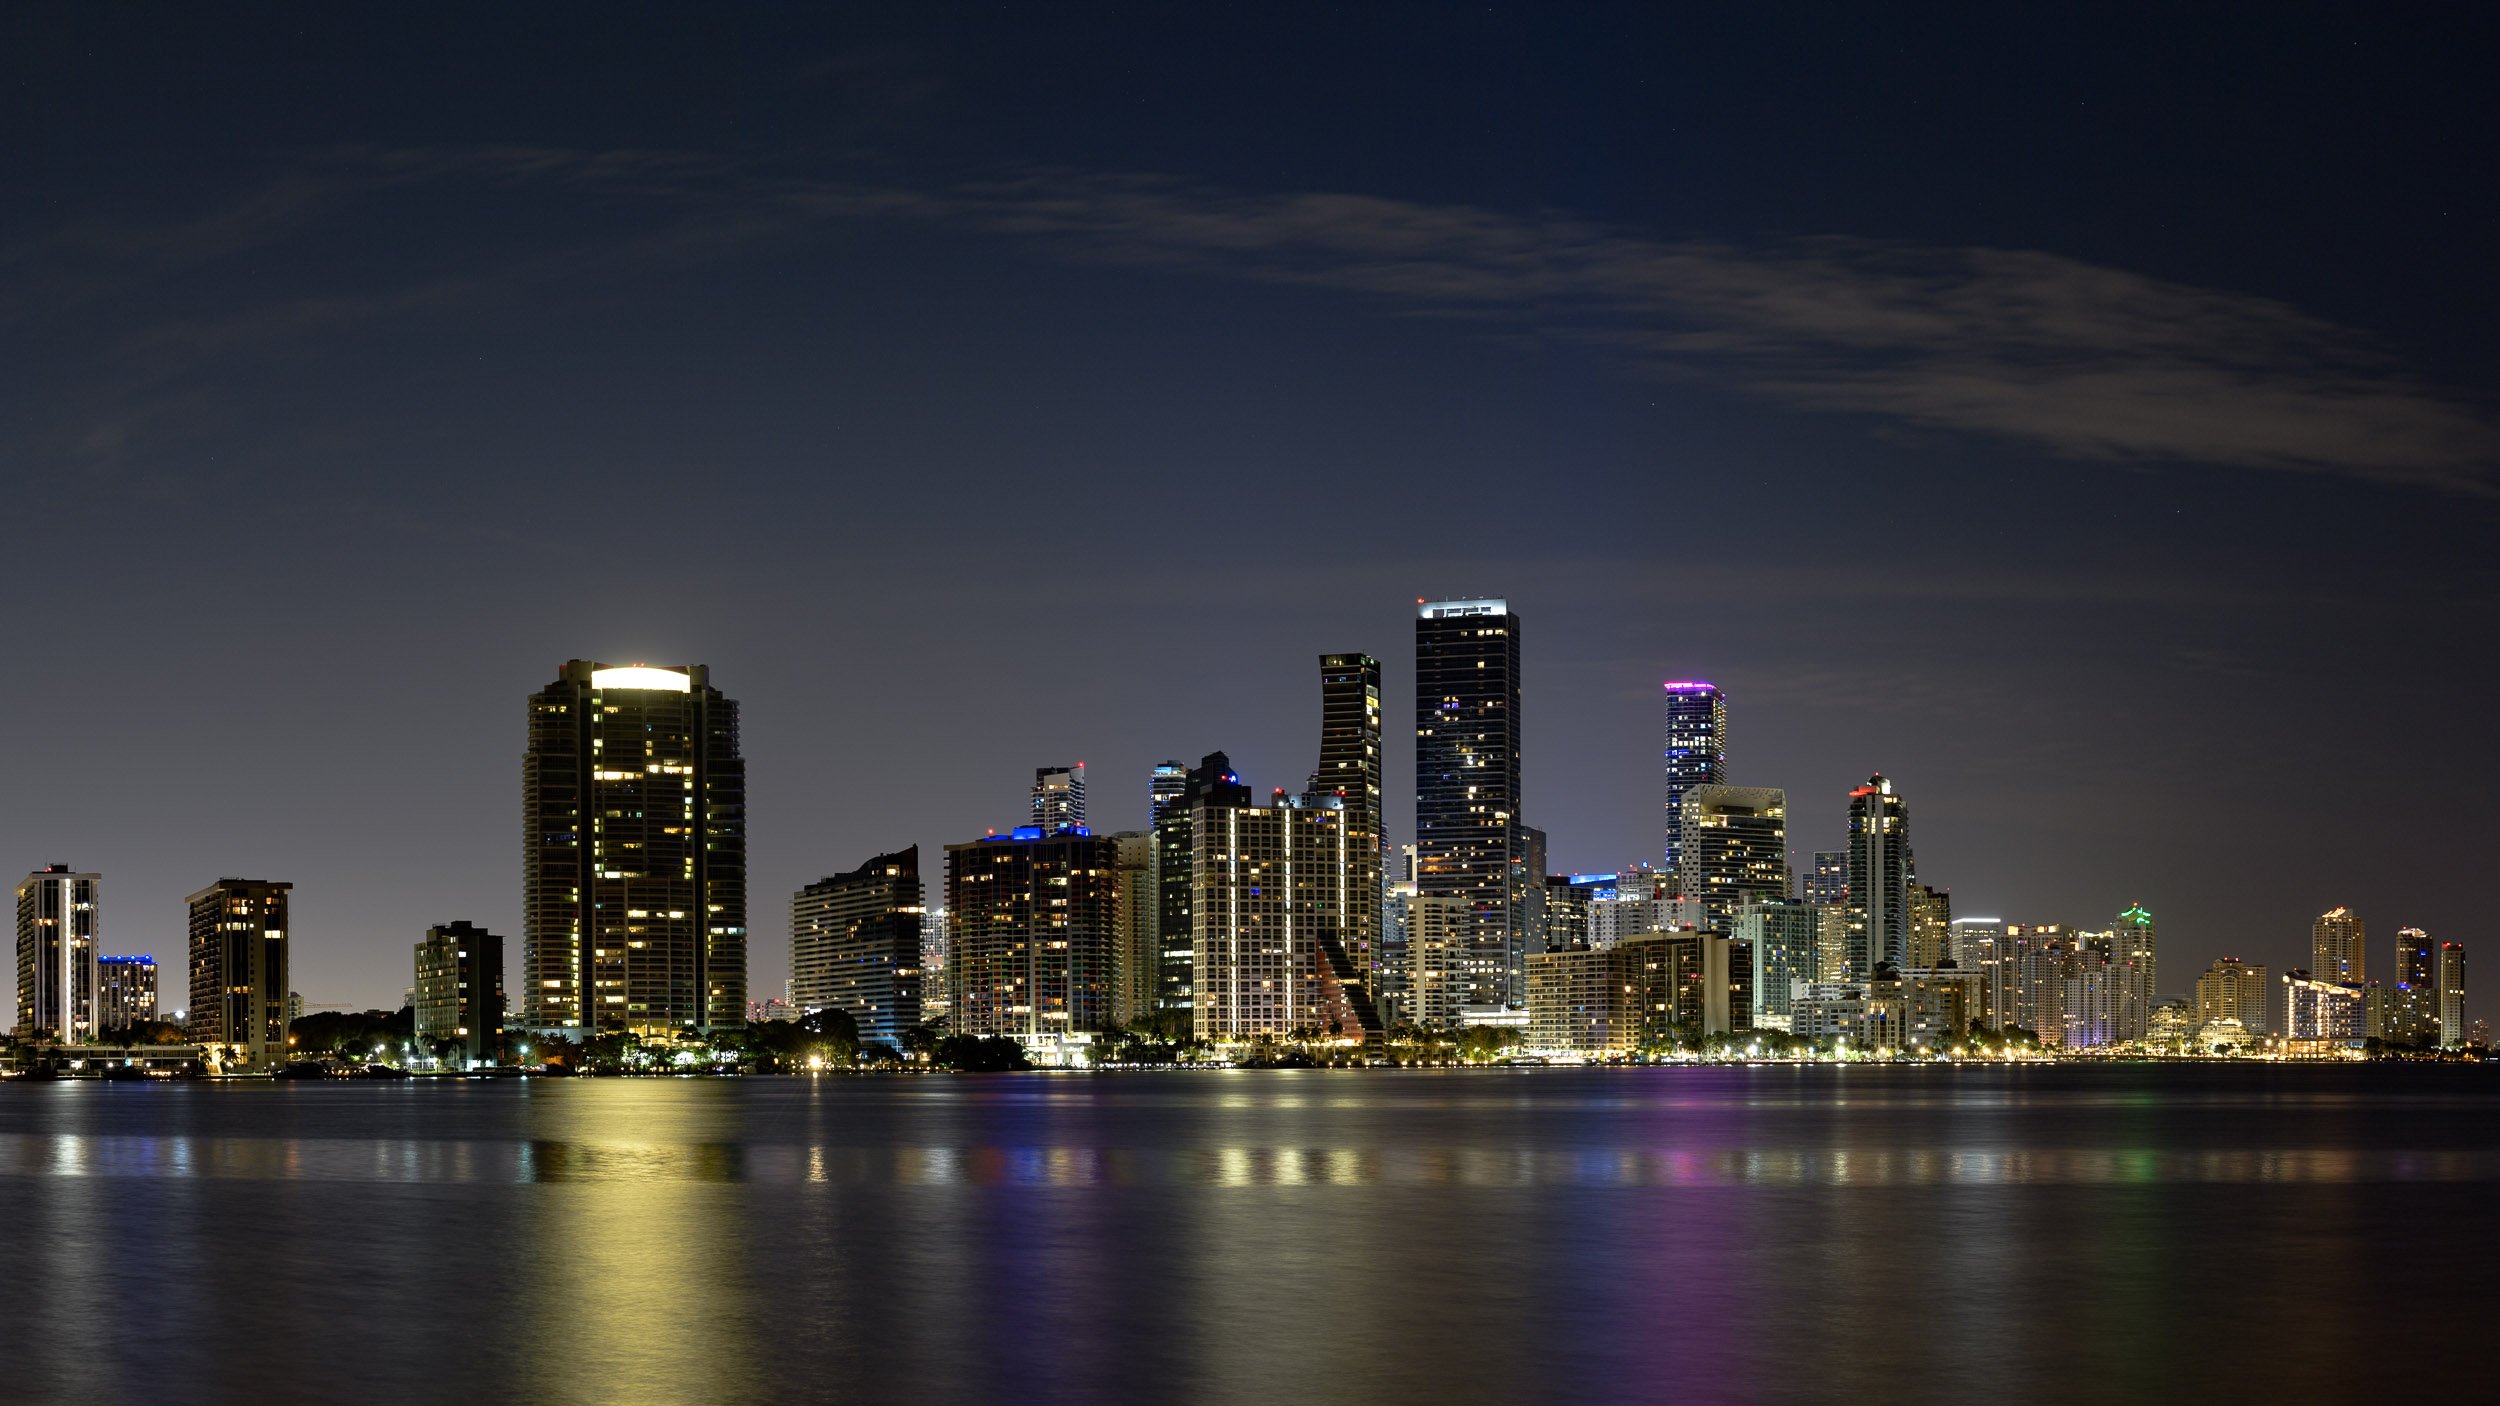
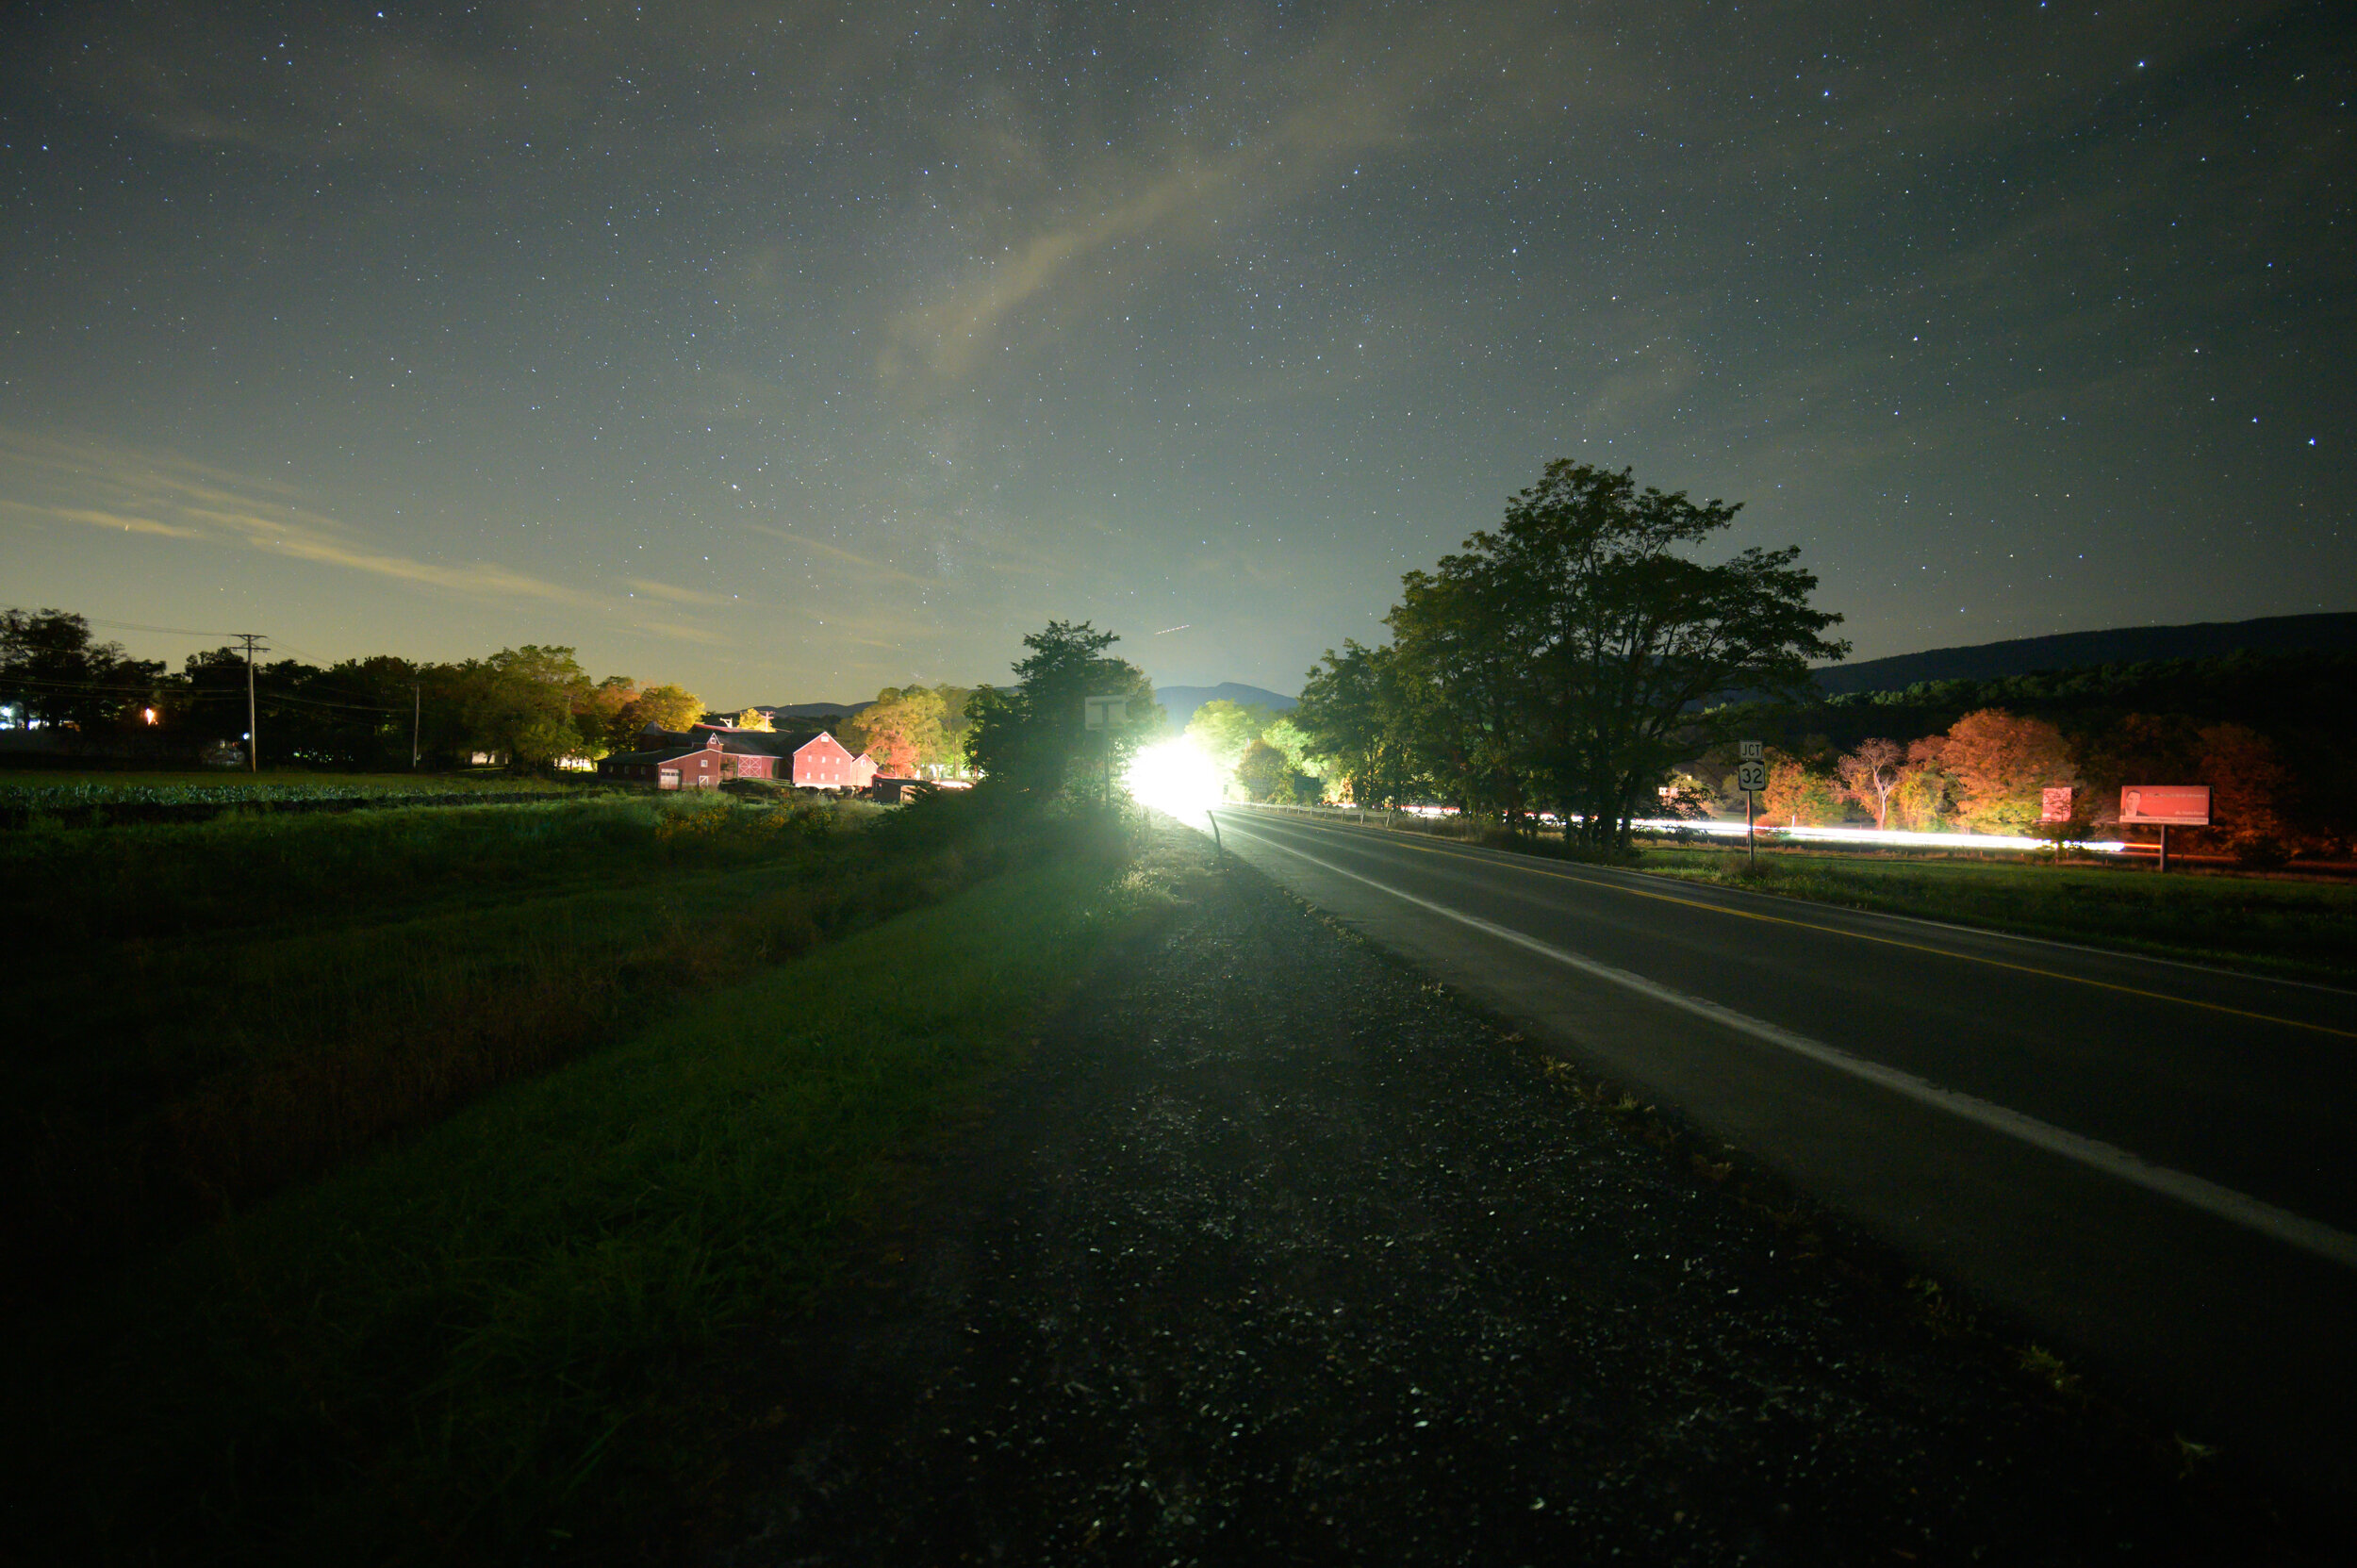
Two From the Road: Our Favorite National Park Night Photographs of 2019

Here we are again, at the end of a year, when nature dictates to our psyches that we examine all that we’ve done in the 364 days prior. And that, of course, includes everything we’ve done with cameras under dark skies.

We at National Parks at Night have accepted this annual self-assignment—for the five of us to examine the work we’ve done in the past year and each choose our favorite two photographs. The reasons for our choices vary. Some are favorites because of overcoming a technical obstacle, some for making a new technique work, some for exploring a new place, some for the experience and the memory.

Whatever the reason for these images making our cut, all have two things in common:

  1. Each of these ten photographs are from units of the National Park Service—our homes away from home, and some of the very best places in the world to practice night photography.

  2. We enjoyed making all of these photographs, and we enjoy recalling the stories of how they came to be. Enjoyment, of course, is the best goal for photography all around.

So here we go. The ten images that we most enjoyed making in 2019 …


Gabriel Biderman

Lassen Volcanic National Park

Cinder Cone and Milky Way, Lassen Volcanic National Park. Nikon Z 6 with Nikon 14-24mm f/2.8 lens. Twilight foreground: 15 seconds, f/2.8, ISO 100; Night sky: 25 seconds, f/2.8, ISO 6400.

My favorite photo of the year is from our Lassen Volcanic National Park workshop, at the Cinder Cone volcano. Lassen Volcanic, in California, is a true gem, as well as an under-visited national park.

All four types of volcanoes are featured in Lassen, and they make for great foregrounds against the incredibly starry skies. Cinder Cone is one of the best for photography, though it takes some work to get to, as it sits in the more remote northeast corner of the park and requires a 2-mile one-way hike with an elevation gain of 846 feet over the last .8 miles up the side of the loose-rock volcano.

We started the hike in the afternoon so that we could get to the top before sunset. Halfway up we took a break, and I loved the visual of the trail carving up the side of the volcano. I checked PhotoPills and was ecstatic to see that later the core of the Milky Way would be rising right above the summit. That night was dedicated to shooting along the rim, but the next evening I revisited the trail for this composition.

I set up the camera and tripod low to the ground so I could make the path appear larger in the composition. The idea was to take two shots and blend them together, which was the only way to get the rich detail of the cinder fragments balanced with a good exposure of the stars. I shot one image that yielded the foreground detail (but a blown-out sky) and another image 45 minutes later that yielded a great Milky Way (but a silhouetted foreground).  In post-production this was a fairly easy image to blend.

Now to make some room on my wall for the print!

Cape Hatteras National Seashore

Space X, Cape Hatteras National Seashore. Nikon Z 6 with a Nikon 28mm f/1.4 lens. 10 seconds, f/2.8, ISO 12800.

My other favorite image was more spontaneous, and also happened on a workshop—this time at Ocracoke Beach in North Carolina’s Outer Banks. This workshop was incredibly fun, with the overriding theme of photographing lighthouses at night.

We took the morning car ferry to Ocracoke, which is mostly contained within the boundaries of Cape Hatteras National Seashore. We spent the afternoon exploring the village, and we of course got our passports stamped at the park visitor center. We shot the sun setting over Pamlico Sound, then moved to Ocracoke Beach for the night shoot.

We heard rumors from a few beachgoers that we might be able to see Space X’s Falcon 9 shortly after it would be launching from Cape Canaveral that night. We really didn’t think much of it, as we assumed the spacecraft would be pretty small from our vantage point; in 20-plus years of shooting night skies, I had never witnessed any rockets or space junk worth photographing. But that was about to change!

We had been shooting for an hour when lo and behold, the rocket started to shoot across the sky, very apparent and looking like nothing I’d ever seen before—like an arrow of light. Luckily most of us were already focused at infinity and just needed to pan our cameras to the direction of the rocket. The spectacle lasted for no more than three minutes, but it was as thrilling as a solar eclipse.

I’d been shooting for supersharp stars with the new Nikon 28mm f/1.4 lens with a 10-second shutter speed, and I absolutely loved the resulting “rocket trail.” If we flip the photo vertically, doesn’t it look like the emblem on the Star Trek uniform? I was able to shoot six frames amid all the excitement. We were all hooting and hollering and sharing what could be a once-in-a-life nighttime experience!

Tim Cooper

Glacier National Park

Going To The Sun Mountain, Clouds and Star Trails, Glacier National Park. Nikon D850 with a Nikon 14-24mm f/2.8 lens, lit by the rising moon and a Luxli Viola. 6 minutes, f/4, ISO 100.

This image from Glacier National Park in Montana is one of my favorites of the year simply due to the fact that so many factors came together at just the right time. Louis Pasteur famously said that “chance favors the prepared mind.” I truly believe this. Most of our happy accidents would not occur without some planning and preparedness.

In this case, I knew the rising moon would illuminate Going To The Sun Mountain, and I also knew I wanted to capture some of the scraggly trees growing on Sun Point, so I kept my eyes open for a composition looking northwest. After finding my spot, I mounted my Luxli Viola on a small tripod to illuminate the lone tree in the lower right of the image. I wanted the tree to stand out from the darker conifers in the background, but I didn’t want the tree to overpower the moonlit mountain, so I set the power very low.

The next step was to create a composition that would incorporate the foreground with the distant mountains and sky. My initial hope was to capture long star trails over this famed mountain range, but after a few high-ISO test shots I realized the impending clouds would soon command most of the sky. So instead of firing a 25-minute exposure, I decided to switch gears.

In the past, 2- to 4-minute exposures have worked really well for highlighting the movement in low clouds. So I set my Nikon D4s to Bulb and triggered it with a Vello Shutter Boss intervalometer set to 3 minutes. The result? It was OK. The clouds were not moving as fast as I’d thought, so I increased my shutter speed to 6 minutes. Boom! This was the shot.

The clouds flowed through the western gap while hugging the mountains and spreading throughout the image. I also loved the fact that Going To The Sun Mountain was fully illuminated while the more distant mountains where shaded by the clouds. Everything came together. Luck? Planning? Perhaps a bit of both.

Big Bend National Park

Balanced Rock, Big Bend National Park. Nikon D4s with a Nikon 14-24mm f/2.8 lens, lit by two Luxli Viola lights controlled remotely with the Luxli Conductor app. 2.5 minutes, f/8, ISO 800.

The problem with iconic scenes is that they are just so … iconic. Think Landscape Arch in Arches National Park or Half Dome in Yosemite. Who could leave these places without snapping a shot of them? I’m no different than anyone else in that I, too, want to make my picture of the icons. And like everyone else, I want to do it my way—to put a bit of my personality into the image.

However, this can be terribly difficult with some icons. Often there are few places to stand and very little choice of lenses that can adequately contain the scene. We also have to contend with our preconceived notions of what the image should look like—invariably we are influenced (sometimes subconsciously) with the abundance of imagery we’ve seen of the spot. And then there’s the weather. And the light. Are they as good as that one moment in time that the other photographer experienced? Bagging the icons can be as frustrating and disappointing as it is thrilling and satisfying.

Such was the challenge for one of my favorite images of 2019, which I shot at Balanced Rock in Texas’ Big Bend National Park. I have to admit: I usually don’t do well with photographing the icons. My shots often turn out trite or barely distinguishable from the mass of similar shots. So I really laid into this scene, and decided that I wanted to match the otherworldly landform with light that was equally otherworldly.

Using two Luxli Violas, I was able to create light that could never happen naturally. I positioned them to highlight the dominant features of each of the forms in the composition: the belly of the boulder and the layers of the supporting rocks. Again, this light could never occur naturally, but that’s OK—I wanted to make it my light. The result is a rare case where I felt I actually created my own take on an icon.

Matt Hill

Badlands National Park

No So “Bad”lands, Badlands National Park. Nikon Z 6 with a Sigma 35mm f/1.4 Art lens. 10 minutes, f/1.4, ISO 100.

Chris and I were fortunate to visit Badlands National Park in South Dakota during an unusually rainy season. The result was both positive and negative.

The positive included the uncharacteristically lush and verdant carpet of clover blanketing the troughs between the badlands formations. I mean, these are badlands, right? They’re not supposed to look lush. However, the negative was that the standing water spawned a hellacious cloud of mosquitoes that actually drove us away from a couple of nice shoot locations. Waiting out long exposures while having blood painfully sucked out of you isn’t among the best of times to be had.

But this spot was too good to give up on. Wearing my full rain gear (on a clear night) to avoid being eaten alive, I attempted to focus through the buzzing of bloodsucking insects to document this dichotomy of a typically barren landscape with the beautiful, albeit invasive (confirmed by rangers), yellow sweet clover.

My setup was facing north, and the rising moon was kissing the right face of the land feature. The star trails raining downward feel peaceful and soft to me, much like the clover felt to the touch.

I’m very much looking forward to going back to Badlands with Lance for our workshop this coming summer, where we’ll be able to photograph the Perseid Meteor Shower in the dark skies of this amazing park.

Bryce Canyon National Park

Polaris in the Queens Garden, Bryce Canyon National Park. Nikon Z 6 with a Viltrox 20mm f/1.8 lens, light painted with a Luxli Cello. 25 stacked exposures each shot at 4 minutes, f/5.6, ISO 200.

During our late-spring workshop in Utah’s Bryce Canyon National Park, a small group of us hiked pretty far down along the Queens Garden Trail. The experience is a commitment—the air is a little thin at Bryce, and while hiking down is pretty easy, hiking all the way back up with backpacks full of camera gear is not. But the photo opportunities are so worth that commitment.

We kept going until we found a view of Polaris above a hoodoo. The moon was moving around to the left quickly. So we set up to capture the cross-lighting for detail on the hoodoo, followed by at least an hour’s worth of images for star stacking. As the rock face fell into shadow, I went around to the other side and set up a Luxli Cello to create some up-lighting to give the hoodoo depth.

Then we engaged in the most enjoyable part of night photography: getting to know each other. After a relaxing hour and a half, we packed up and began the ascent to the rim, stopping dozens of times along the way to photograph more rocks and stars, as well as to catch our breath.

In post-processing, I had 25 versions of shadows in the foreground from the moon passing through and behind nearby trees. I chose one and masked it in to create more focus on the star field and hoodoo, and also for its lovely tree shape.

Lance Keimig

Glacier National Park

Many Glacier, Glacier National Park. Nikon D750 with a Tamron 15-30mm F/2.8 lens at 24mm. 198 seconds, f/4, ISO 100.

Every once in a while, I find myself in the right place, at the right time, with a camera on a tripod, when the forces of nature align themselves and afford an opportunity to both witness a remarkable scene and also to record it. The night when Tim and I took our group to Many Glacier during July’s Glacier National Park workshop was such a time.

Early in the evening, the moon was rising behind a mountain and backlighting a small cloud that was perfectly positioned at the silhouetted peak. It was an extraordinary scene, but I was working with a workshop participant and wasn’t able to make a photograph. The cloud dissipated, but a few minutes later, almost magically, another one formed in almost the same location. I was still occupied and watched that one dissipate too. Unbelievably, a third cloud formed over the mountain and I raced to get my camera set up while I had the chance.

Unfortunately, by that time, the moon was rising above the horizon, and the magic was lost. Disappointed, I picked up my gear and turned around, only to see the perfect reflection of Grinnell Point in the unusually still lake. There were clouds streaming over the peak toward my position. Better than a consolation prize, the scene before me was superior to the shot I had missed, and this time I would not be denied.

I had time to carefully compose, confirm my focus and make a series of exposures ranging from 30 seconds to 6 minutes to assure that I captured the most interesting cloud movement possible. About 3 minutes yielded the best result.

Straight big-vista landscape photos are not what I usually make, but that’s what was called for here. After I was confident that I had my shot, I took a few minutes to set the camera aside and simply enjoy the beauty before me––something that can get easily lost when one is excited about photographing what’s in front (or behind) the camera.

Cape Cod National Seashore

Nauset Light, Cape Cod National Seashore. Nikon D750 with an Irix 15 mm f/2.4 lens. 13 seconds, f/3.2, ISO 6400.

My second pick for favorite image of the year was made during our October workshop in the Province Lands area of Cape Cod National Seashore in Massachusetts. Quite unlike the Many Glacier image that simply presented itself to me, this scene didn’t exist as you see it here—the beam rotates, as opposed to streaming out in different directions simultaneously. What makes the image special to me is that making it involved discovering a new way to solve one of the challenges of photographing a lighthouse with a rotating beam.

If you have ever heard me talk about my work, or taken a class with me, you’ll know that I exhaust every opportunity to make an image in a single frame. I like to stick to a RAW workflow, and go into Photoshop only when I can’t find another way to get the shot. That was the motivation here too.

I’ve made images like this before using a post-production technique I learned from another night photographer, but this was a whole new strategy that Gabe invented accidentally by misunderstanding the technique. (It’s a funny story that we’ll save for a future blog post.)

I was captivated by the possibilities, so I worked on the idea for this image. It took me over an hour of many attempts and variations to come up what you see here, but it was well worth the time invested. Even if it’s not the most amazing shot, discovering and working through the kinks of a new solution to an old problem, and finding an in-camera alternative to what was previously a complex, multiple-exposure method, was all immensely rewarding.

The two images I chose are completely different in style and technique. Aside from being night images, what they really have in common is that they both serve as reminders of the experience I had while making them. To me, the experience is usually at least as important as the resulting image.

Chris Nicholson

Devils Tower National Monument

Moon, Meadow and River, Devils Tower National Monument. Nikon D5 with a Nikon 24-70mm f/2.8 lens. 15 seconds, f/8, ISO 800.

Wyoming’s Devils Tower National Monument is a place I’d never visited before this past summer, despite having traveled quite close to it in 1998 and 2006. Finally 2019 brought me to this amazing and mystical place, as I was leading a National Parks at Night workshop there with Matt.

The week was full of great photo opportunities, as varying weather allowed us to shoot everything from Milky Way panos over the tower to lightning storms behind it. But the photo I most treasure from the trip is one I made before the workshop even began.

Whenever I’m working someplace new, I always try to schedule some time to make my own photography, and such was the case at Devils Tower. I arrived a several days early, along with Matt (who had been there a few times before, but accommodated me). One of the ideas we chased down was photographing an S-curve of the Belle Fourche River with the tower in the background, which was the quest that led us to this meadow. The photo idea we had in mind didn’t work in that location, but Matt spotted this possibility instead, and graciously pointed it out to me.

I needed the shutter speed to fall within a sweet-spot range: long enough to blur the moving water, but short enough to freeze the moving moon. I settled on 15 seconds. I then tried adding some light painting to the foreground, but after a few tries realized that I preferred the simpler approach of letting the moon gently back-light the grasses of the meadow. It’s a good lesson to learn when to leave perfect alone.

I find that the combination of all the elements—the moon and its reflection, the smooth water, the gentle grasses, the cool tones—creates a peaceful feeling of nature at its finest.

Death Valley National Park

Moon and Dunes, Death Valley National Park. Nikon D5 with a Nikon 14-24mm lens at 24mm. 10 seconds, f/5.6, ISO 3200.

Death Valley is one of my favorite national parks to shoot, and one of my favorite spots in this park is the Mesquite Flat Dunes. So after 2019 provided five opportunities to shoot there, it shouldn't surprise me that one of my favorite night photos of the year came from that location.

Though Death Valley is perhaps best known for its dunes, they actually cover only a very small percentage of the park. But boy, what they do cover makes for amazing opportunities for photographing interesting shapes in the landscape. Mesquite Flat encompasses 14 square miles of sand that crests and troughs toward each horizon, creating patterns among the ridges and more patterns in the ripples on the slopes. All those patterns and leading lines are where the compositions are to be found.

For this image I chose a short dune that curved nicely back toward where the full moon was rising over the Amargosa Range. I framed low to the ground, then used my Luxli Viola to light paint. I started at the right of the composition and side-lit the dune and the mesquite, then moved to the left with the light to add some fill light in and behind the bush. The goal was to use a color temperature and approach that created a subtle visual impression that the light could conceivably be originating from the moon.

Your Turn

So there you go—from Wyoming to South Dakota, from Montana to Massachusetts, from Utah to North Carolina and beyond—our favorite photographs from 2019.

Now we’d like to see yours! Please share your favorite night image from the past year, either in the comments below or on our Facebook page. And then let’s all move on together to 2020, when we’ll find new ways to enjoy seizing the night.

Chris Nicholson is a partner and workshop leader with National Parks at Night, and author of Photographing National Parks (Sidelight Books, 2015). Learn more about national parks as photography destinations, subscribe to Chris' free e-newsletter, and more at www.PhotographingNationalParks.com.

UPCOMING WORKSHOPS FROM NATIONAL PARKS AT NIGHT

Seizing the Season: How to Photograph Holiday Lights

The holiday festivities are in full swing, and everywhere you look—from the stores to the streets, from the houses to the parks—the world is sparkling with a celebration of lights.

All this holiday cheer warms the spirits and sends people out in throngs to experience festivals and homes adorned with sparkles and gleams. Including, of course, photographers!  And I’m one of them.

I recently braved the masses to experience one of the classic locations that brings in people from all over the world during the holidays—Rockefeller Center. It has the massive tree and skating rink on one side, and the spectacular Saks light show (Figure 1) on the other. Between both these sights runs a segmented water fountain and rows of angels.

Figure 1. An ethereal take on the Saks lights show. Nikon Z 6 with a Lensbaby Sol 45mm f/3.5 lens. 1/80, f/3.5, ISO 500, with a white balance of 5000 K.

Everyone was taking pictures with their phones, which do a decent job in such a well-lit space. But my goal was different. I wanted to get creative and make some photographs that might be worth hanging on the wall.

Would you like to get out and do the same, whether in a bustling place like Rockefeller Center or in the quiet of a suburban neighborhood? In this article I want to inspire you to level up to create something that goes beyond the snapshot. That’s right—we’re going to shoot some holiday lights!

Exposure Guidelines

Because you can experience a variety of conditions under the lights, the best exposures will vary from scene to scene.

Apertures play a big factor, whether you’re shooting wide open to turn the lights into a colorful blurred background or whether you’re stopping down to turn the direct light sources into star points.

Your shutter speeds will be dictated by whether you can use a tripod. Is there movement in the scene that will be amplified by a longer exposure? If you can’t use a tripod, choose a shutter speed above 1/60.

When shooting holiday lights, I let my ISOs fly and think about aperture and shutter speed first. Obviously, avoid any higher ISOs that add too much noise to the scene. The lower the ISO, the smoother and richer those colors will be. But today’s cameras tend to perform great up to 3200, 6400, and even 12800—so don’t be afraid to aim high if you need to!

Tips for Working Outdoors

Figure 2. Vallerret’s Ipsoot photography gloves.

Figure 2. Vallerret’s Ipsoot photography gloves.

Layering up and arriving early are key factors to successfully seizing the multitude of outdoor lights.

Make sure you are warm and comfortable, and especially protect your extremities from the cooler winter temperatures. My favorite hand-insulating combo is produced by our friends at Vallerret: the Ipsoot gloves (Figure 2) with merino wool liners. Add a hand warmer to the zipper pocket on the Ipsoot and you’ll be able to keep on clicking until the wee hours!

As for your feet, Smartwool socks and full-foot insole warmers will guarantee you can keep trudging through cold or snowy parks and hills.

Getting to your location by sunset will guarantee that you can take advantage of the shorter blue hour that happens in the Northern Hemisphere’s winter months. Urban city lights perfectly coordinate with the cobalt color of the sky during civil twilight (Figure 3), and that’s the time when everything is likely to fall into the dynamic range of the camera. This is also helpful in rural areas when you want to combine the twilight sky with a well-decorated home.

Figure 3. Even though this was shot at twilight, I needed three frames to capture the tonal range of the bright lights and the darker shadows. Fujifilm X-T1 with Fujifilm 10-24mm f/4 lens. f/8, ISO 800 and blended shutter speeds of 1, 4 and 8 seconds.

If you miss the 20-minute twilight, shooting with moonlight (not this year) or bracketing and blending the scenes with more contrast will help battle big swathes of dark negative space in your photographs (Figure 4).

Figure 4. The full moon definitely helped add drama (I love the tree shadow) and balance the exposure, but I still needed to blend two images to retain the highlights realistically in the luminarias. Fujifilm X-T1 and Fujifilm 10-24mm f/4 lens. f/16, ISO 400, and blended shutter speeds of 30 and 60 seconds.

Creative Tricks

As always, you can get creative in many ways. Try different kinds of compositions, different angles and shooting from different heights. Below are more fun options I love to play around with.

Lensbaby

Most people are capturing a “straight” interpretation of the scene. But Lensbabies inspire you to create a magical and mysterious spectacle!

My favorites for creating a unique look to night lights at any time of year are the Sol, Composer Pro and Twist. Each of these lenses lets you place the selective focus anywhere in the frame, making any direct light sources turn into beautiful discs of bokeh.

Figure 5. From left to right, the Lensbaby Sol 45, Composer Pro II 35 and Twist 60.

With both of the images below, the idea was about finessing the composition and timing the exposure with the lights. The “straight” shot with the 24-70mm lens (Figure 6) allowed me to go wider and include the flowing water. Seeing that movement led me to choose a slower shutter speed of 1/8 and then put my camera into burst mode and hold down the trigger. This helped guarantee at least one sharp shot in the bunch while also highlighting the moving water.

Figure 6. Nikon Z 6 with a Nikon Z 24-70mm f/4 lens. 1/8, f/8, ISO 640, with a white balance of 5000 K.

Figure 7. Nikon Z 6 with a Lensaby Sol 45mm f/3.5 lens. 1/15, f/3.5, ISO 100, with a white balance of 5000 K.

But I also love the look of the Lensbaby (Figure 7). The Sol is easy to use with a focal length of 45mm. It also has a fixed aperture of f/3.5. I wasn’t able to include the water fountain, but the selective focus made the scene seem like a dream!

Defocus

As photographers we’re trained to get everything sharp. But deliberately going soft can also be incredibly creative, and it can work especially well when dealing with light sources. Try manually focusing to turn the lights into big balls of color.

For the image in Figure 8, the beautiful out-of-focus highlights that the Lensbaby creates inspired me to try defocusing. The swirling bokeh of the Twist lens looked even better when all the lights from the tree were soft.

Figure 8. Nikon Z 6 with Lensbaby Twist 60. 1/60, f/3.5, ISO 250.

Zooming

One of my favorite techniques to employ with direct light sources is zooming during the exposure. In order to do this in a brightly lit area like Rockefeller Center, you’ll want to use your lowest ISO and stop down the aperture to f/16 or f/22. You could even use a 3- or 6-stop neutral density filter.

Why are we diminishing the light so much? So we can work with a longer shutter speed. The longer you can zoom, the more creative you can get.

For the image in Figure 9, I used the LCD on the back of the camera to compose and practice a few different compositions. The 24-70mm lens worked perfectly, as the star remained in the frame as I zoomed. With a longer lens (I also had the Nikon 28-300mm with me), I would have lost that important part of the composition at the longer focal lengths.

Figure 9. Nikon Z 6 with a 24-70mm f/4 lens. 6 seconds, at f/22, ISO 50.

The trick to the zoom technique is to hold your position at the beginning and end of the exposure so that you can freeze the subject in both spots. For example, this exposure was 6 seconds. I set the zoom to its widest position, triggered the exposure, counted to 2, then started to slowly zoom, timing the movement so there was another 2-count at the end. This helped balance the visual of the tree versus the effect of the zoom.

Black and White

When you’re shooting something that’s colorful by nature, it’s hard to think outside that color box. But that different take is exactly why a monochrome approach to shooting holiday lights can be so captivating.

I ended my night at Rockefeller Center by looking for a quieter scene (Figure 10). I loved the simplicity of the white lights covering the trees and knew it would look good in black and white. I wanted to embrace the people moving on the sidewalk, so I experimented with 1- to 15-second shutter speeds. The shorter exposures made the figures resemble ghosts walking through the scene.

Figure 10. Nikon Z 6 with a Nikon 24-70mm f/4 lens at 28mm. 1 second, f/9, ISO 640.

Indoor Opportunities

No need to layer up here! With your camera in hand (or on a tripod), you can celebrate your precious ornaments and indoor lighting arrangements in a variety of ways.

Ornaments

Every year our good friend and ranger at Biscayne National Park, Gary Bremen, shares his pictures and the stories behind each ornament on his Facebook page. My sister just started doing the same, and my wife Nancy can definitely spin a yarn about each one of her ornaments. Why not do the same? (Figures 11-14.)

Figure 11. Boots Ornament. Each shot with Nikon D750 with a Tamron 90mm macro lens. 1/8, f/8, ISO 800.

Figure 12. Teardrop Ornament. 1/125, f/3.5, ISO 800.

Figure 13. Light Bubble Ornament. After experimenting with shutter speeds from 1/125 to 1 second, I settled on 1/30 to best interpret the movement in the ornament. 1/30, f/3.8, ISO 100.

Figure 14. Beer Ornament. Don’t forget that holiday beers are decorative and taste great! 1/30, f/8, ISO 400.

Photographing ornaments is often best done using a macro lens. Because macros have extremely shallow depth of field, you’ll want to use a tripod to ensure you nail the focus and get a precise distinction between your main subject and the blur of the background (Figure 15).

Figure 15. Note the difference between the size and shape of the background lights when shooting at f/3.5 (left) and f/11 (right). Nikon D750 with a Tamron 90mm macro lens.

Portraits

The holidays are a time for many family photos. So get creative and use the lights as a symbolic background for your portraits.

The key to producing that colorful bokehliscious background is to compress the depth of field and have the tree lights out of focus. Use a portrait lens between 85mm and 135mm (a 70-200mm is a perfect lens), along with a flash.

For the portraits in Figure 16, I set up my camera and tripod about 15 feet from the tree. I then placed a chair about 6 feet from the lens and made sure it aligned nicely with the lights behind it. I used a Profoto A1 flash off-camera, mounted on a light stand and connected via a remote trigger. This created a pleasing light combination that helped separate the subject from the background.

Figure 16. Sandy, Brooks and Helen. All images shot with Nikon D750 with a Tamron 90mm macro lens and a Profoto A1 flash. 1/30, f/3, ISO 400.

Wrapping Up

These aren’t the only ways to be creative with holiday lights—the options are infinitely varied. We’d love to see what you come up with! Please share your photos in the comments section or on our Facebook page.

So don’t be a Scrooge this season. Get out there in the cold night air, and seize those holiday lights!

Gabriel Biderman is a partner and workshop leader with National Parks at Night. He is a Brooklyn-based fine art and travel photographer, and author of Night Photography: From Snapshots to Great Shots (Peachpit, 2014). During the daytime hours you'll often find Gabe at one of many photo events around the world working for B&H Photo’s road marketing team. See his portfolio and workshop lineup at www.ruinism.com.

UPCOMING WORKSHOPS FROM NATIONAL PARKS AT NIGHT

Getting the Best Star Points for Astro Landscapes: How to Test Lenses for Coma

It’s time to talk about something scary that hides in dark corners. It’s an unwanted guest, and has ruined many star parties. The regret comes in the morning, and in the form of a lens aberration called “coma.”

The technical term is comatic aberration. This is not to be confused with chromatic aberration. They sound very similar. Chromatic aberration is color fringing at high-contrast edges in an image, and it’s quite easy to correct in post-processing.

Comatic aberration, on the other hand, has to do with a different type of lens artifact. In night photography terms, coma is when stars start elongating or distorting to look like spaceships or seagulls (Figure 1)—not because of problems with an exposure, but because of quirks in how a lens works. Coma ruins star points, but it’s also a problem with star trails. Imagine: That odd shape drags across the sky, making large, fat trails that can be distracting in a composition (Figure 2).

Figure 1. See the odd shapes of the stars? That’s coma. The shapes can also present as “wings” or diamonds. Fuji X-T1 with 7Artisans 7.5mm f/2.8 fisheye lens. 58 seconds, f/2.8, ISO 6400.

Figure 2. Coma also presents a problem with trails, which will be fatter than normal. Fuji X-T1 with 7.5mm 7Artisans Fisyeve f/2.8 lens. 90-minute stack, f/2.8, ISO 6400.

While not impossible to work with in post, coma is tedious to repair (or to clone out, or to paint out with special brushes). To be frank, I’d rather re-shoot with a better aperture or lens than correct a photo full of coma.

Why Does Coma Matter?

When I got serious about astro-landscape photography, I paid attention to certain things that I believed directly affect the quality of the final image. Coma is one of those things that matters to me. And I know my colleagues at National Parks at Night also care about it at the same level. In fact, Lance Keimig was who first taught me about it.

Now I am at a crossroads. As I move fully to mirrorless on my Nikon Z 6, I want to replace all my F-mount lenses with native Z-mount equivalents. So I am testing a bunch of lenses to see exactly what I want to be carrying in my backpack. As I test, my primary criterion is—you guessed it—coma.

Coma most often occurs on fast, wide lenses. The most common culprits are lenses with apertures of f/2.8 or wider, which are exactly the lenses that are best for astro-landscape photography.

Milky Way over Bryce Canyon National Park, with very little coma. Nikon D750 with a Viltrox 20mm f/1.8 MF lens. Foreground exposure created by blending 25 frames in Starry Landscape Stacker, each shot at 13 seconds, f/2.8, ISO 6400. Foreground exposure 323 seconds, f/2.8, ISO 1600. Blended in Photoshop.

When coma occurs, it is strongest at the corners of the image. It appears less so at the top and side edges, and is unlikely to (but could) appear at the center.

The easiest way to reduce or eliminate coma is to stop down the lens. The aberration is likely to sufficiently diminish by f/5.6. But that’s an aperture that’s not usually wide enough to create shutter speeds that can capture sharp stars in an astro-landscape image.

So the better alternative is to have a lens that doesn’t need to be stopped down to begin with. All lenses have coma to some degree, but some lenses are certainly better than others. In night photography, we want fast ultrawide lenses in which coma disappears or is nearly nonexistent at f/2.8. Why? Because that’s what’s best for star-point and Milky Way photos.

This is the reason we love the Nikon 14-24mm f/2.8. It exhibits almost no coma when shot wide open. This is also why we love the Irix 15mm f/2.4. It too exhibits almost no discernible coma when shot at f/2.8. Both of these lenses are extraordinary.

Unfortunately, my goals for my new kit take me away from these dear optics. While both of those brands are working on Z-mount versions of those lenses, neither has a release date. Also, I do not want to carry an FTZ adapter. While it does allow any F-mount lens to be mounted to a Z-series camera, those lenses tend to be heavier than Z-mounts. Lighter, more compact lenses are part of why I wanted to go mirrorless to begin with. So onward I must journey.

I strive to make the highest-quality photographs I can. I do some printing now, and I plan on doing even more this winter. So when I make 20-inch, 30-inch or 40-inch prints, I want them to evoke the feelings I had when visiting the gorgeous destinations where I made the images.

Night photography is a process of acknowledging which variables are hard boundaries and which are acceptable areas for compromise. Coma is one place I will not compromise. Therefore, I test all the lenses I consider for purchase. I suggest you do the same. To that end, below I will reveal how I recently tested four lenses, and will discuss how to interpret the results.

Preparing a Lens Test

This part is really simple. Grab a notebook and a pen. Draw a grid/table. At the left, write the full apertures of your lenses as rows going downward. Across the top, make a column header for each lens you are testing.

Note: Yes, for sure it’s good to run these tests on lenses you’re thinking of buying. Rent one, borrow one from a friend, whatever. But it’s also good to test lenses you already own, so you know where and when they begin to fail you. Then you can compensate in the field when needed.

My notes from this test. Why am I making notes during the test rather than just checking metadata in Lightroom? Because none of the ultrawide lenses I was testing have electronic contacts, which means the metadata does not contain either the make/model of the lens nor the aperture used in the exposure.

These are the four lenses I recently tested:

  1. Samyang MF 14mm f/2.8 for Nikon Z

  2. Venus Optics Laowa 15mm f/2 FE Zero-D for Nikon Z

  3. Viltrox 20mm f/1.8 MF for Nikon Z

  4. ZEISS Distagon T* 15mm f/2.8 ZF.2 for Nikon F

B&H Photo kindly sent me the Samyang and Laowa for evaluation. I tested these against my tried-and-true Zeiss Distagon. I own the Viltrox, having chosen it already to replace my 35mm Sigma Art as my standard wide lens and for shooting panos.

Performing the Coma Lens Test in the Field

I chose a new moon, and I drove west for 15 minutes out of Catskill, New York, where farmland leaves broad, open, dark rural skies. This combination of choices gave me the maximum number of stars to work with. (If you run your test during a different moon phase, do so a couple of hours before the moon rises or a couple of hours after it sets. You want to be able to see even the faintest of stars.)

Step 1: Nail the focus.

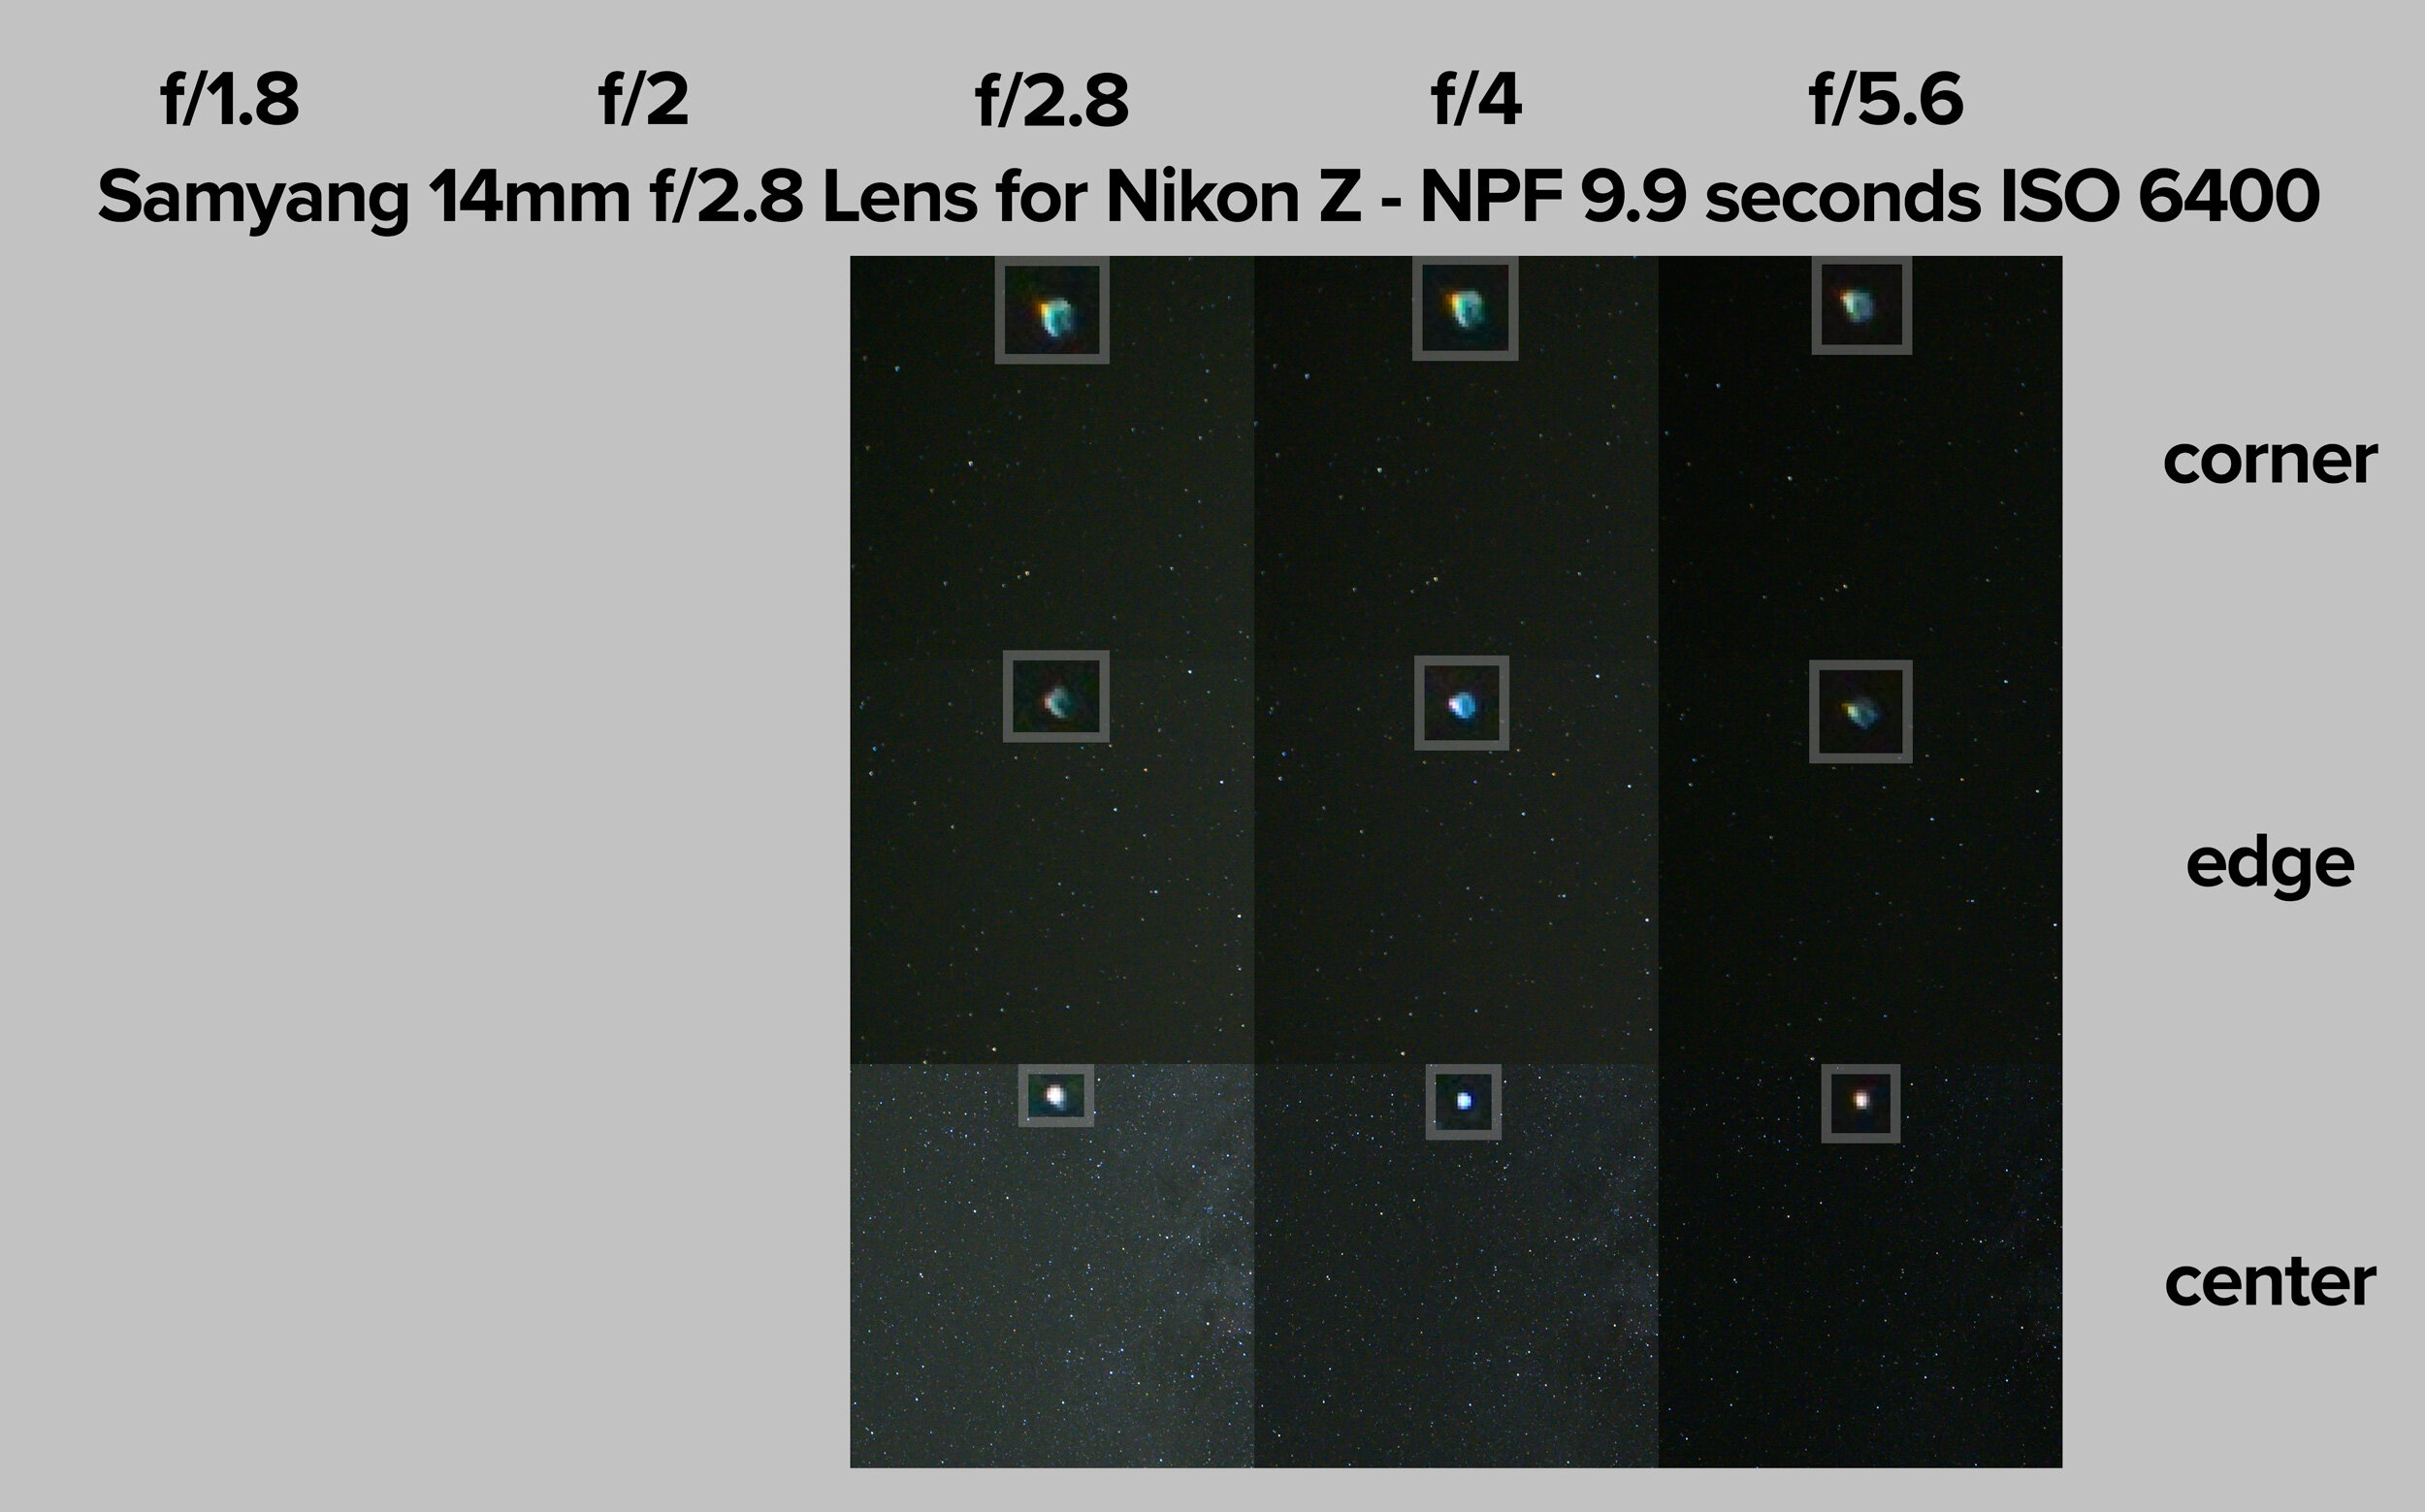
I set up a quarter-mile away from a traffic light so that I could use it to zoom in and really hit the perfect focus. For reference, I took a shot of each perfect focus. See below.

To ensure I ended up with stars that didn’t blur due to movement, I used the following settings: ISO 6400 and the proper NPF calculation for sharp star points (using the Accurate setting in the PhotoPills calculator, as opposed to Default).

Step 2: Make a test shot at each aperture up to about f/5.6.

As noted earlier, this is where coma disappears on most lenses anyway. Moreover, you’re highly unlikely to be shooting star photos at smaller apertures than this.

Step 3: Take Good Notes.

As you make your test images, look at them on the back of your LCD and note the filename in your notebook grid.

OK! That’s all you really need to do in the field. But I suggest that you really take the lenses for a drive. Shoot some star stacks, some star trails, car trails, etc. Get cozy with the lens in general.

Examining the Coma Lens Tests Results

At 800 percent zoom, look at the shape of the stars.

  • acceptable/ideal = round and crisp

  • unacceptable/comatic = irregular shapes that look like birds, flying saucers, donuts, cigars, etc.

It’s that simple.

Wanna pixel-peep? Download the full-resolution JPGs from my test:

The results of my lens test?

  1. I am purchasing the Laowa 15mm f/2 Z-mount and selling my Zeiss Distagon F-mount. Surprisingly, the Laowa has a little less coma than the Zeiss at f/2.8. And the former feels like half the size. That’s a double win.

  2. The Samyang has coma even at f/5.6, so it’s not a good lens for astro-landscape photography.

  3. The Viltrox 20mm f/1.8 is a keeper! No coma at f/2.8. Perfect for star points. It’s heavy, but the focus is smooth and it’s sharp as heck.

Now I can rest easy knowing that my first two native Z-mount lenses are friendly to night photography.

I hope this helps you both understand what coma is, and how to perform your own reliable tests. Now go and test your lenses. Share the results in the comments below or on our Facebook page

Matt Hill is a partner and workshop leader with National Parks at Night. See more about his photography, art, workshops and writing at MattHillArt.com. Follow Matt on Twitter Instagram Facebook.

UPCOMING WORKSHOPS FROM NATIONAL PARKS AT NIGHT