Capture or Create: How Are You Approaching Your Photography?

To capture or create, that is the question.

We live in a world where every moment is precious and must be constantly captured. Some of us need to document to remember. These reasons are important and should not be overlooked. Silly selfies, family photos and pictures of our loved ones unify us. Look at your Facebook page. What are the most liked pictures? Are they your best shots or are they sentimental moments of good times?

Now let’s flip the coin. If you consider yourself a photographer, then you need to have a photographic vision. You can experiment and try different styles, but once you truly sync your eye to your camera, a whole new creative world is open to you.

I consider myself an artist and an educator, so I’m always pushing to look beyond the beauty of what is in front of us. I don’t want the same picture of the same place. I want to create something new, something that has my personal stamp.

This can be a difficult yet rewarding exercise. And when you are in the awe of an amazing location, such as Yosemite National Park, you are going to photograph El Capitan. But are you going to capture or create?

I advise to live in the awe of the moment and definitely capture a few of those staple shots. But keep looking, keep pressing on and see if you can create something special. Look for unique opportunities when the color, light or a new angle will yield inspiration.

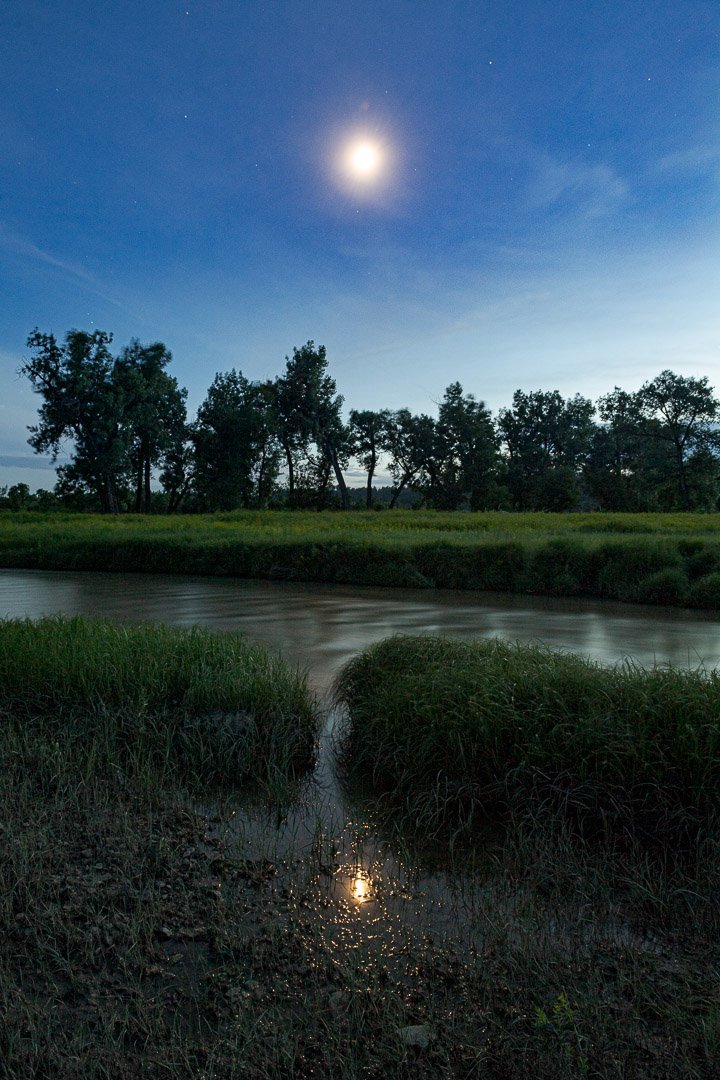
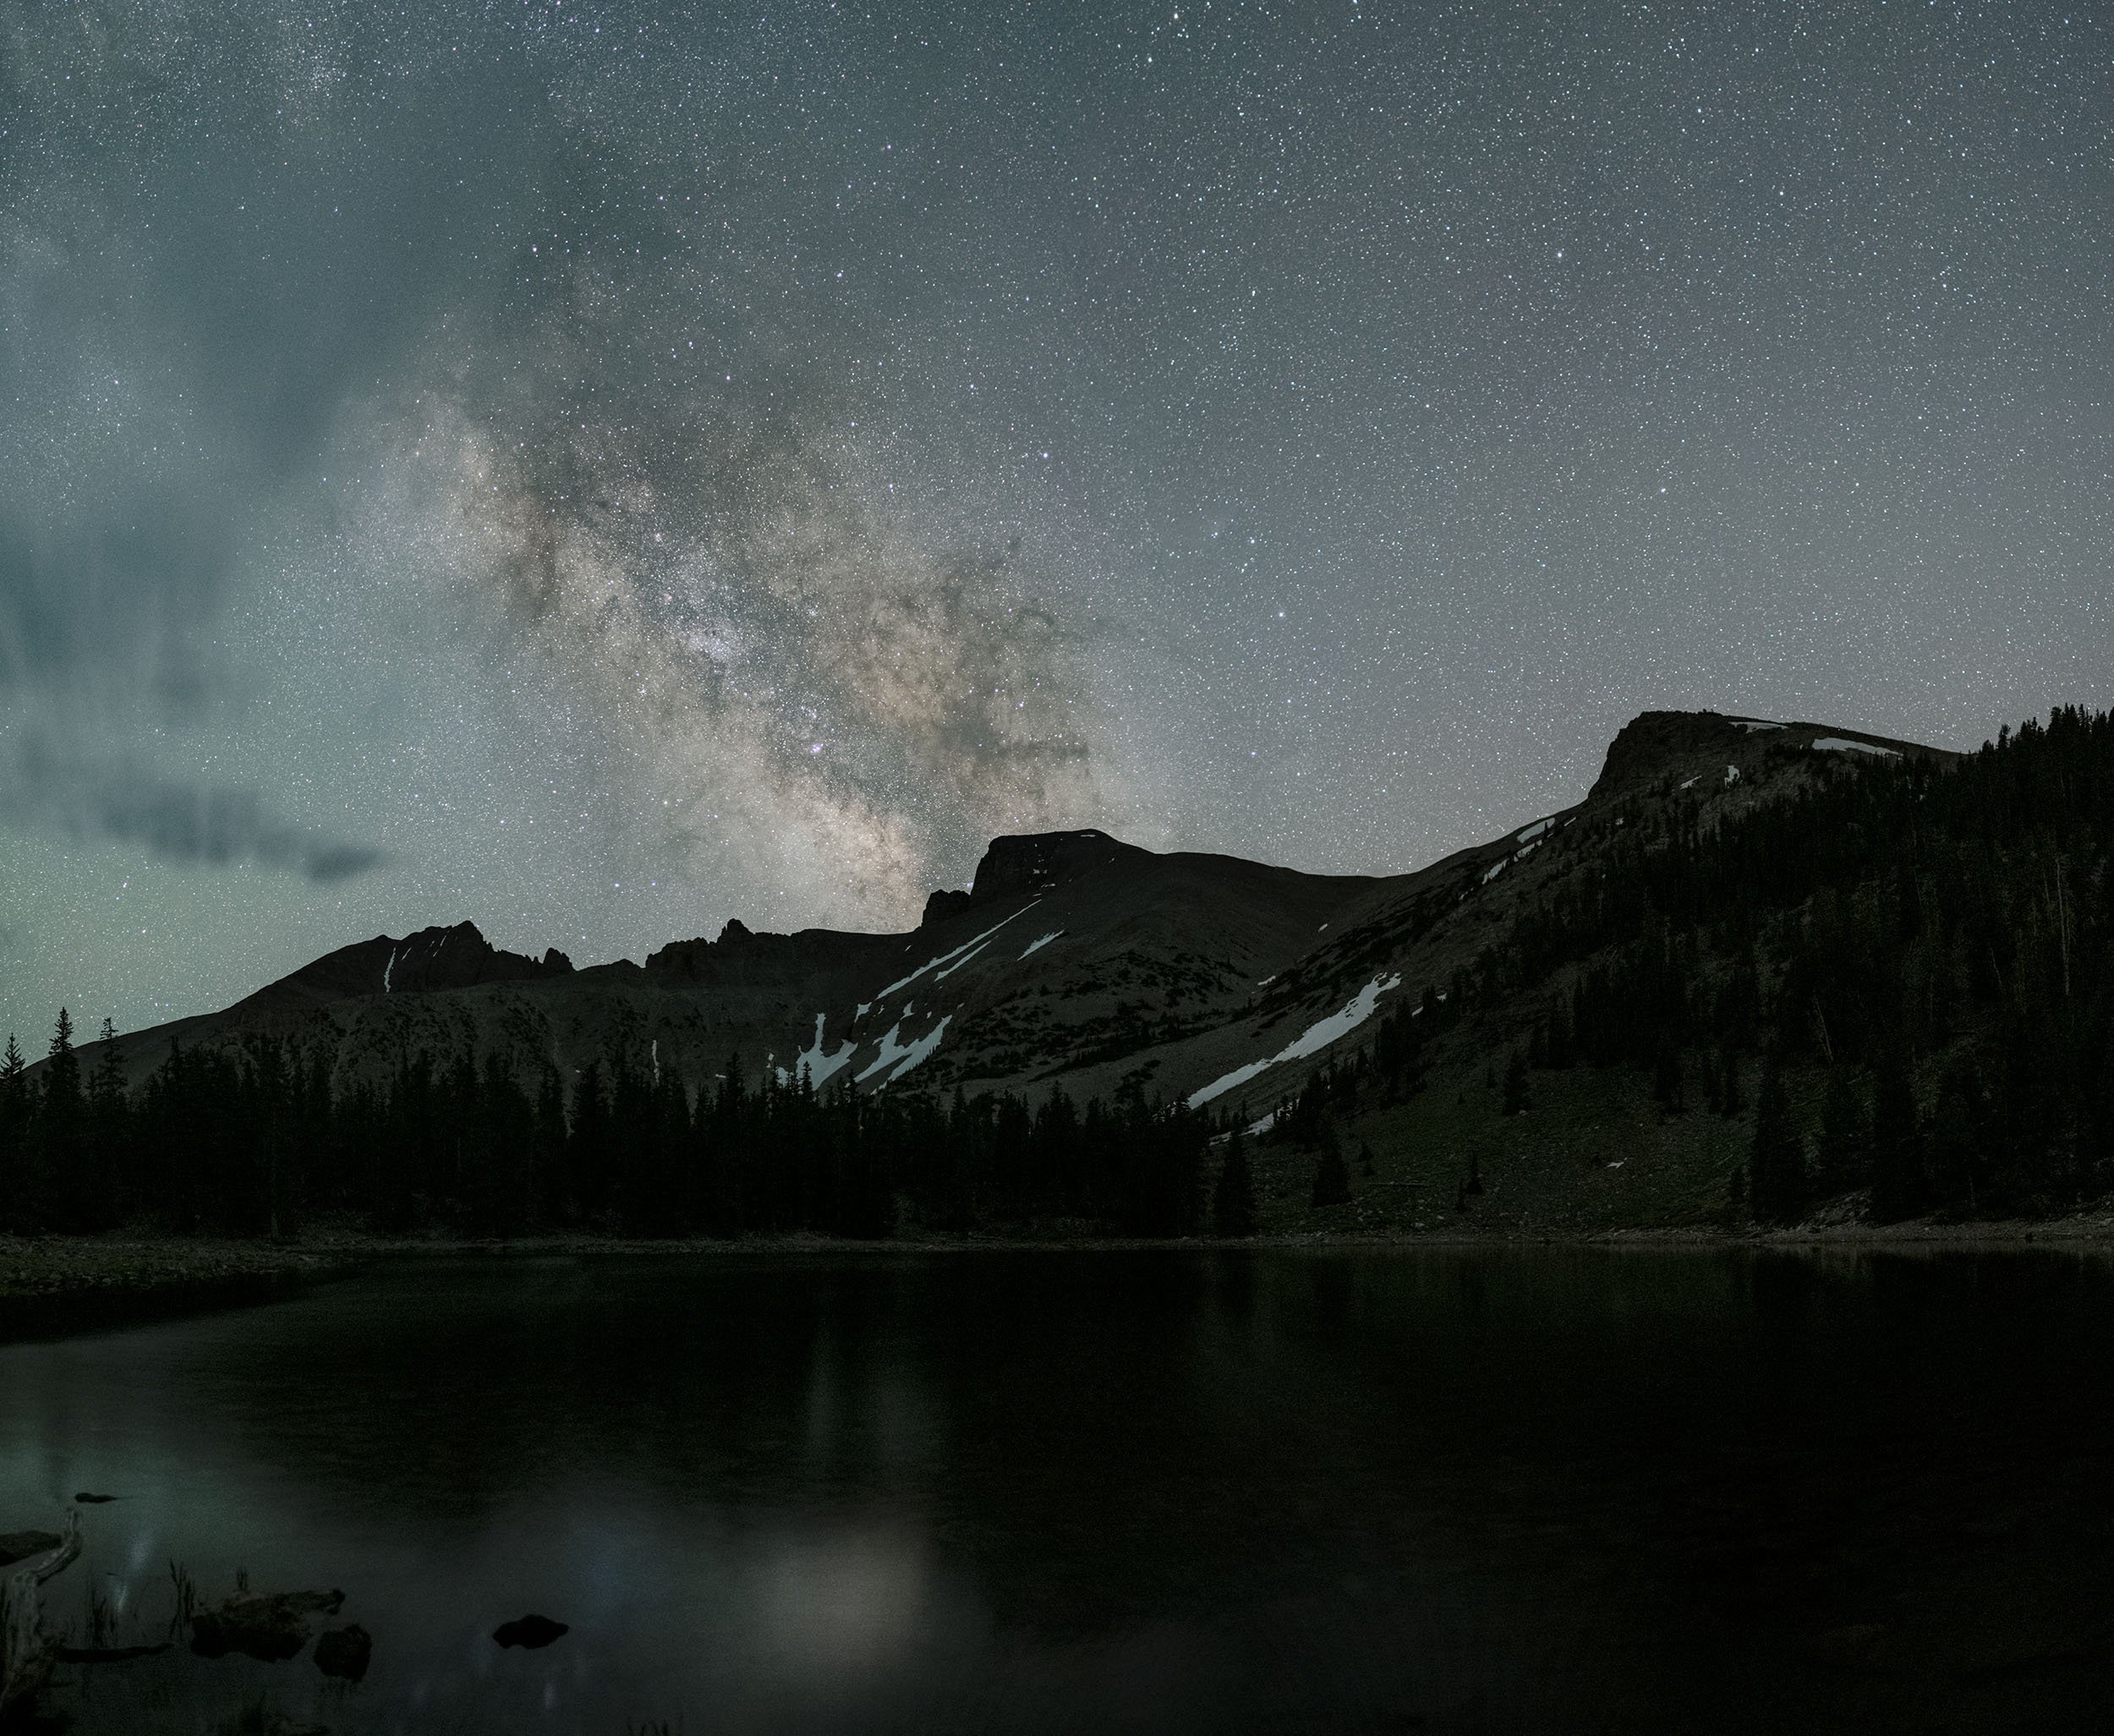
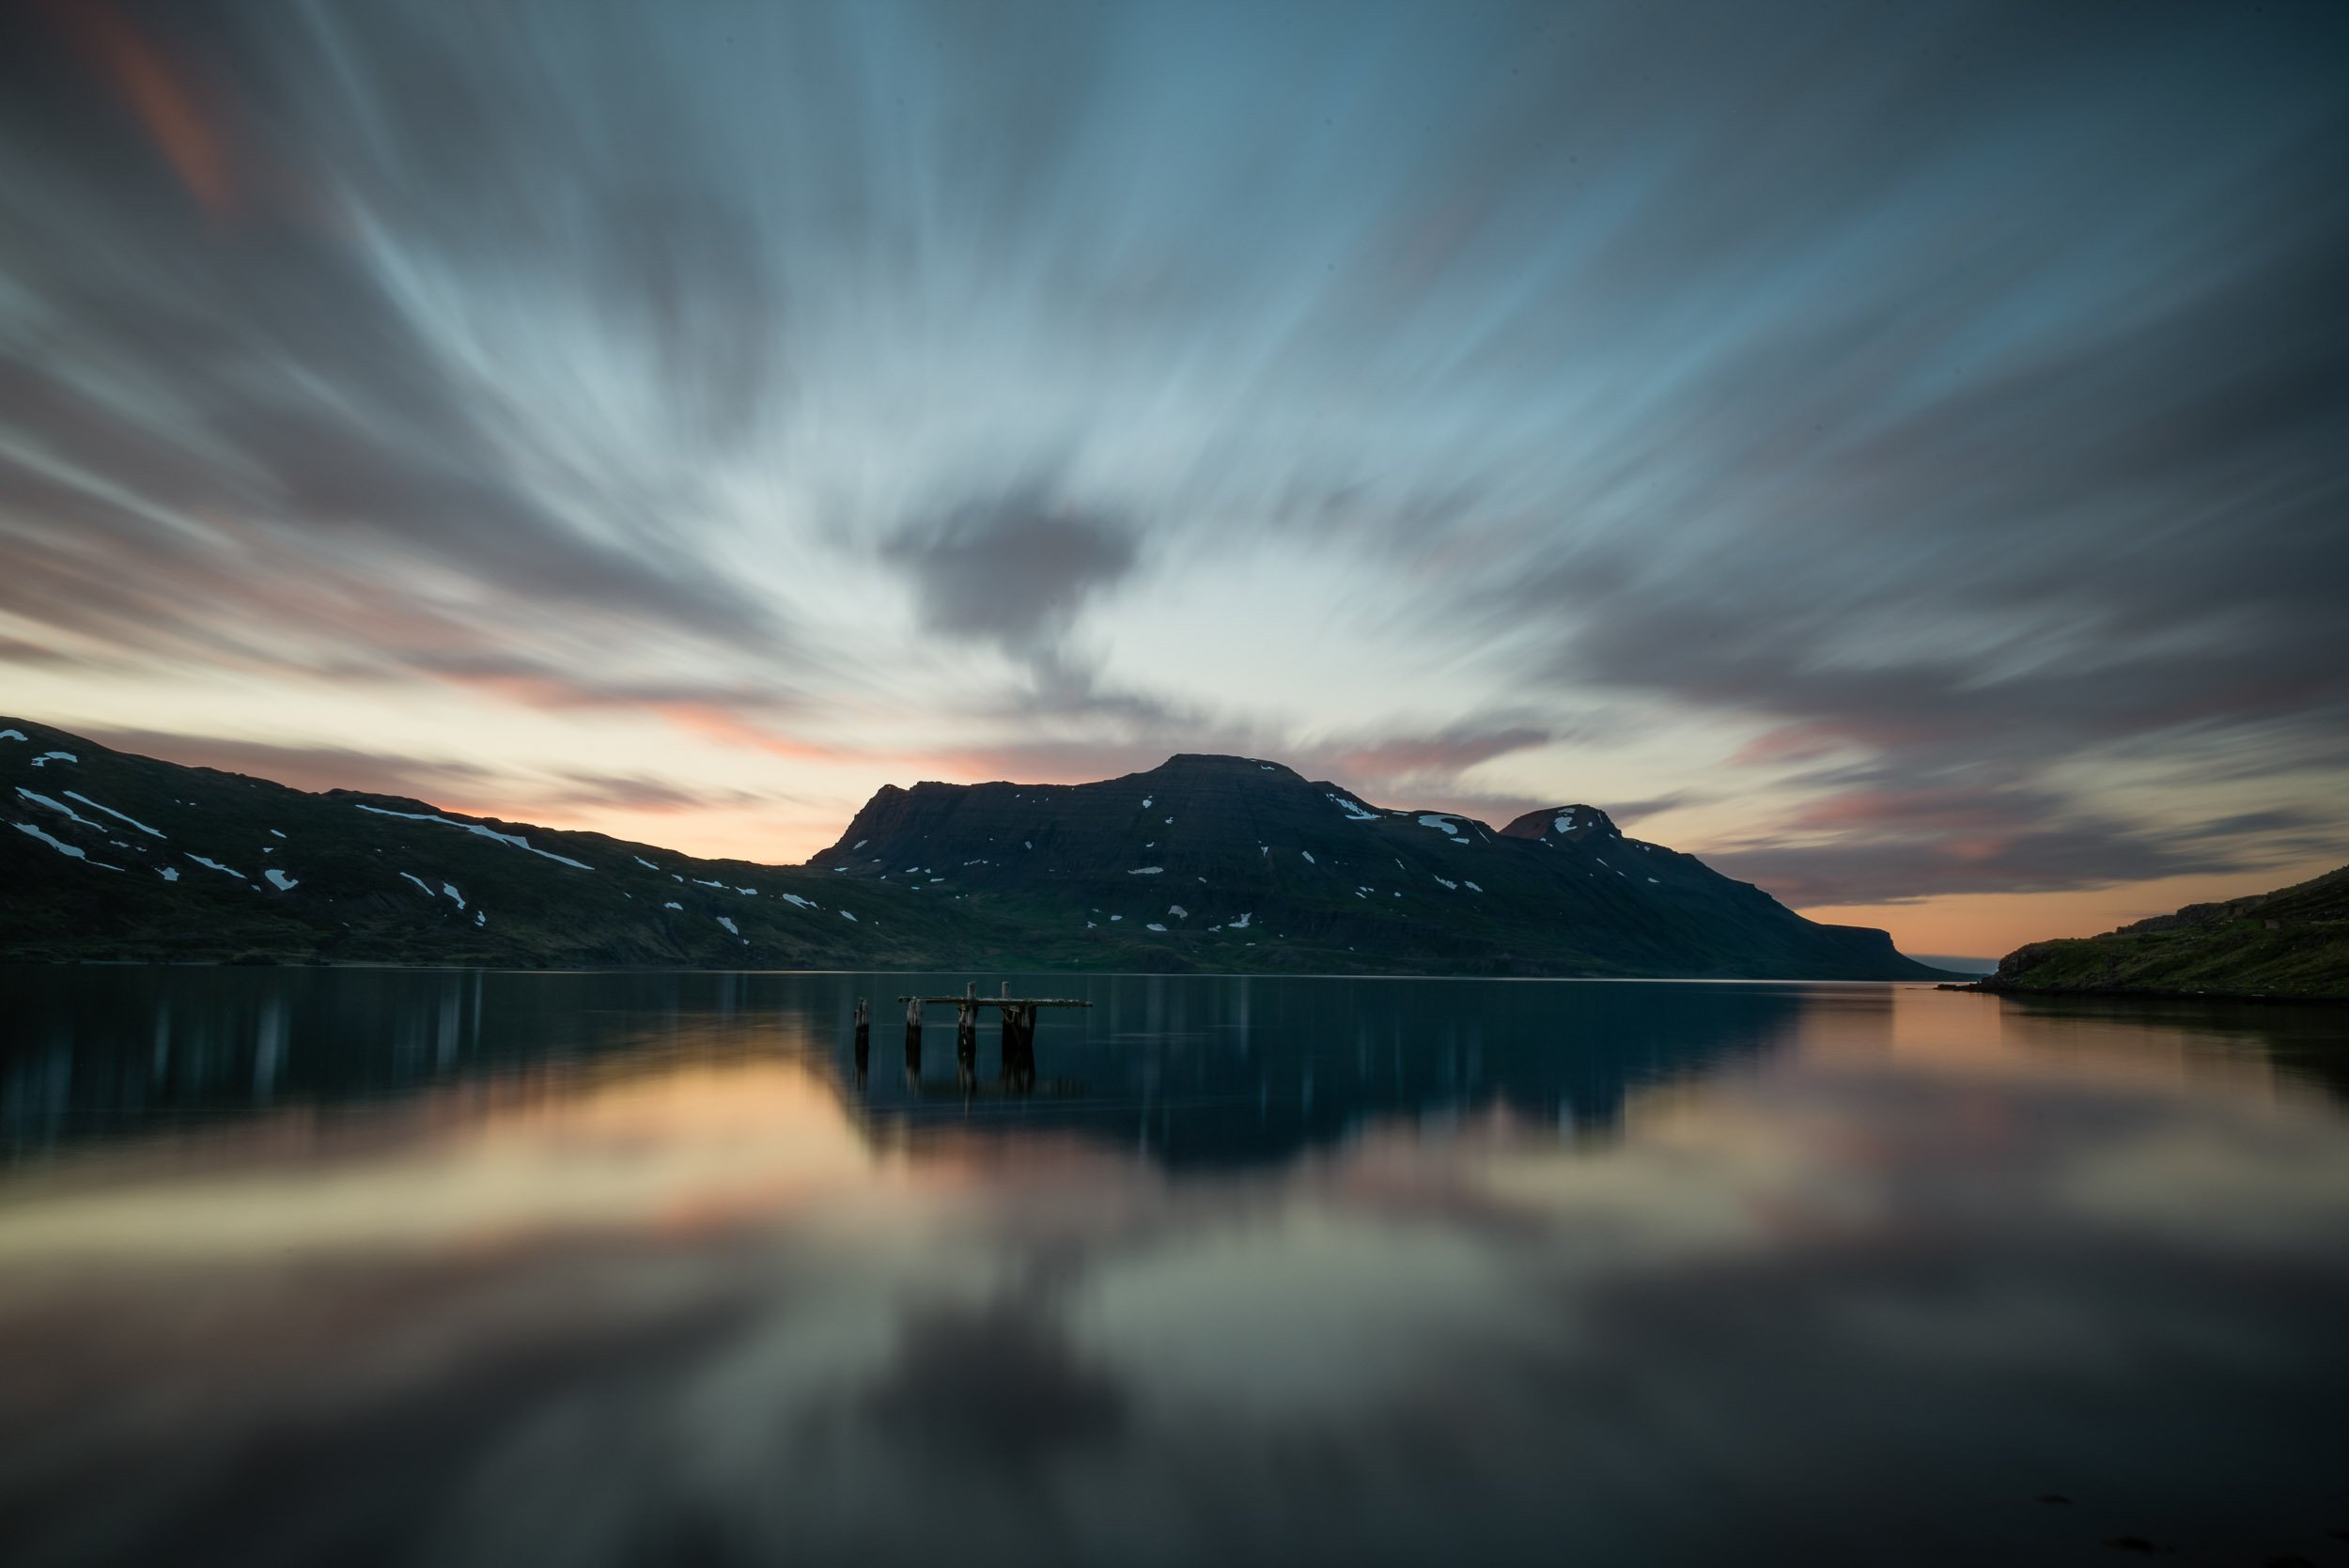
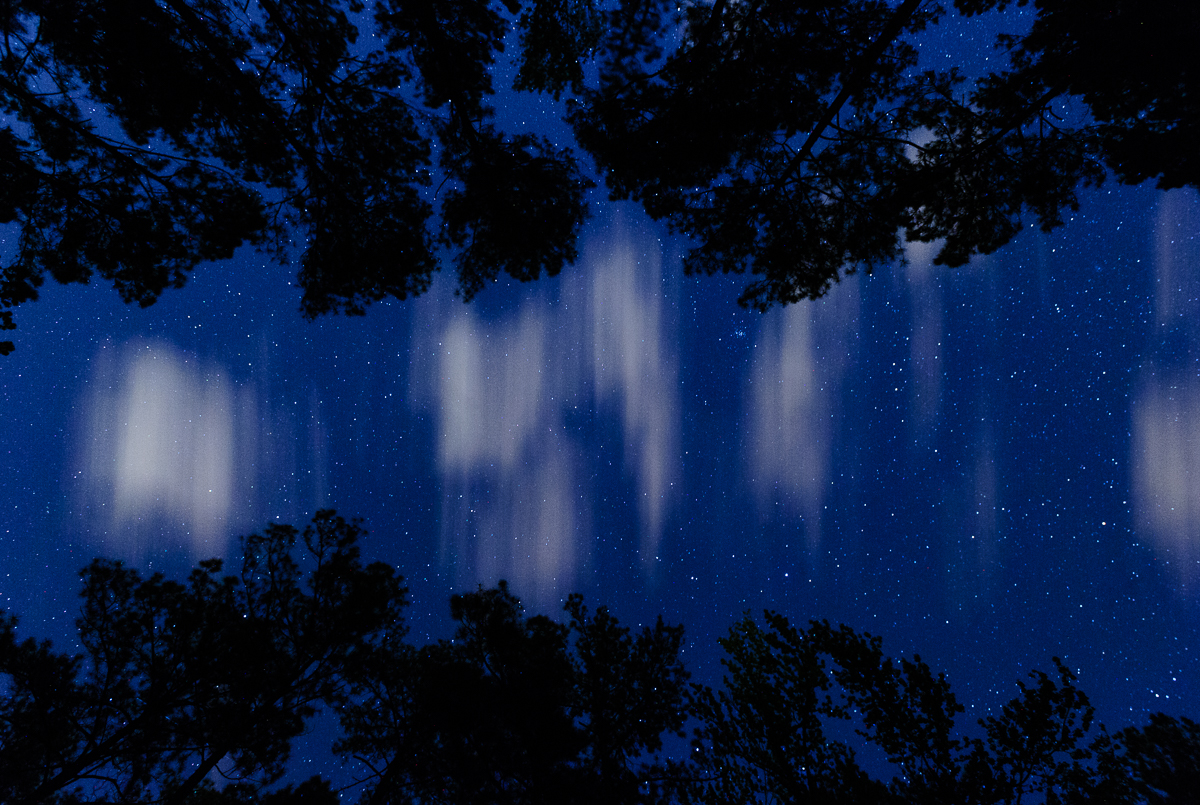
That’s one of the main reasons I have chosen night photography as an artistic outlet. Typically my images are not something that you can see in-person with the naked eye. When we play with time and extend our exposures past a fraction of a second, we are opening a whole new door of possibilities. In my most successful shots, your eyes should wander with a sense of wonderment.

So let’s take a look at three shots where I pushed past the norm and explored more.


Devil’s Tower National Monument

When Matt Hill and I taught this three-night workshop last year, the main challenge was how to get a different interpretation of the tower each night. We scouted and found many different vantage points that would offer a great canvas to creativity. We kept getting closer and closer to the tower each night until on the last night it literally towered above us. I was inspired by watching a student light-paint and noticed the silhouette that could be formed quite easily. Adding the human element gave the image more of a sense of scale and wonderment.


Joshua Tree National Park

Sometimes it’s a piece of gear that helps fuel the imagination. On a recent trip to Joshua Tree, a friend brought his Pixelstick, and we each took turns picking a pattern and painting the light. This was my “interpretation” of the scene. I’m excited to continue to use a Pixelstick in my night work. The options are endless with what you can construct with this tool. But with many options comes the challenge to continue to forge something that shakes you out of your comfort zone.


Central Park, New York City

Finding the right time. This was shot with fellow NPAN teacher Chris Nicholson right after our 2016 NYC blizzard. The San Remo is an oft-photographed scene and the winter scenario definitely makes it a little more special. But what really makes you go “wow” on this image is the picture-perfect movement of the clouds. This was a two-minute exposure and the clouds were moving pretty quickly. If my exposure was 4 to 6 minutes, it would have smeared the whole sky. It is those breaks in the clouds that make the shot. I waited to pull the trigger until they cleared the tower lights. We get to play with time a lot at night. Learn to react quickly to the many movements and your night visions will flourish!


So I invite you to challenge yourself next time you are out shooting. Capture the moment but try to produce something special. It won’t always work, but at least you’ll be flexing those creative muscles and it will better prepare you for the next time.

Gabriel Biderman is a Brooklyn-based fine art and travel photographer, and author of Night Photography: From Snapshots to Great Shots (Peachpit, 2014). During the daytime hours you'll often find Gabe at one of many photo events around the world working for B&H Photo’s road marketing team. See his portfolio and workshop lineup at www.ruinism.com.

Upcoming workshops from National Parks at Night

Eight Reasons Night Photographers are Awesome

Time for a little fun. Let's count down what makes night photographers so darn special.

1) You use more of your waking hours for creativity

Unless you are a very productive (and not just a relaxed, like hanging out ... which is also totally awesome) night owl, making photographs at night is a very practical way to use your creative energies. Use those creative energies more and they treat you better. And heck, you're very efficient for maxing out on creativity.

2) You are more observant of the present

Since you are restricted from taking many photos rapidly, you are more likely to slow down and actually SEE what is in front of you. If you brought a buddy or a group, you may strike up a conversation that otherwise may never have happened about things you may never have talked about. And if you are lucky and smart, you will take that time to enjoy the scene in front of you. Chances are, even without light you will see things that you could have been in too much of a hurry to see before.

3) You know that less is more

We don't need 64 GB of memory cards. In fact, we're happy when an extremely productive evening yields up to 50 exposures. That's a metric sh*t-ton of night photography. And since we make less, we value our time and choices more.

4) You get intimate with infinity

We're quite insignificant when compared to the vast infinite reaches of space. Right? Facing this, evening after evening, we have time to consider our meaning on this earth. Perhaps we make better choices after seeing marvelous things that the huge majority of the world sleeps through. Or perhaps we keep this as our little secret with ourselves and smile knowingly when others ask us why we do that "night photography" stuff.

5) You seek complexity

Let's just agree that night photography is not for someone who likes to phone it in. It's full of details. It's done in the dark. You have to do math. You have to use a tripod (do I have to carry that?). But nonetheless, you persevere. Which leads us to ...

6) You are tenacious

If you're lucky, the weather may comply with your sincere wishes. Otherwise, you're left holding the proverbial bag and have to troubleshoot your way to great looking photos—or pack up and go home. Which we never do, right? We go out with an attitude that we can overcome whatever mother nature throws at us and make at least one "banger"—maybe three!

7) You are patient

Kinda goes without saying, eh?

8) You are good looking

Everyone looks great at night! Especially me.

OK, so some of these are obviously tongue-in-cheek. But we night photographers tend to have a lot of fun doing what we do. Otherwise, why do it? Thank you for being you.

#seizethenight !

See more about Matt's photography, art, workshops and writing at MattHillArt.com. Follow Matt on Twitter Instagram Facebook.

Upcoming workshops from National Parks at Night

International Dark Sky Week Highlights A Precious Commodity

Last week was International Dark Sky Week. Did you get out and enjoy the stars?

I did. In fact, I even got to enjoy a night in South Carolina’s Congaree National Park. Congaree is only half an hour outside the state capital of Columbia, but getting even just that far away from a city can make a big difference in how we see the night sky. In fact, it makes all the difference in the world.

And getting even further away? That can make all the difference in the universe.

Congaree National Park, © 2016 Chris Nicholson

Congaree National Park, © 2016 Chris Nicholson

I grew up in southern Connecticut, part of the New York City Metropolitan Area. We weren’t in the city, but kind of in night-sky limbo—far enough away from NYC to see a decent sky, but not far enough to see the best. So in my nightly experience, I knew the sky had stars, but not quite how many.

I also did a lot of camping as a kid—with my dad, with my family, with Boy Scouts. We even did some camping in the national parks, especially in Great Smoky Mountains. I’m sure during those experiences I looked up at night, but the first time I vividly remember “seeing” how magnificent a starry sky truly can be, the first time I had that "supernova" moment, was in upstate New York on August 7, 1993. On a night stroll, I came to a clearing in the trees, gazed skyward and had this profound realization that I could see—actually see—the Milky Way.

I once heard astrophysicist Neil deGrasse Tyson tell a similarly themed story about when he was a kid, growing up in the Bronx, very near the bright lights of Manhattan, thinking that there were only a handful of stars in the sky. When he learned how many were really there, that’s when his love of the universe began to dawn.

You could probably get any astronomer to relay such an experience, but another that I find particularly interesting is Tyler Nordgren, who we interviewed for the NPAN blog back in February. (See “Astronomer Tyler Nordgren Discusses Night Skies of the National Parks.)

I’ve been reading Tyler’s book Stars Above, Earth Below: A Guide to Astronomy in the National Parks. In the introduction he writes about how the parks are famed for preserving wild animals, beautiful landscapes, grand forests, amazing rock formations, and so on. But another preserved feature that many people don’t think about in those terms is the night sky.

And it’s absolutely true. So much of the civilized world is so lit up that in most inhabited places we can’t see the sky the way that our ancestors did for 200,000 years. But in many national parks, we can. Those dark skies are there for us, preserved very close to their natural, dazzling, awe-inspiring state.

As I mentioned before, Congaree has some wonderful night skies. So does Olympic, Everglades, Grand Teton, Yellowstone, Great Smoky Mountains, Joshua Tree. … The list goes on and on, perhaps right to 59 parks long.

Death Valley National Park, © 2016 Chris Nicholson

Death Valley National Park, © 2016 Chris Nicholson

Moreover, Death Valley, Big Bend and Capitol Reef are designated as Gold Tier dark sky parks by the International Dark-Sky Association. Additionally, Canyonlands and Black Canyon of the Gunnison are also certified as dark sky parks by the IDA. That’s right, five of the U.S. national parks are considered among the very best in the world at preserving pristine night skies.

With all these great places to see and photograph under the gentle light of the universe, how does anyone sleep at night?

Chris Nicholson is the author of Photographing National Parks (Sidelight Books, 2015). Learn more about national parks as photography destinations, subscribe to Chris' free e-newsletter, and more at www.PhotographingNationalParks.com.

Upcoming workshops from National Parks at Night

Save Time by Using High ISO Testing to Set Up Your Night Shots

When photographing in very dark environments, the camera’s light meter is usually unable to suggest a starting exposure. It can be a tedious exercise of trial and error to determine the best exposure to use.

Waiting 15 or 20 minutes for an exposure to finish, and then an additional 15 or 20 minutes for Long Exposure Noise Reduction, can be very frustrating if the end result is an image that is considerably under- or over-exposed. Waiting that long for an image only to find out that the shot was not properly focused, or that the camera was not level, isn’t any better.

To take some of the guesswork out of calculating long exposures, and to save time in doing so, I developed a simple method for testing exposures at high ISOs.


High ISO testing

The aim of High ISO test exposures is two-fold. The first is to quickly determine the correct exposure in moonlight or other very dark situations. High ISO testing is not very useful in situations where the final exposure will be less than about 2 minutes.

The second purpose is to confirm focus, composition and camera alignment, and to make sure there are no unintended distractions in the frame. Using this procedure will save you a lot of time and will eliminate a lot of frustration in the field.

Testing is performed by raising the ISO 6 stops above your camera’s native ISO. This is because there are six stops of exposure between 1 second and 1 minute, and using this formula allows for a direct translation from testing exposure in seconds to final exposure in minutes. This greatly simplifies exposure calculation, and as a result:

The number of seconds in a High ISO test exposure equals the number of minutes at the native ISO at the same aperture.

For native 100 ISO cameras, the testing ISO is 6400
For native 200 ISO cameras, the testing ISO is 12,800

In moonlight or similar relatively low-contrast situations, using the histogram is the best way to determine exposure. A good starting point in full-moon conditions is 5 seconds, ISO 6400, f/8, or 3 seconds, ISO 12800, f/8. (Choose one depending on your ISO—see above.) This results in a quick exposure for testing composition, focus, etc. When you’re ready for the real shot, that exposure becomes 5 minutes, ISO 100, f/8, or 3 minutes, ISO 200, f/8.

Just outside Big Bend National Park, I used a High ISO test (above) to get the image right with fast exposures, then reduced the ISO and lowered my shutter speed to get the final images (below).

Just outside Big Bend National Park, I used a High ISO test (above) to get the image right with fast exposures, then reduced the ISO and lowered my shutter speed to get the final images (below).

Keep in mind that there is no one correct exposure, but many possibilities that will all yield different results. Use the exposure that best meets your needs based on your intended appearance of the final shot. In a moonlight-only image, a full, right-biased histogram may be best for optimal image quality. If you will be adding light to the shot, a better ambient exposure might be one that is just enough to avoid shadow clipping. In that case, the highlights will be provided by the added light, which will also push the histogram to the right. Simply increase or decrease the exposure until the desired histogram is achieved.

Photographing by the light of the moon and light painting is a lot of fun, and can be a tremendously rewarding endeavor with almost limitless possibilities. Getting the technical aspects of exposure and lighting out of the way quickly and efficiently leaves you with more time and energy to use your creativity to make truly outstanding images.

With practice, these techniques will become second-nature. If you incorporate them into your working methods, you’ll be rewarded with increased productivity, and with a higher success rate with your night photography.

Lance Keimig has been photographing at night for 30 years, and is the author of Night Photography and Light Painting: Finding Your Way in the Dark (Focal Press, 2015). Learn more about his images and workshops at www.thenightskye.com.

Upcoming workshops from National Parks at Night