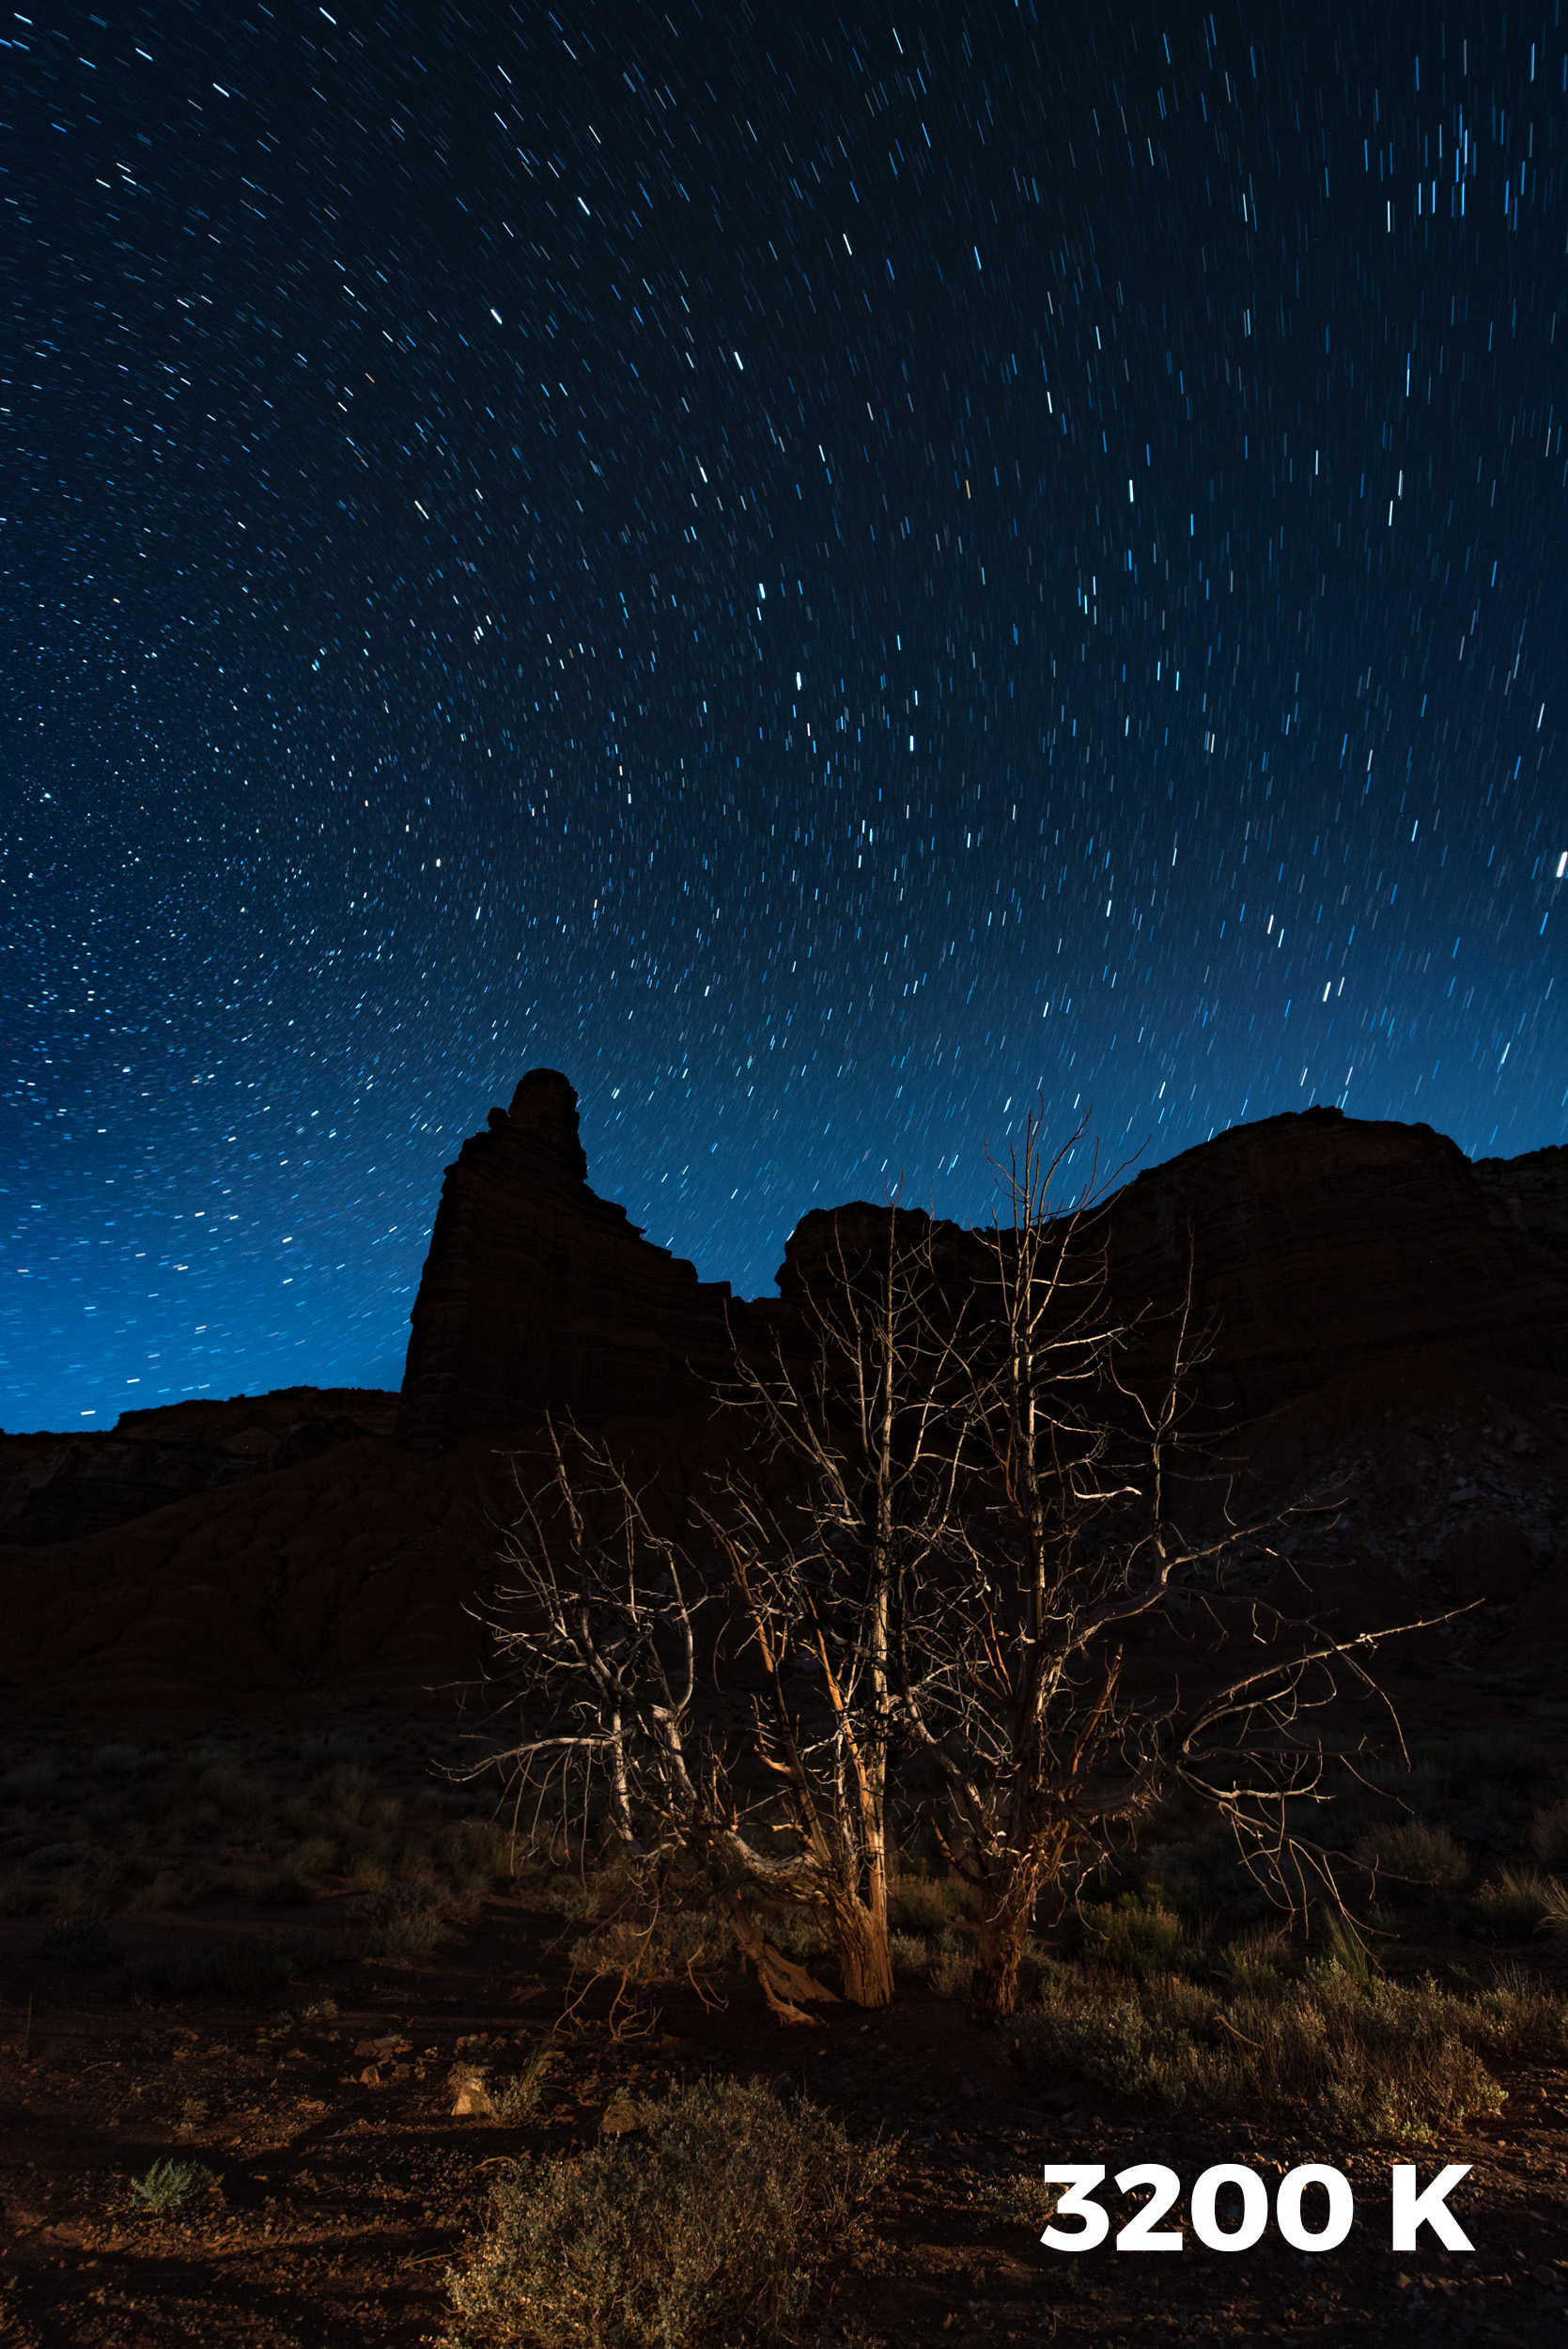
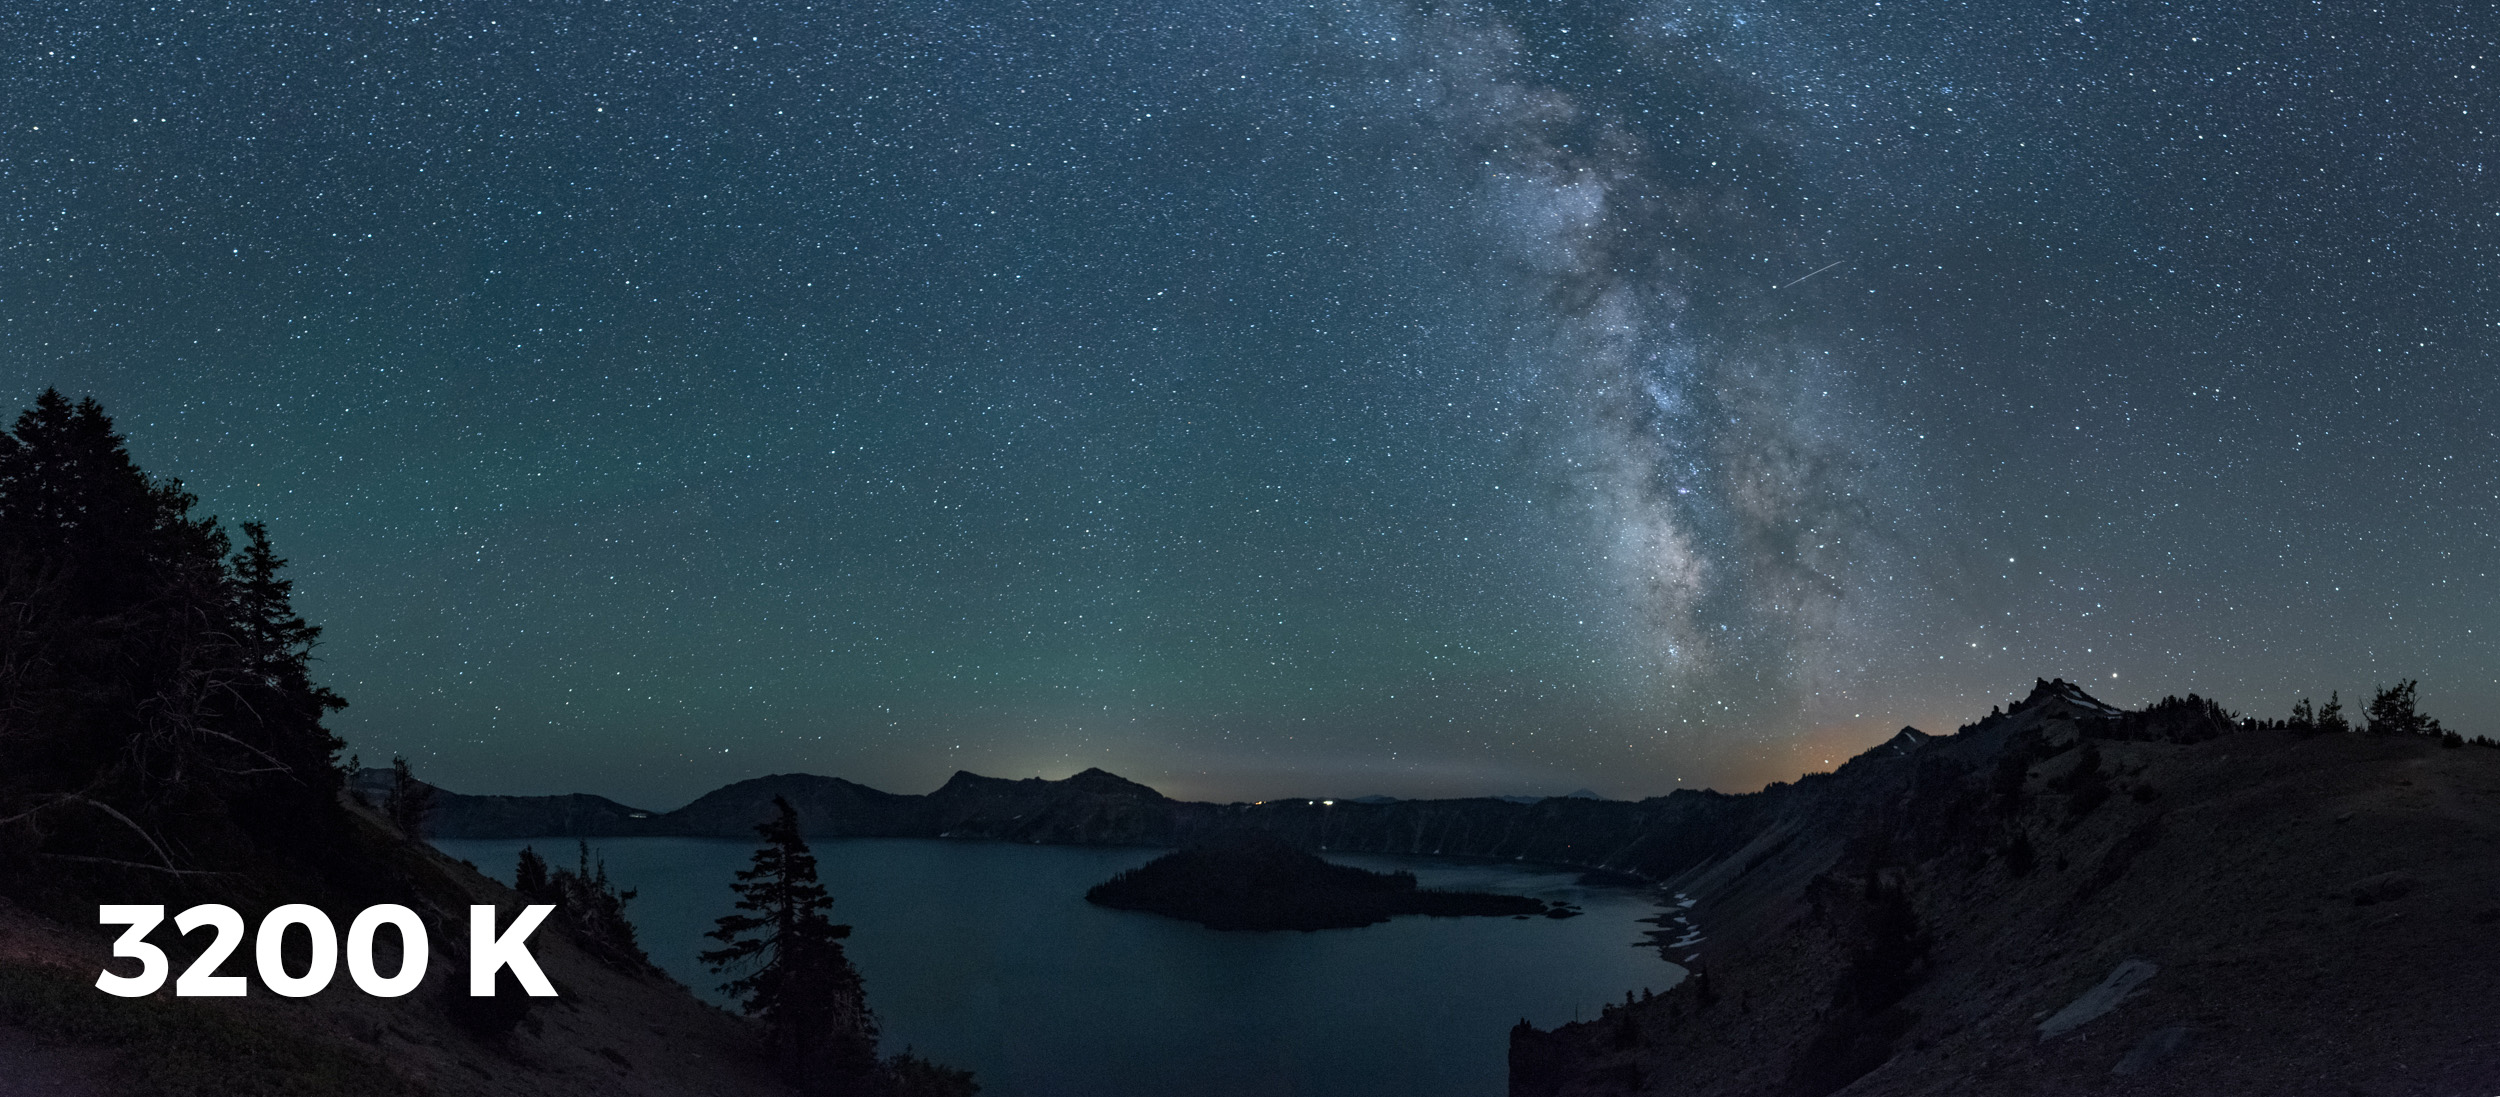
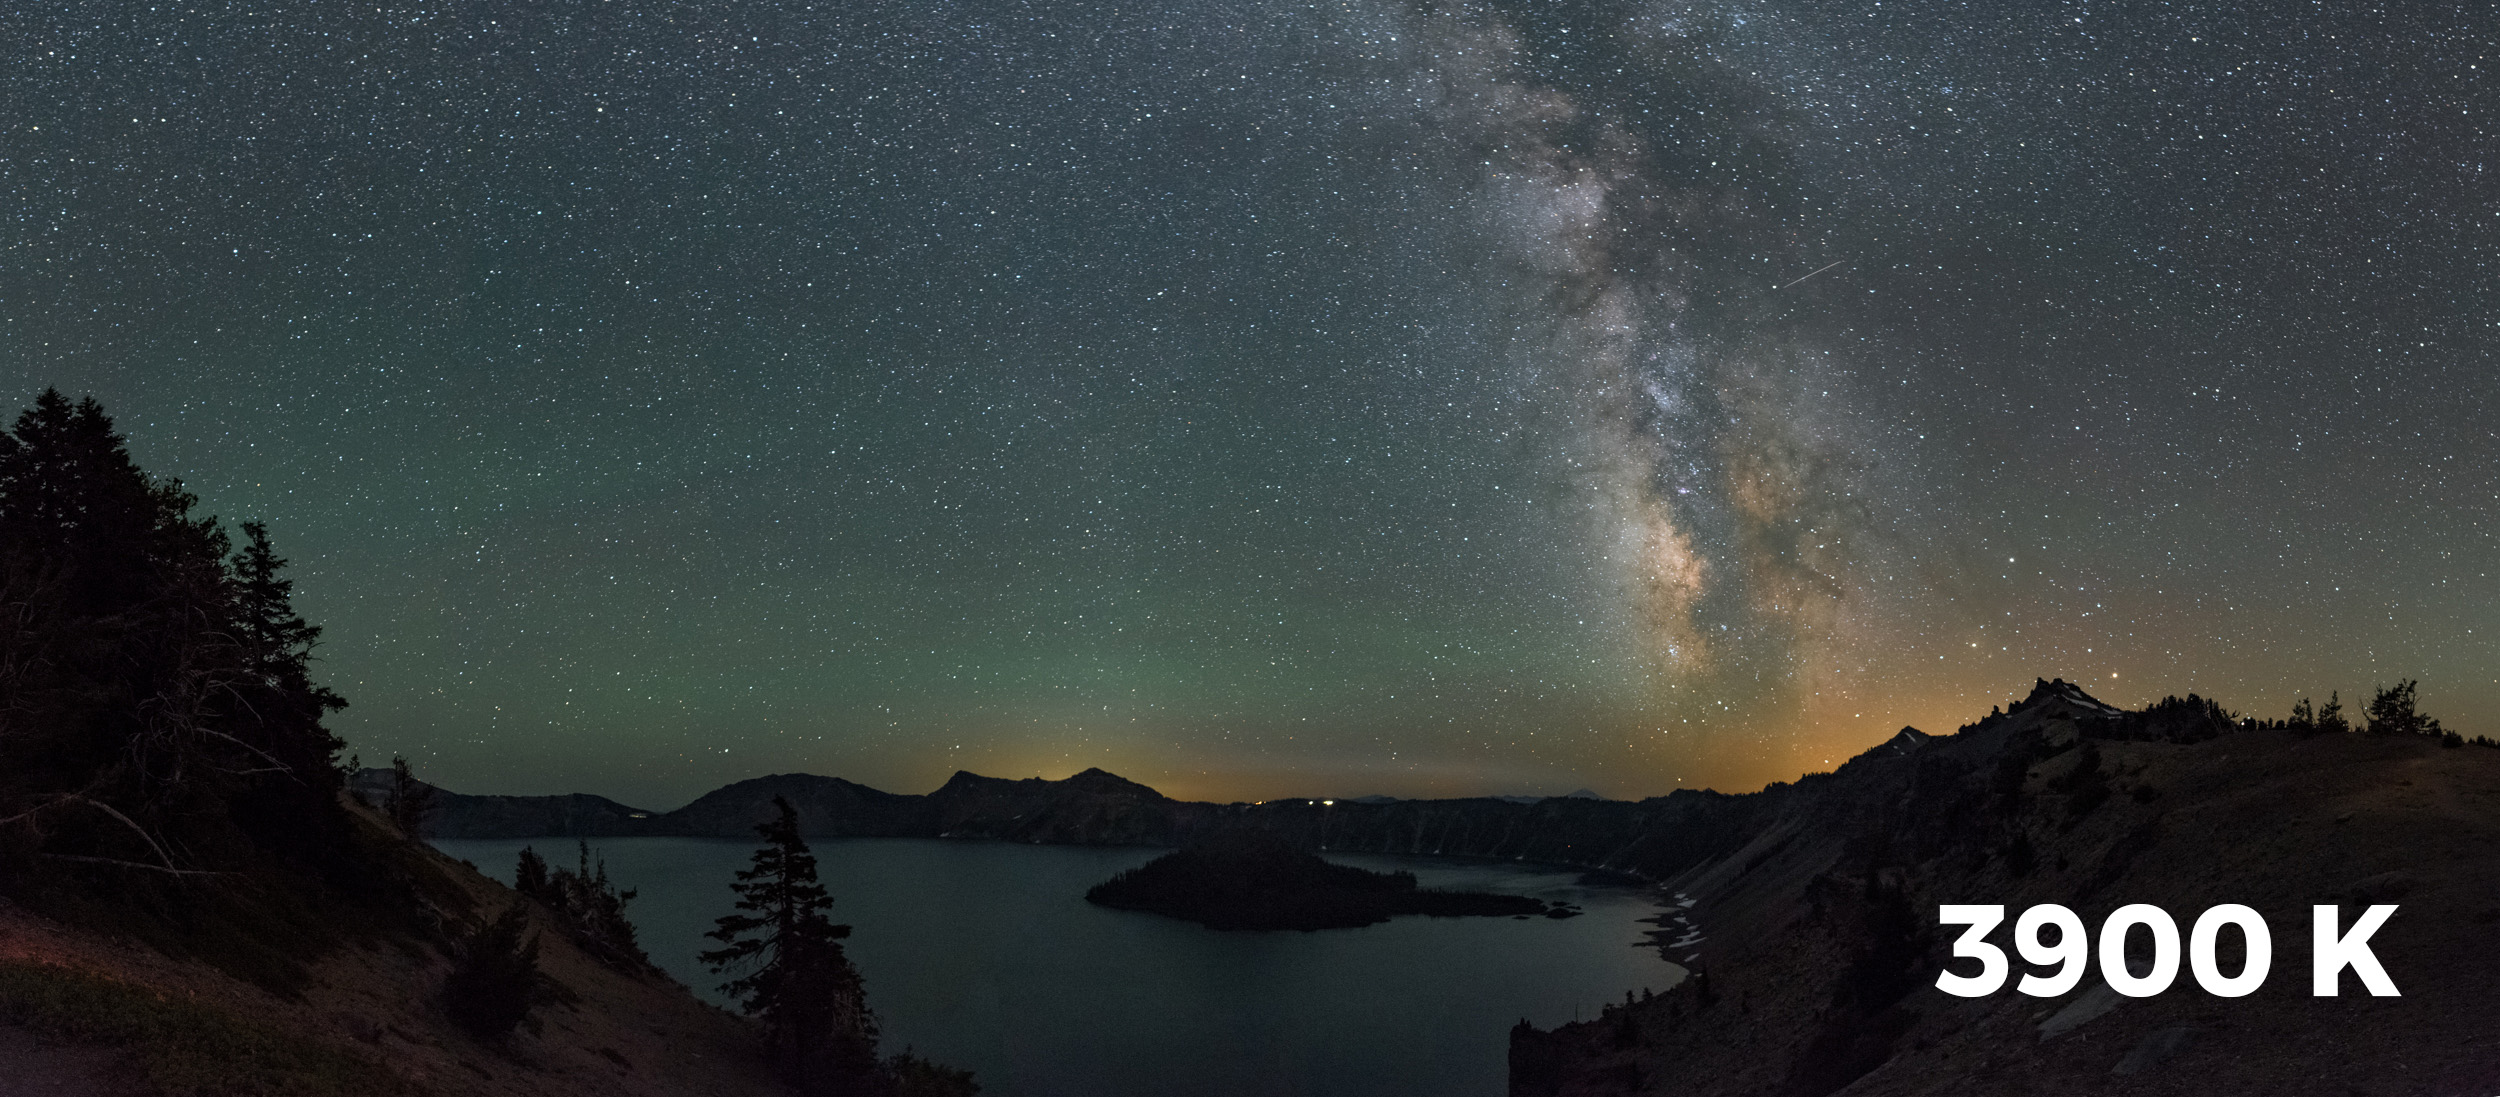
If you haven’t heard the buzz yet, the continental United States will be experiencing a solar eclipse on August 21. If the weather is good, we will all be able to see … most of it. But lots of lucky folks will be driving to a spot along the path of totality to experience something very rare and surreal: the total eclipse, when day turns into night. For approximately 1 to 2 minutes you’ll be able to see the stars during the day and the wild corona light dance from behind the moon.
The last total solar eclipse to touch the lower 48 was on February 26, 1979. The last time we experienced a total solar eclipse crossing our entire nation from the Pacific to the Atlantic was on June 8, 1918. That was a long time ago; it’s pretty rare.
The good news is that, at least this time around, it won’t be rare for long. The next total solar eclipse in the U.S. after 2017 will be in 2024, when the path of totality will cross from Mexico into Texas and will leave via northern New York and New England on its way to New Brunswick and Newfoundland. So any specialized gear you get now, you can put to good use in seven years!
The last trans-U.S. total solar eclipse happened … well, awhile ago.
Gear you Need to See and Capture
As you have probably guessed in life, it is not a good idea to stare at the sun. The most important thing you can purchase to prepare for the eclipse is a pair of solar glasses for your eyes and solar filters for your camera lenses. Technology continues to get better in this field and the newest international standard rating is ISO 12312-2. If you do not see this certification on the product, you shouldn’t purchase it. Solar filters absorb the ultraviolet, visible and infrared energy of the sun, making our star safe to view and photograph.
Protect your eyes with solar glasses. (Helmet is optional.)
B&H Photo, home of my day job, has been a great resource for embracing the best products and knowledge. To that end, I have been recently practicing shooting the sun and want to share this knowledge with you.
As far as glasses go, any simple paper pair will do, as long as it has the aforementioned ISO rating. A cool thing that B&H is doing is packaging free solar glasses with most of their solar filters! So you can kill two birds with one stone, all while not killing your eyes or camera sensor.
Let’s focus on the filters from a photographic point of view. There are three types of solar filters you can choose from:
- screw-in filter
- glass drop-in filter for a filter holder system
- inexpensive and universal paper or adjustable aluminum alloy filters that are easy to take on/off
The screw-in filter is the one I would least recommend. Even though it seems to be the most popular, think of this: The common strategy for shooting the eclipse is to have a filter over your lens so that you can capture a properly exposed and non-flaring sun. Once we enter the small window of totality, when the moon will eclipse the sun, it will be safe to take the filter off and adjust your exposure accordingly for that beautiful shot of dark sky and the white ring around the moon. You must wait until after the “diamond ring effect”—when the sun flares one last time from behind the moon—before taking off the filter. You don’t want to waste precious time (5 to 10 seconds) unscrewing a screw-in filter when you could instead take 1 to 2 seconds to remove a drop-in filter or universal filter cap. The average time of totality will be from 1 to 2 minutes and you want to photograph it but also experience it. Don’t waste precious time fumbling around with your gear!
If you want to look into the available filters and other eclipse equipment, an easy way is to search all the gear and articles that B&H has been working on for the last year. Type “Solar Eclipse” into the search engine at www.bhphotovideo.com and you’ll be taken to this very resourceful page:
Start Practicing Now
The first time you shoot the sun shouldn’t be on August 21. Get some solar filters and start practicing shooting the sun now! I’ve been doing this over the summer, which has given me a chance to test exposures and specific gear before the big day.
I recently purchased the Solar Eclipse Filter by Lee for my Wine Country Filter Holder system, as well as the Daystar universal solar lens filter. My MrStarGuy Adjustable Objective filter is on back order, but should be shipping soon.
Lee is one of the top-end filter companies. Their filter mentioned above is equivalent to a 20-stop neutral density, but also is ISO certified and should be used only for solar work—not for long-exposure landscape photography.
Wine Country Filter Holder system and 100-400mm lens.
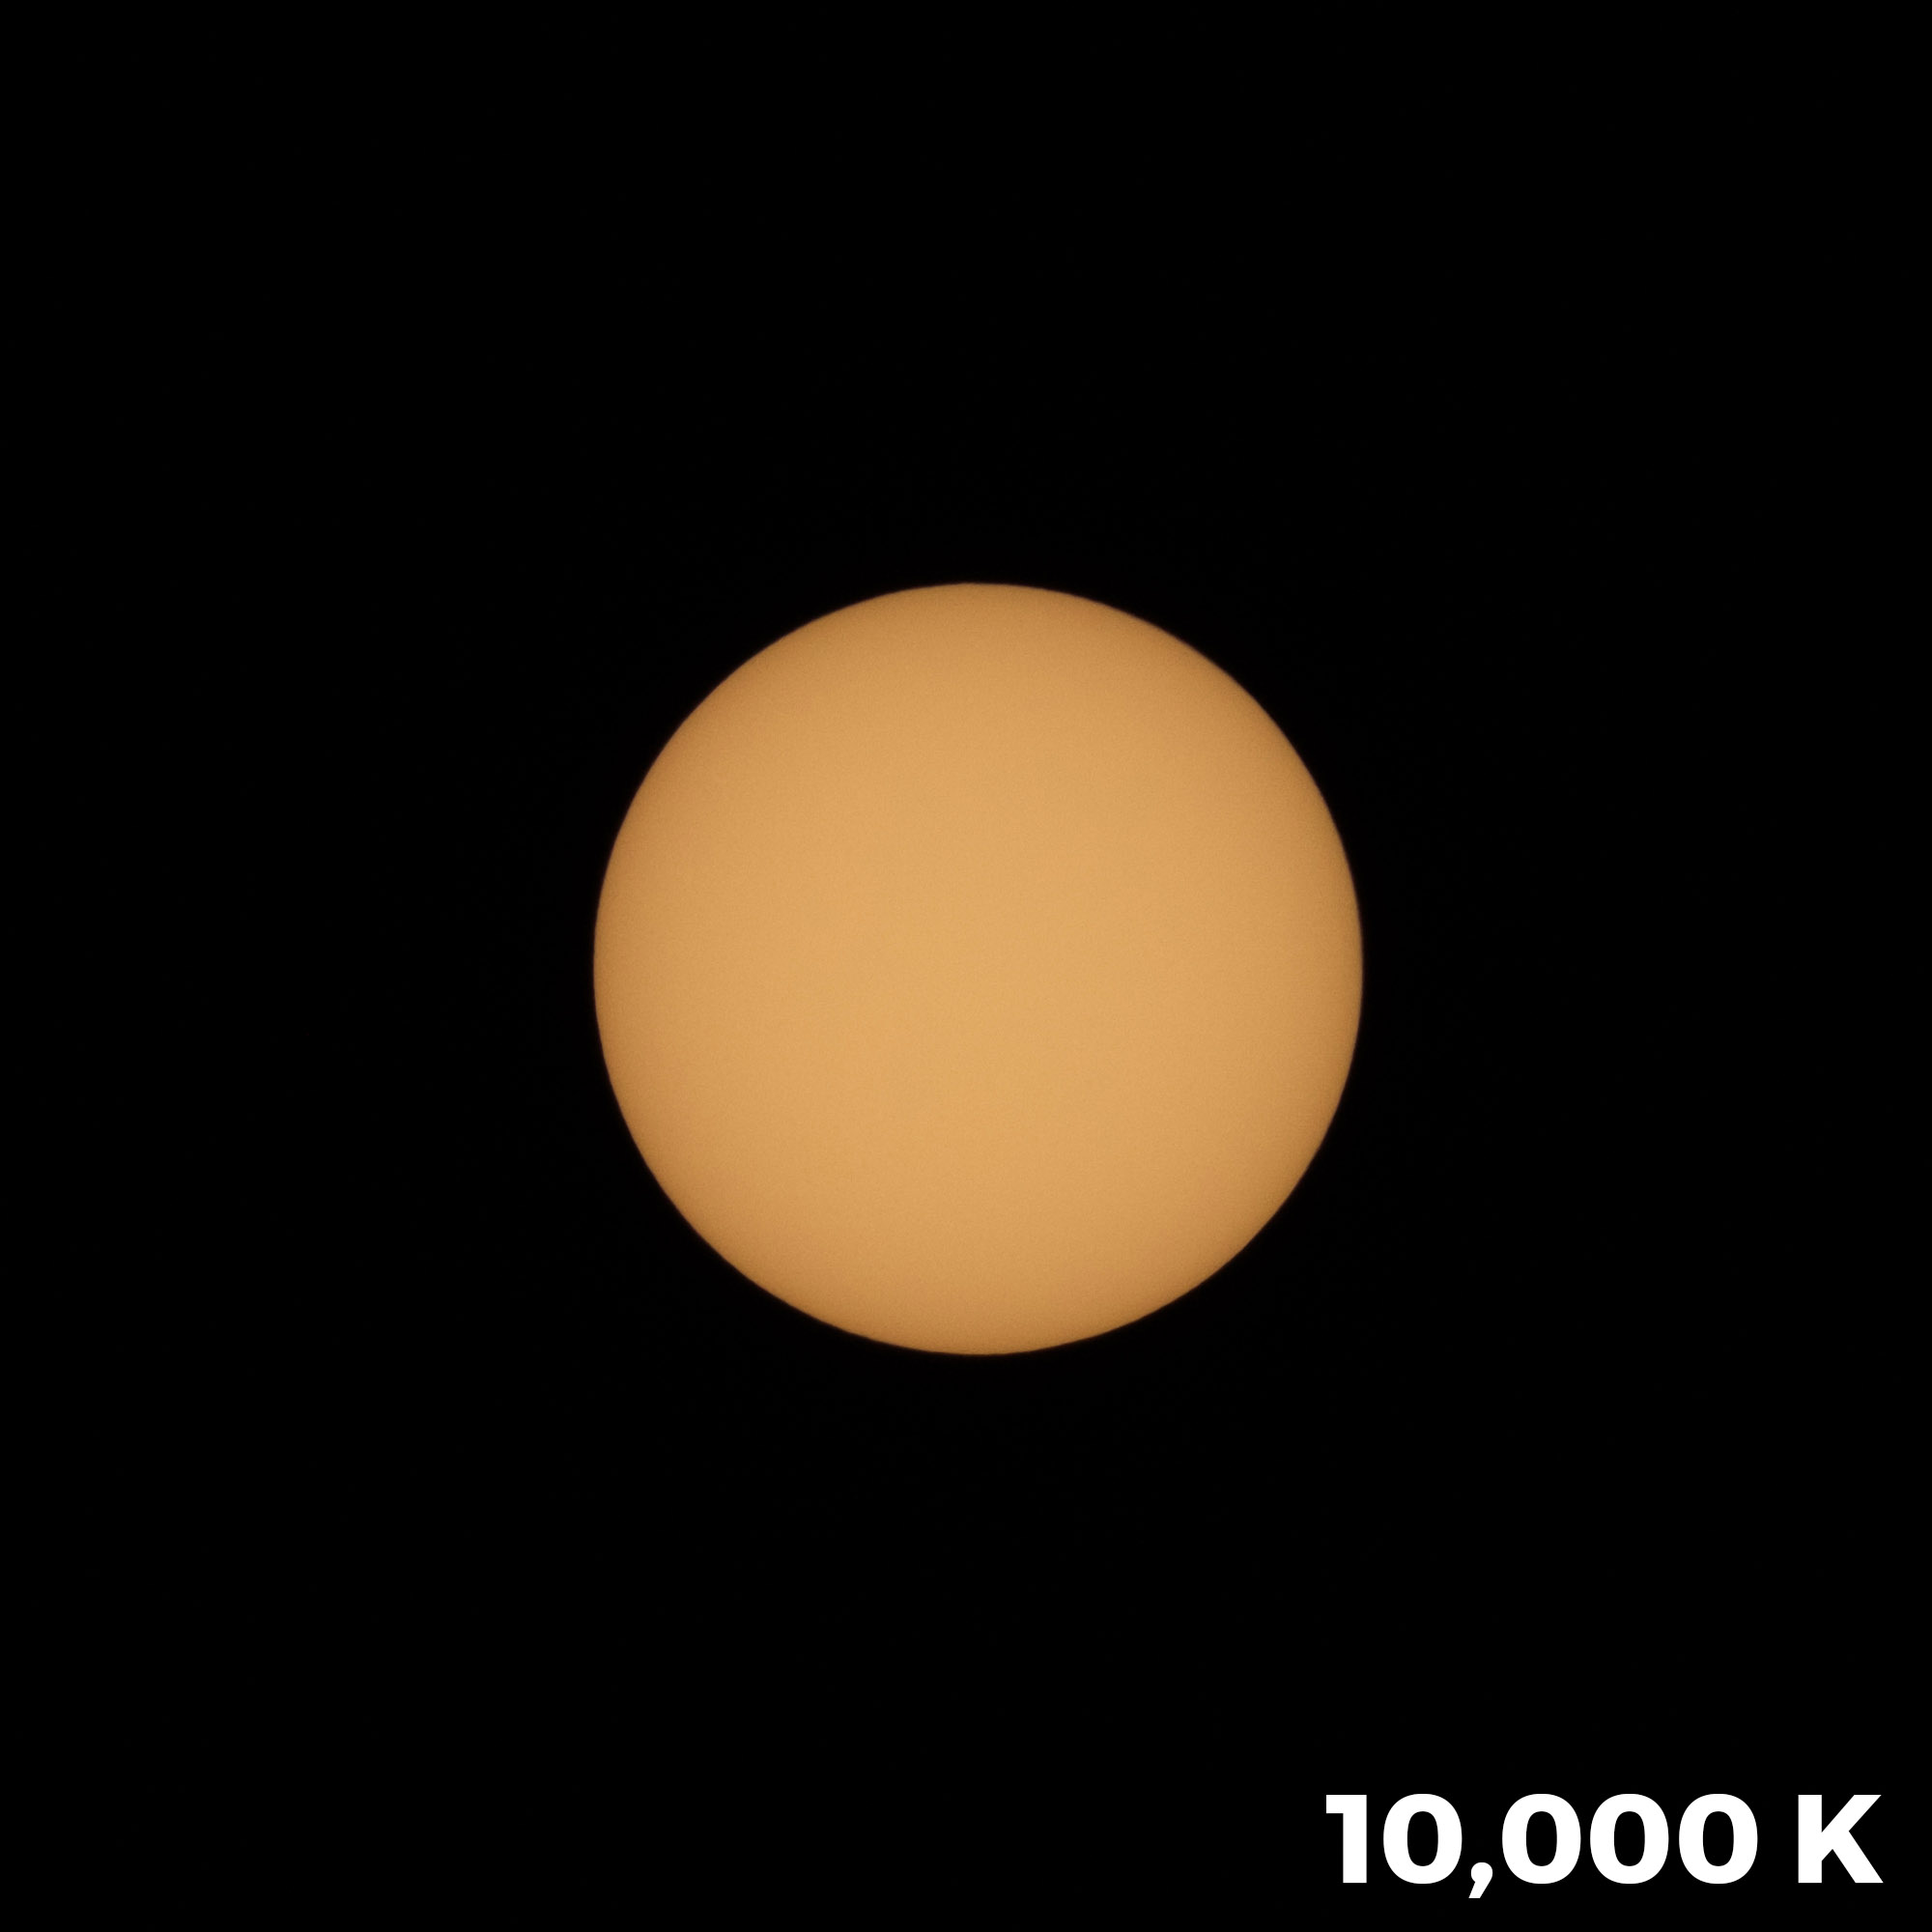
The Lee filter is made of glass, and I find the image quality is excellent. The suggested settings from Lee with this filter are 1/800, f/8, ISO 800. Think crazy eights! This was pretty spot-on while the sun was high in the sky around 2 p.m.
With Auto white balance, I found the Lee filter produced a clean white sun. I experimented with the white balance and preferred cranking it to 10,000 K for a nice yellow/orange sun that is more visually familiar. You can see the two compared below:

I also tested the Daystar slip-on filter and found that to be of very good quality as well. It was a bit deeper orange/yellow than the Lee with the white balance set to 10,000 K. I also found the Daystar to be 1 1/2 stops faster than the Lee, as my final exposure setting was 1/500, f/5.6, ISO 800.
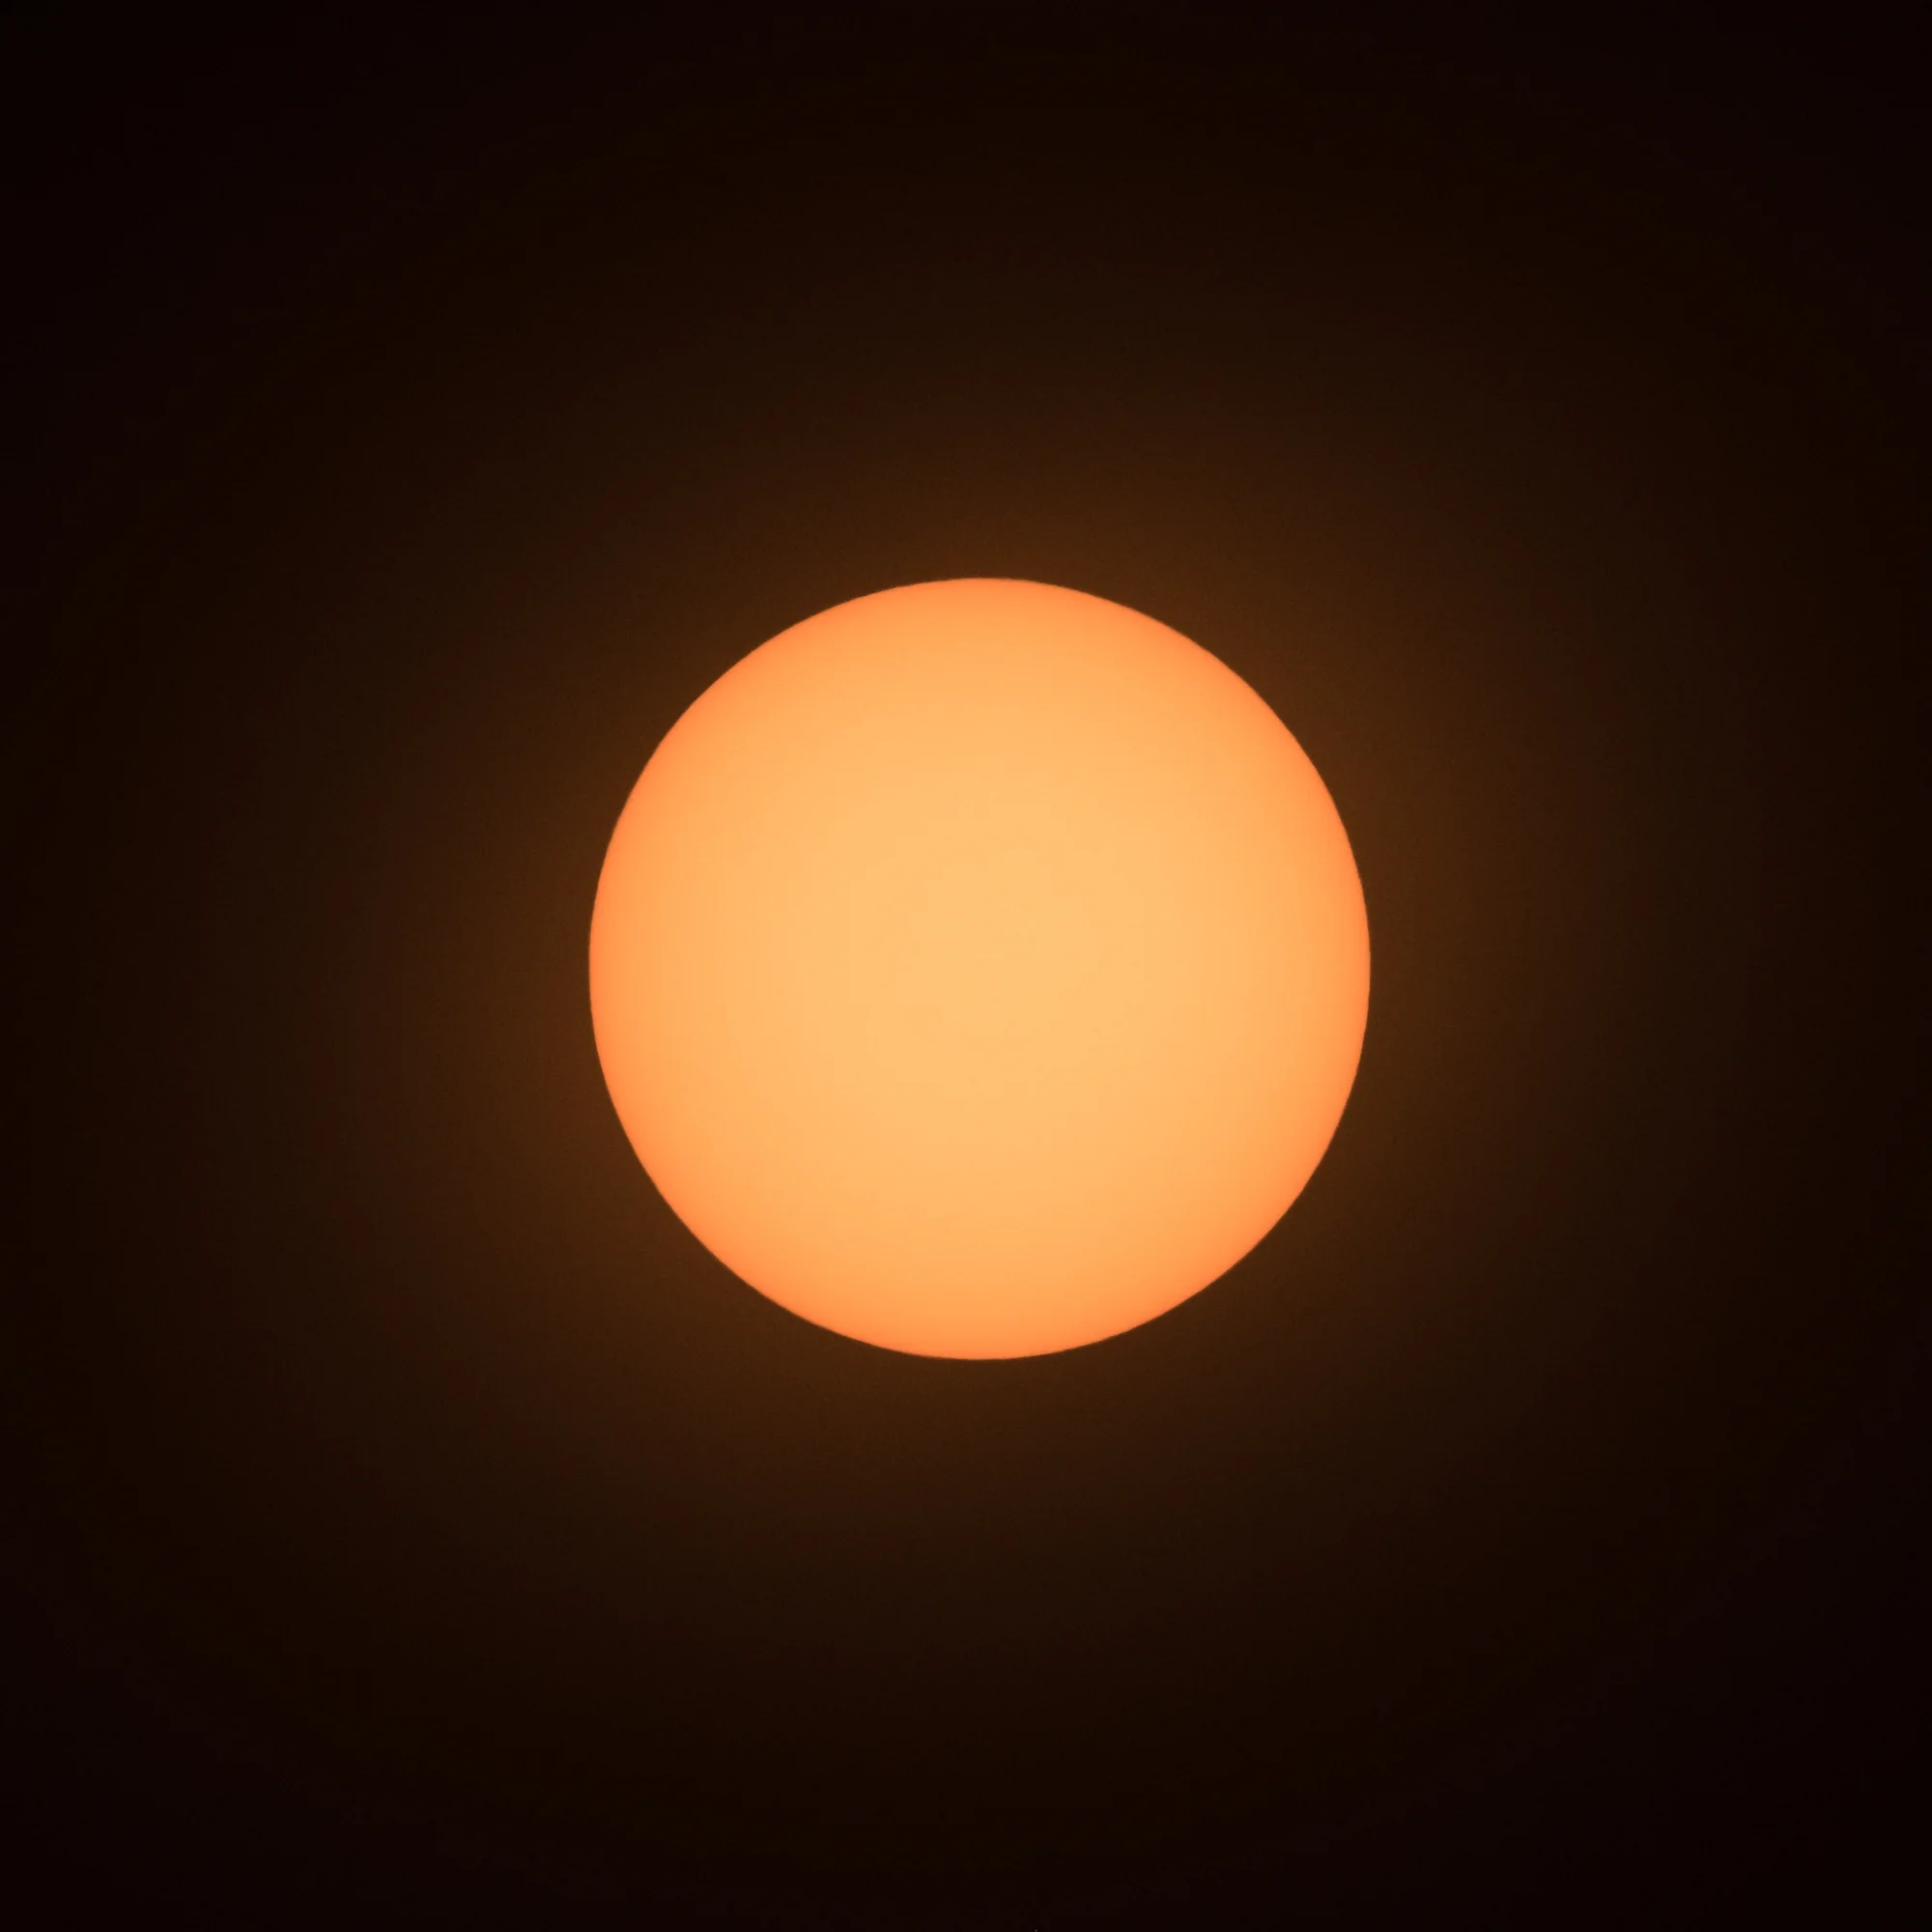
Sun shot with Daystar filter at 10,000 K white balance. 1/500, f/5.6, ISO 800.
Lens(es) and Game Plan
There are multiple ways to capture and create some unique images of the eclipse. Search Google Images to see what resonates with you.
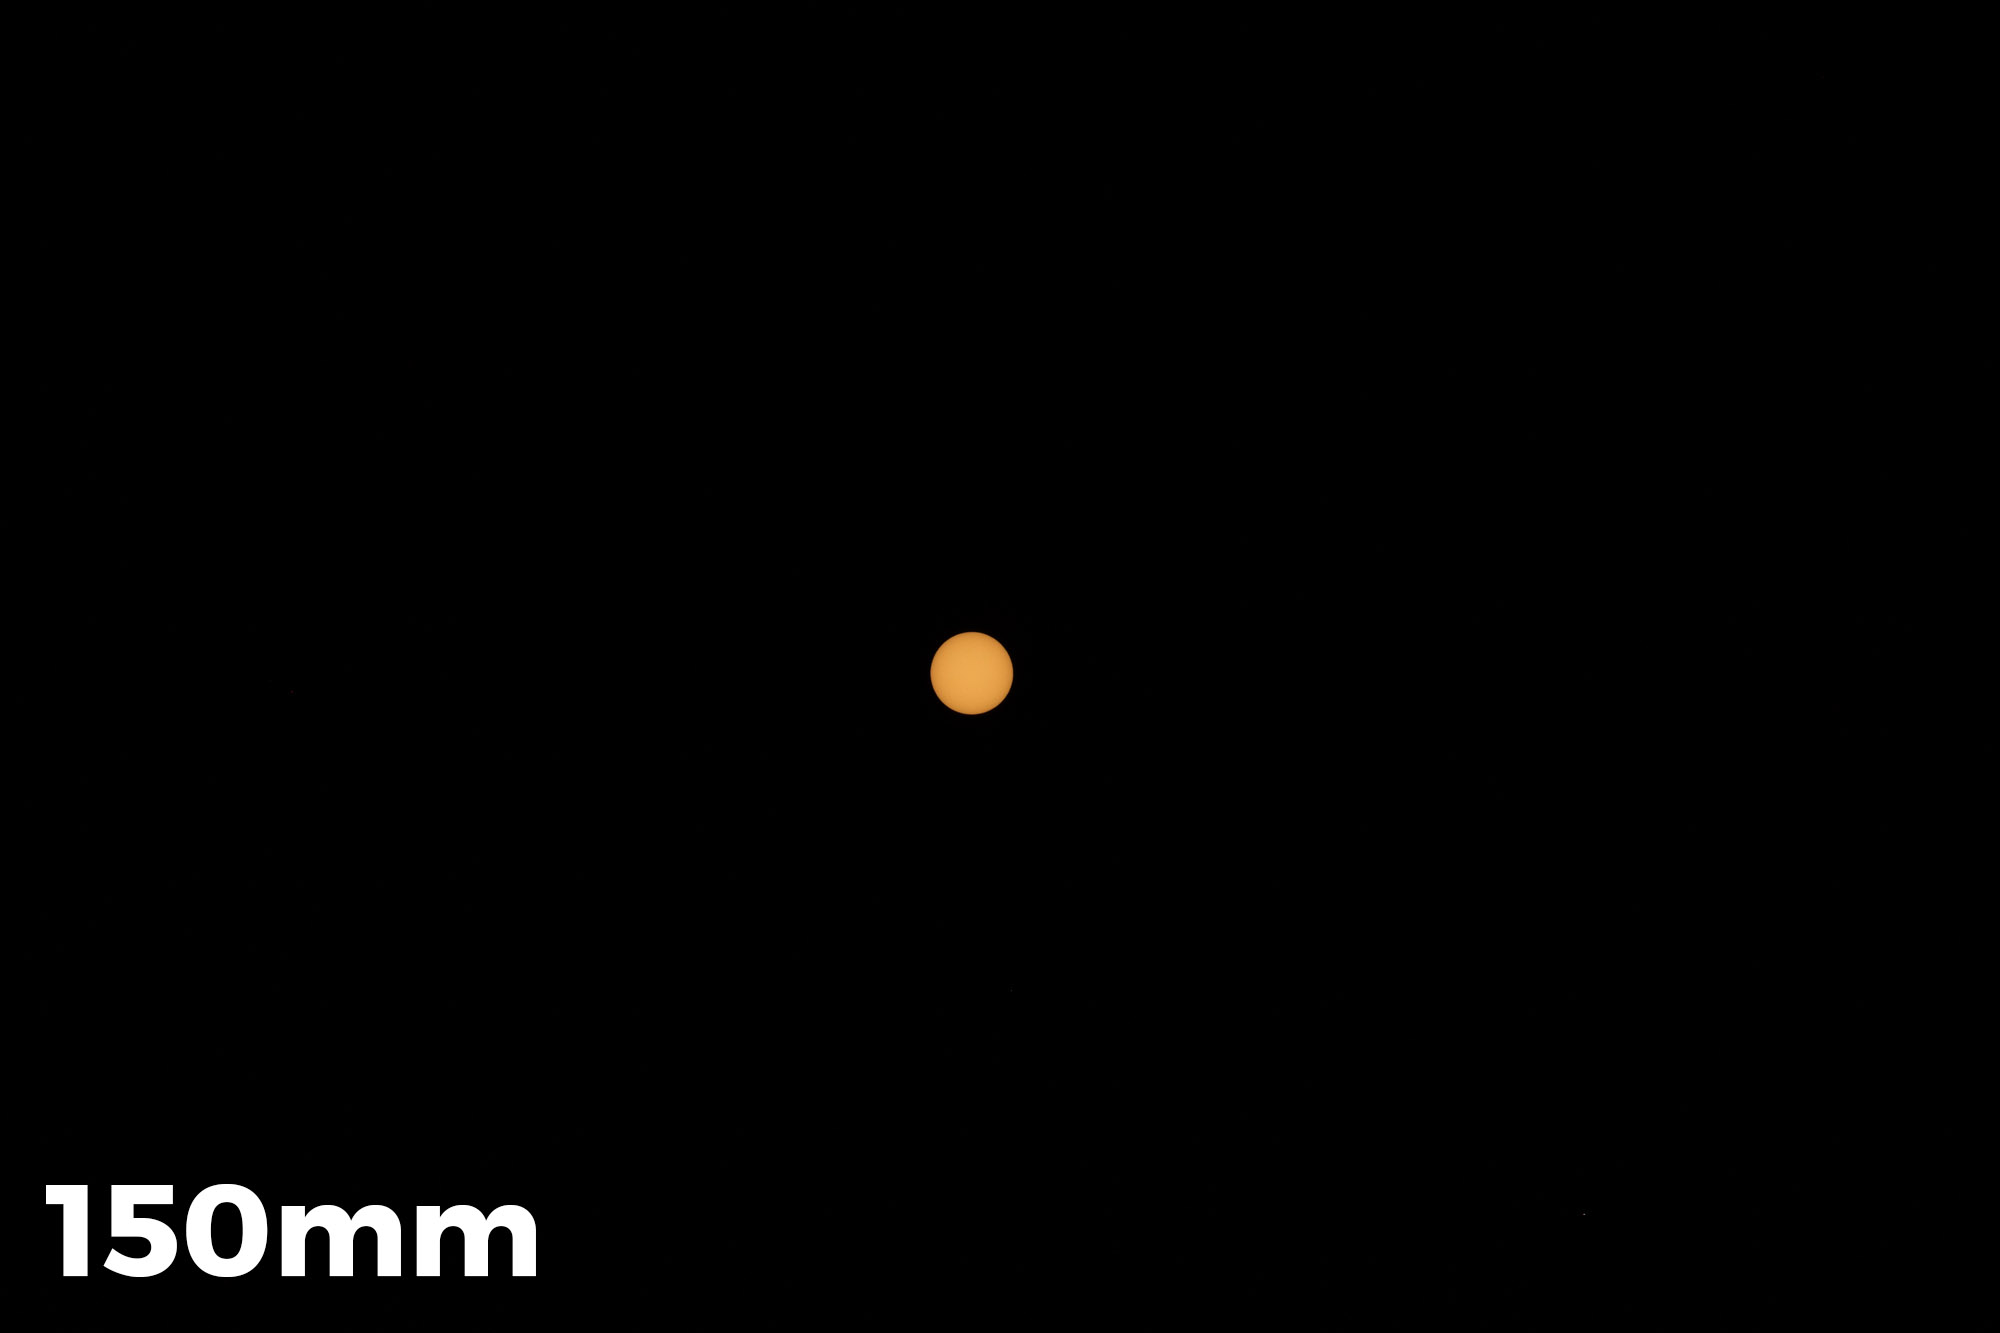
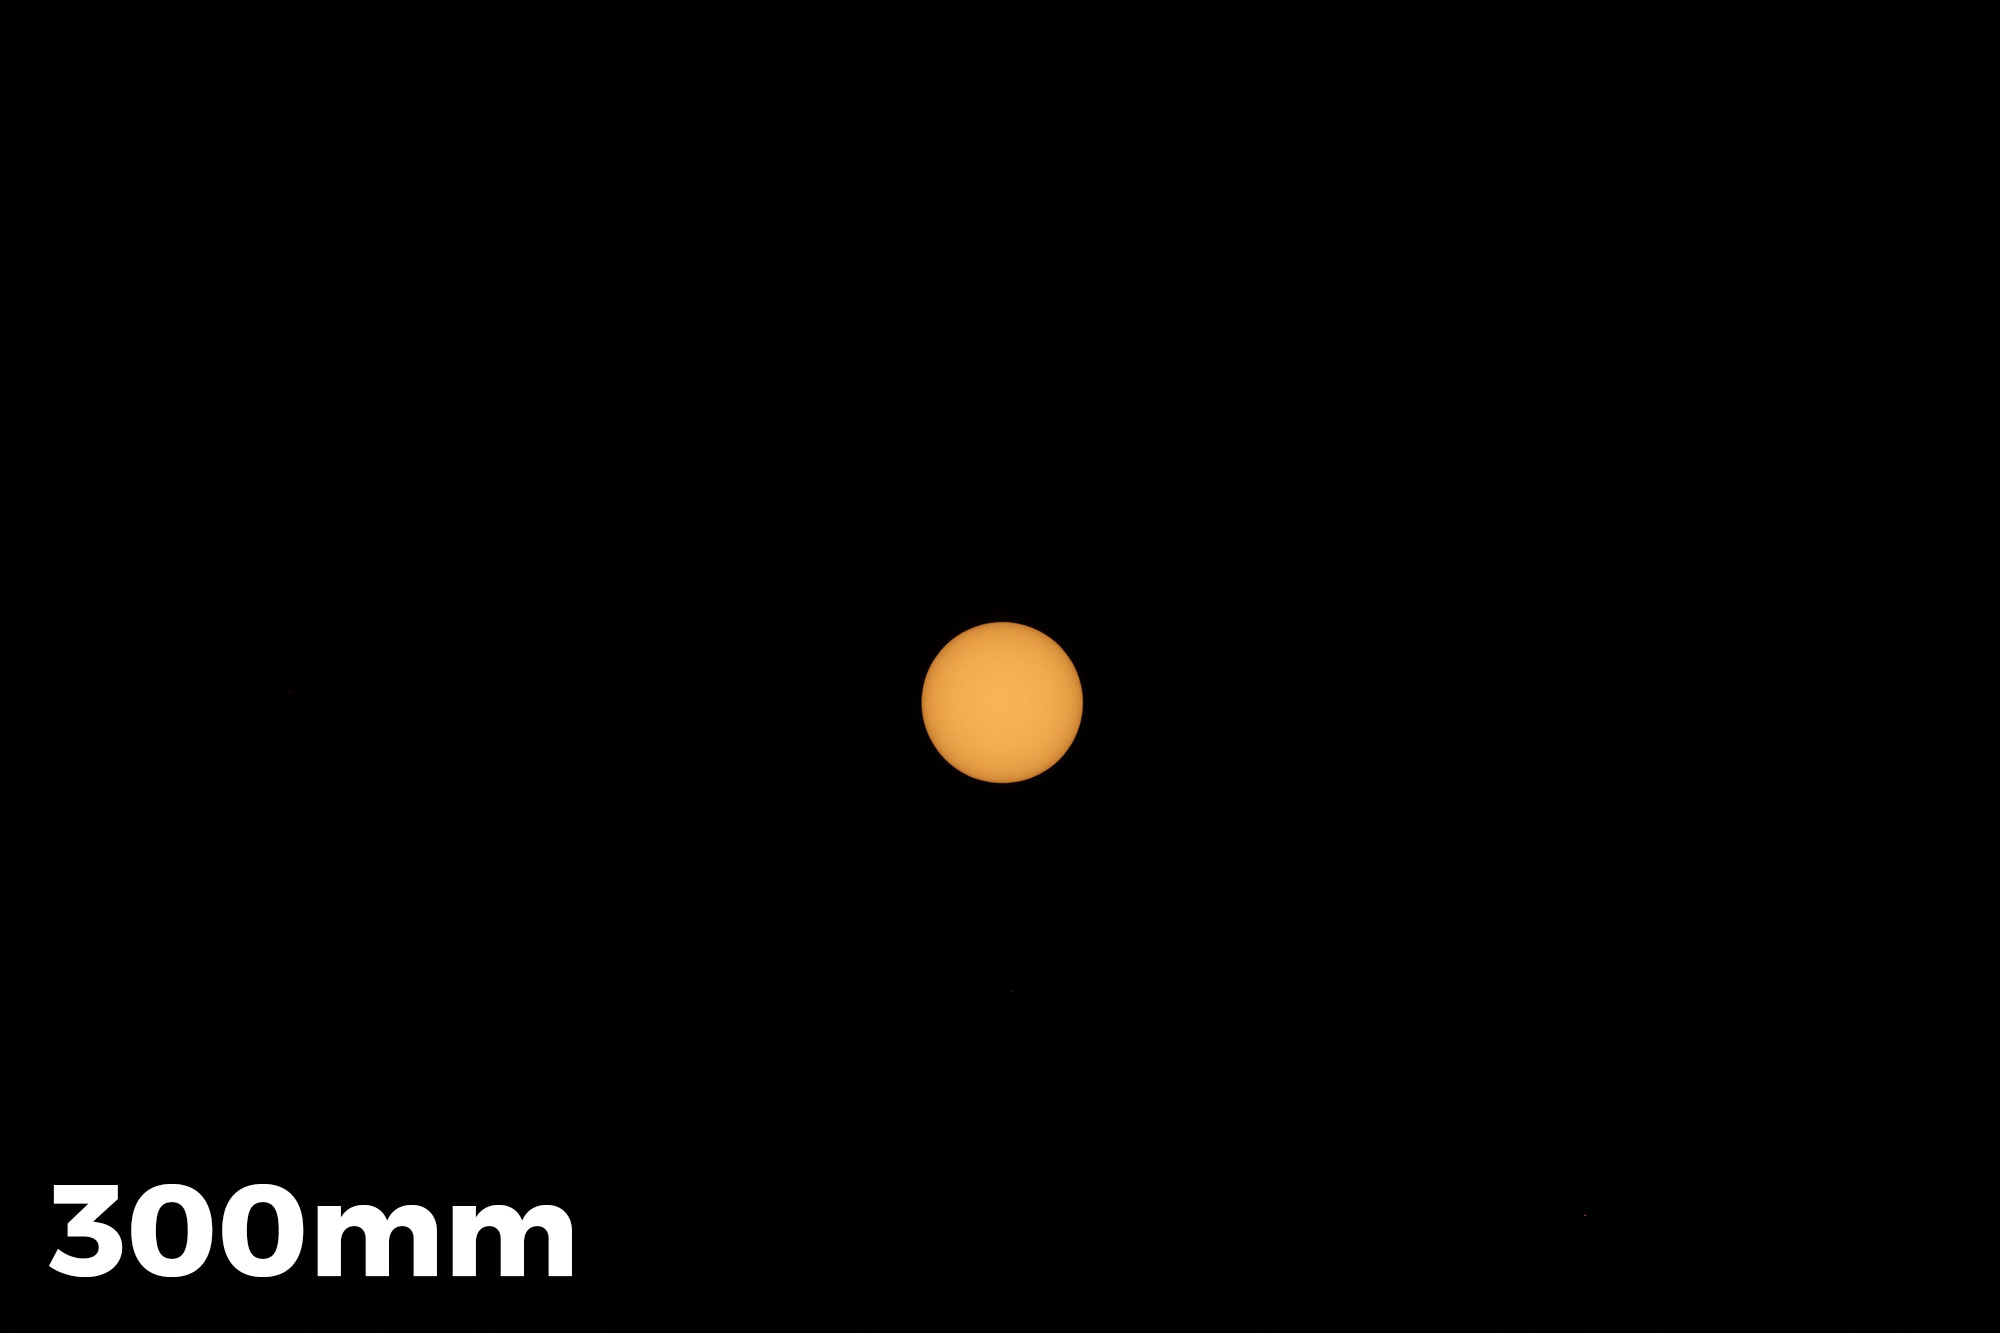
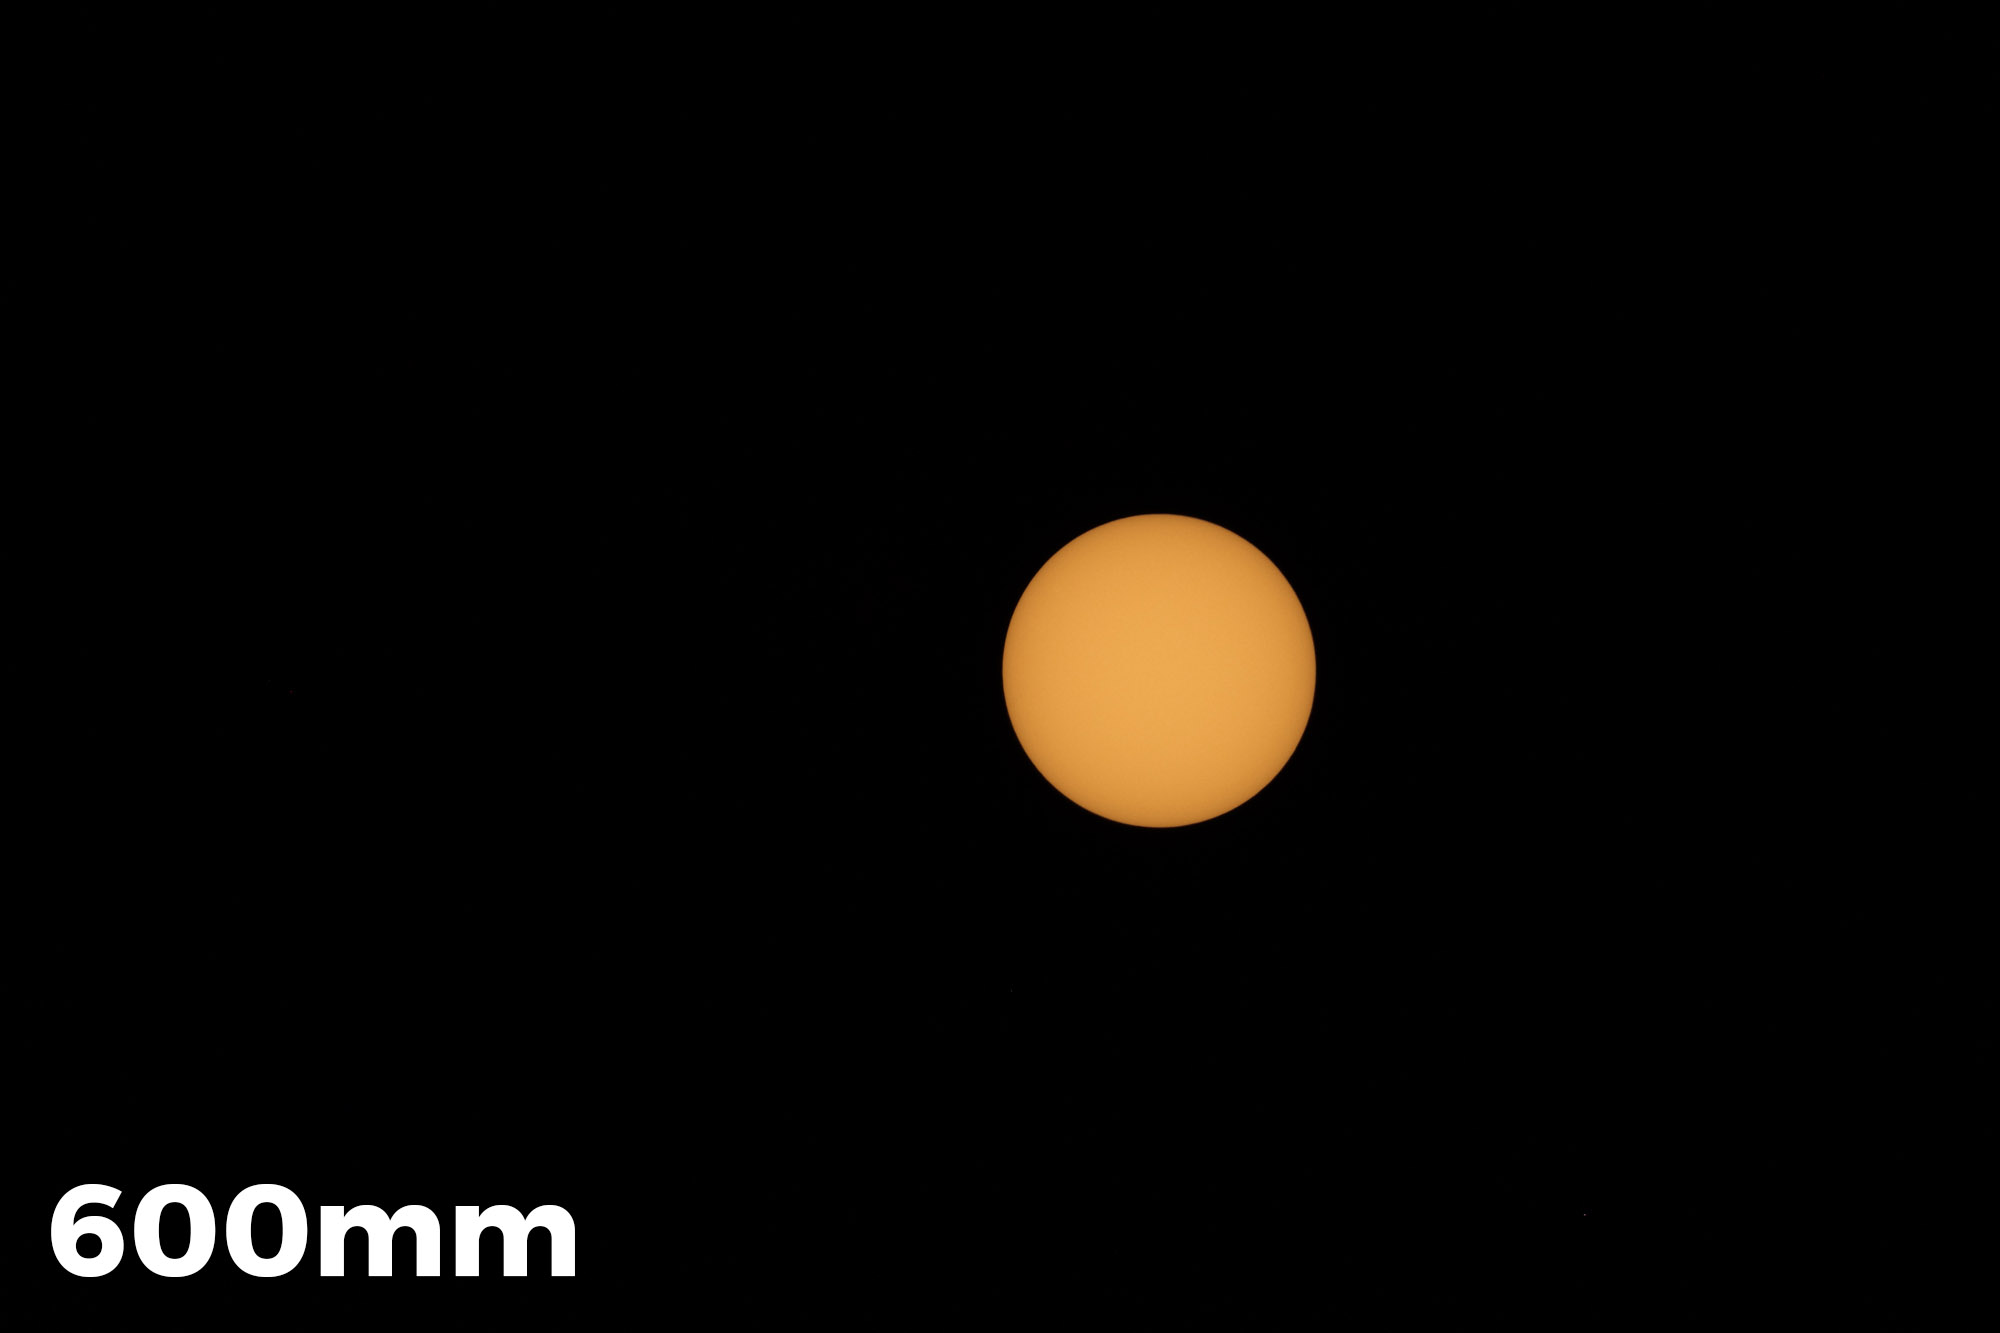
I definitely recommend using a telephoto lens and getting a somewhat tight shot of the different phases of the eclipse. The careful thing to consider is not getting in too tight. When the total eclipse starts you’ll see the breathtaking corona light start to spill out from behind the moon. This can spread pretty far and create some beautiful patterns. If you are in too tight, you’ll frame it out.
When testing, I was using a 100-400mm lens on an APS-C crop sensor, and the far end of that focal range seemed like the sweet spot for a good telephoto capture. That’s 600mm to 800mm with a full-frame sensor, which you can achieve with really big glass or with a 1.4X or 2X teleconverter. But if you have a crop-sensor camera, that would be the one I’d lean on for this project.

The trick to the telephoto shots will be tracking the sun as it quickly moves through your frame. Depending on how tightly composed your shot is, this setup could require constant attention and adjustments. Having a sturdy tripod is a must, especially if you add a tracking device to a long lens and camera. Make sure your tripod head and legs are rated to hold the combined weight over a long period of time.
Many people will be using digiscoping (attaching a camera to their telescope) to get even closer images of the sun and eclipse. We really haven’t experimented with digiscoping at NPAN, but our good friend Todd Vorenkamp at B&H Explora discuses those considerations in his very informative article, “How to Photograph a Solar Eclipse.”
I’d also bring another, separate camera setup for capturing a wider view that includes the landscape. The telephoto phases of the eclipse are cool to capture, but they are generally featured against a dark black sky. If you use a medium telephoto or wide-angle, you can include some subject matter that gives your composition depth and scale. You’ll still need to have that solar filter on to capture more phases of the sun, but you’ll also want to get a properly exposed foreground—ideally once the uneclipsed sun is well out of the frame—to layer together in Photoshop.
Two tips to consider when using that technique:
- Underexpose the foreground shot so all the solar disks will stand out against that hopefully deep blue sky.
- Once the eclipse starts to happen, keep an eye on your settings and make adjustments to open up your exposure as the sun gets thinner and fainter.
Be Flexible and Keep an Eye on the Weather
This is going to be the most viewed and recorded solar eclipse ever. You’ll be able to watch it in and around populous cities such as Kansas City, St. Louis, Nashville and Charleston, as well as in national parks such as Great Smoky Mountains and Grand Teton, and in many rural national and state forests.
Do you want to experience this event in a city or town with tons of people and lots of rooftops and amenities, or do you want to go someplace more remote and get a darker sky?
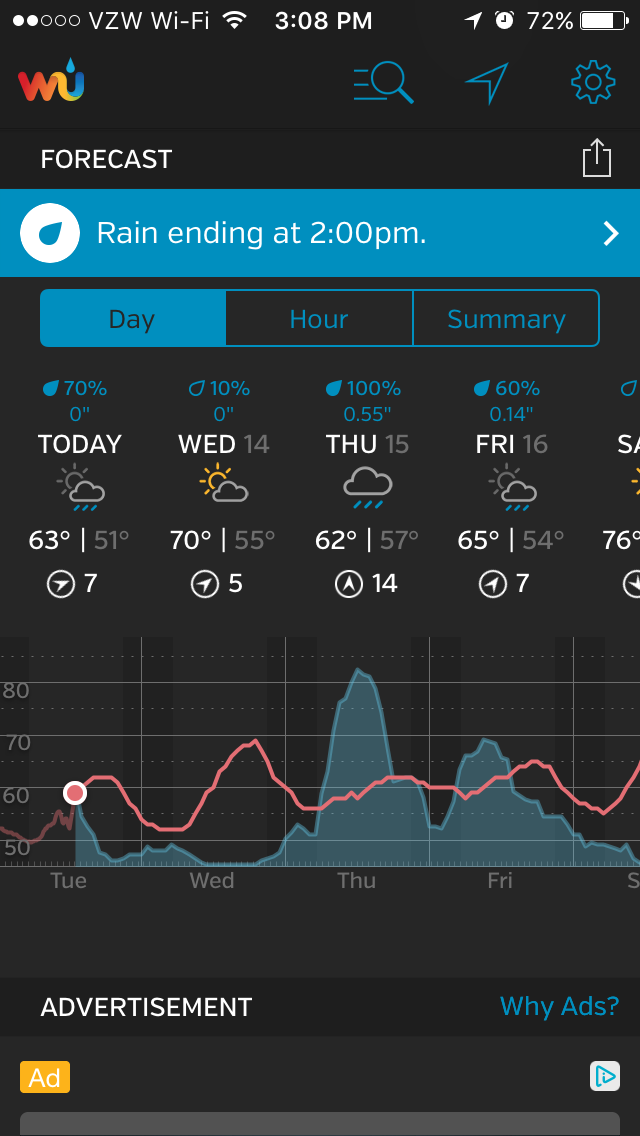
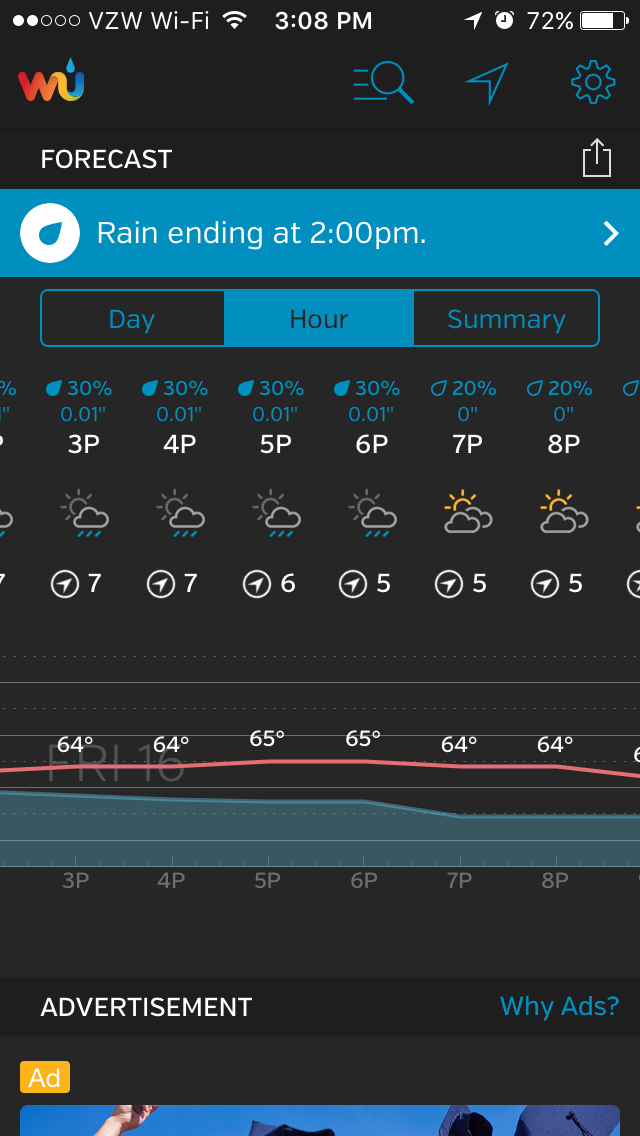
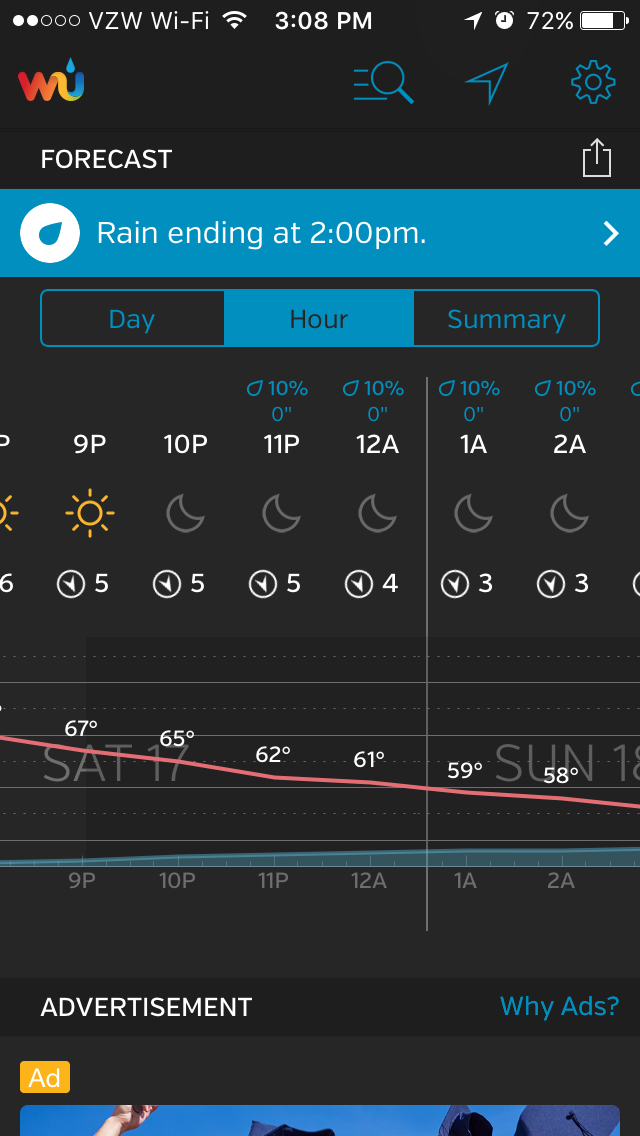
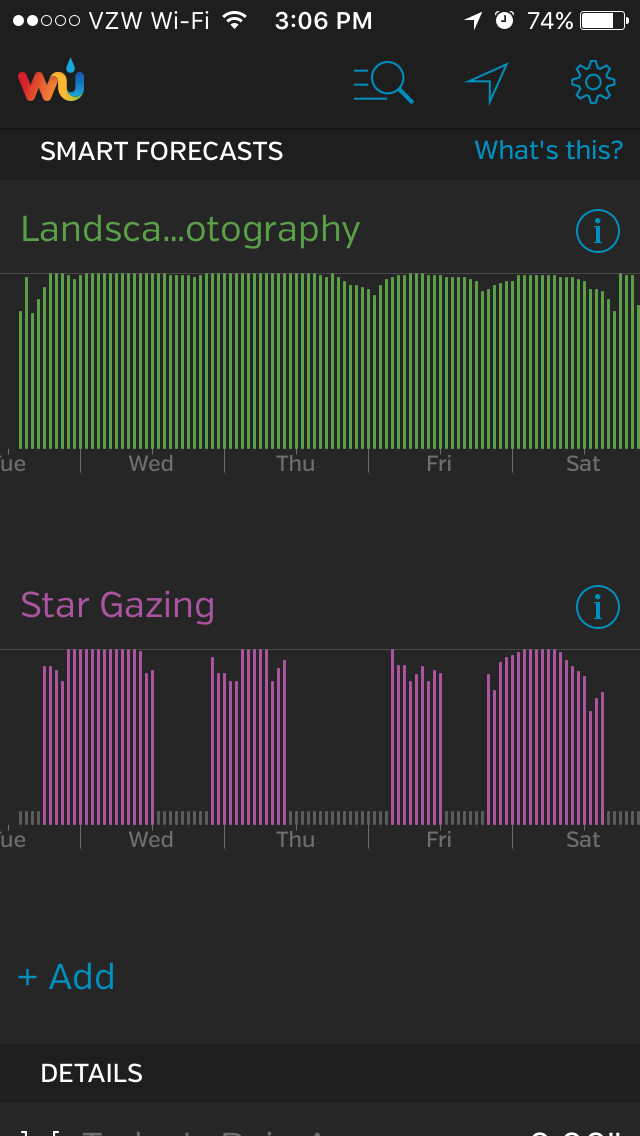
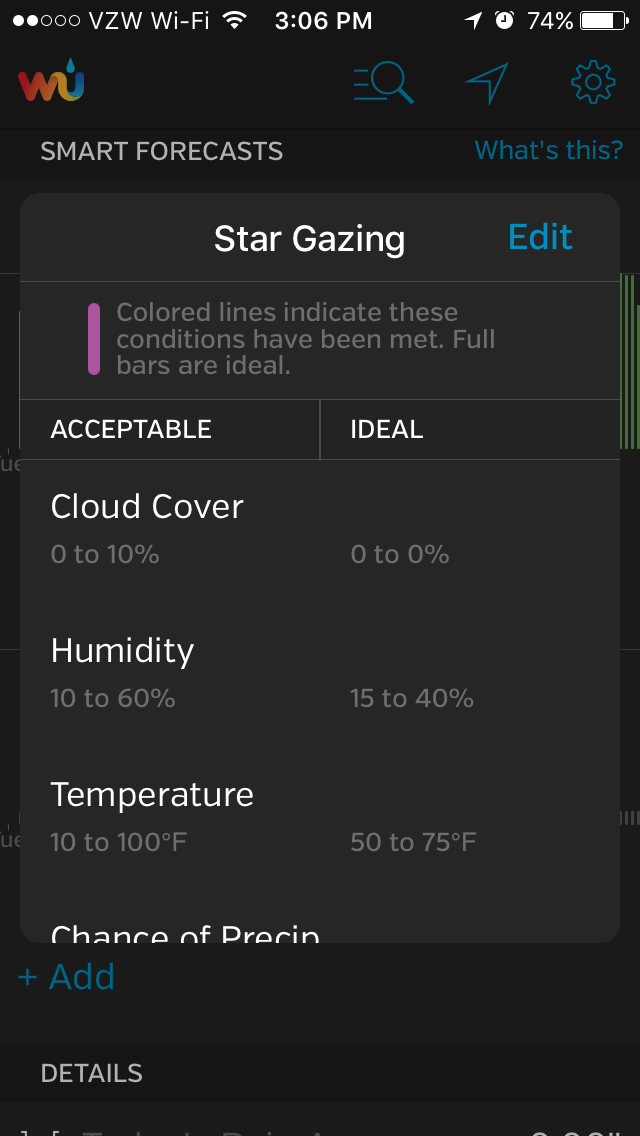
Staying flexible with weather is key. There are plenty of apps (we like Weather Underground) that can share predicted cloud cover. It’s a good idea to have a Plan B and C that are within a 1- to 3-hour drive from your Plan A. You obviously want to avoid overcast and thick cloud cover, but sometimes stray clouds and wisps are unavoidable. Do your best to adapt or adjust—we are wishing you the clearest of skies, of course!
Most hotels are sold out within the path of totality, but campgrounds and private property are “renting” space to eclipse chasers. I will be leading a sold-out workshop with NPAN at a private ranch in the Centennial Valley in Montana, but we will dip down into Idaho to get into the path of totality. We will also be participating with Atlas Obscura and B&H Photo on a Total Eclipse festival in eastern Oregon that just sold out. (There is a wait list that they might open up—click here for more info.)
To find more events in areas that you will be close to, check out these listings:
Don’t forget to enjoy and EXPERIENCE it!
Sure, most of the United States will be watching the eclipse on TV, and that is … two-dimensional. But to actually experience the eclipse is something very special. Animals and humans both react to this astronomical phenomenon in extraordinary ways, and nothing can really prepare you for when the darkness takes over the land and sky. There is a reason people become eclipse chasers and travel the world to keep searching out this experience. Each eclipse and location is unique and different. We look forward to sharing photos of ours with you and vice versa.
A couple of other fun things to prep you for the eclipse:
- Read Tyler Nordgren’s book Sun, Moon, Earth—A History of Solar Eclipses from Omens of Doom to Einstein and Exoplanets. We are also a big fan of Tyler’s other book, Stars Above, Earth Below—A Guide to Astronomy in National Parks. He makes the science of astronomy very engaging, easy to understand and to get excited about.
- Send an eclipse to someone you love! The United States Postal Service has released a unique Total Eclipse of the Sun forever stamp. The stamps show the total eclipse, but when you touch them with your finger the eclipse reveals the moon. They used thermochromic ink that reacts to the heat of your finger! So stock up on these stamps and send a letter or post card from wherever you are experiencing the eclipse!
Download our Eclipse E-book

Finally, if you want to learn some more about how and where to photograph the eclipse, download our free Here Comes the Sun: 2017 Solar Eclipse Guide e-book today! It includes this article, along with a travel feature about all the units of the National Park Service in the path of totality, as well as recommendations about photography gear and services, and eclipse information and swag.
Carpe eclipse!